Введение
The motherboard contains all of the electronics, and most of the components of your device. Replacing the motherboard can fix many different issues that may come up with your device, as well as let you access all of the components in your device. This guide will walk you through the steps to access the motherboard and replace it if necessary.
Выберете то, что вам нужно
-
-
Turn the device over and place it with the screen down on a flat surface that is clean so the screen does not get scratched.
-
-
-
Locate the four screws, two on each side.
-
Using the philips head screwdriver, carefully remove each screw and keep them together in a safe location.
-
-
-
Once all screws are removed, use a spudger to get under a corner and unclip the hooks.
-
Once the spudger is under the cover, slide it all the way around the device, pushing lightly into the device making sure it stays under the cover until all the clips are removed.
-
-
-
The back cover should then be able to easily be removed from the device and you should see the battery and other internal components.
-
-
-
-
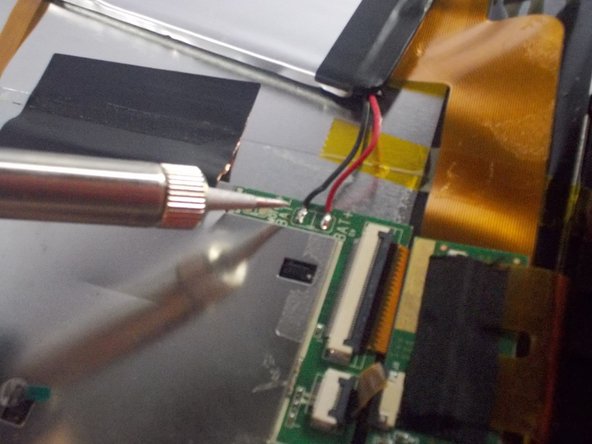
Locate the red and black wire connections where the battery is connected to the motherboard.
-
Now remove the red and black wires by soldering the ends of the wires off where they connect to the motherboard.
-
-
-
Locate and remove the copper tape connecting the motherboard to the back of the screen
-
-
-
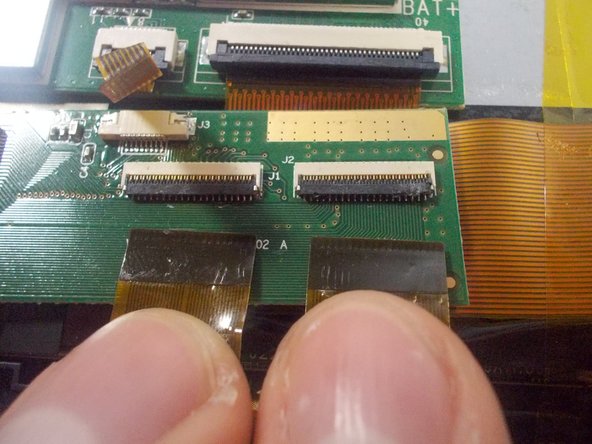
Locate the ribbon cables connecting the motherboard to the screen and other peripherals.
-
Carefully lift the black part of the cable connector on the motherboard and pull the cable from the connector.
-
-
-
Locate and remove the four screws holding the motherboard on the device using the philips head screwdriver.
-
-
-
Locate and desolder the wires going to the speakers on each side of the device.
-
The motherboard can now be removed and replaced.
-


To reassemble your device, follow these instructions in reverse order.
To reassemble your device, follow these instructions in reverse order.
Отменить: Я не выполнил это руководство.
2 участников успешно повторили данное руководство.
Команда

UMass Dartmouth, Team 1-6, Shastany Spring 2015 Участник UMass Dartmouth, Team 1-6, Shastany Spring 2015
UMASSD-SHASTANY-S15S1G6
4 членов
Автор 8 руководств