Перейти к основному содержанию

Эта версия возможно содержит некорректные исправления. Переключить на последнюю проверенную версию.

Выберете то, что вам нужно

  1. Этот шаг не переведен. Помогите перевести

    : шаг 1, изображение 1 из 3 : шаг 1, изображение 2 из 3 : шаг 1, изображение 3 из 3
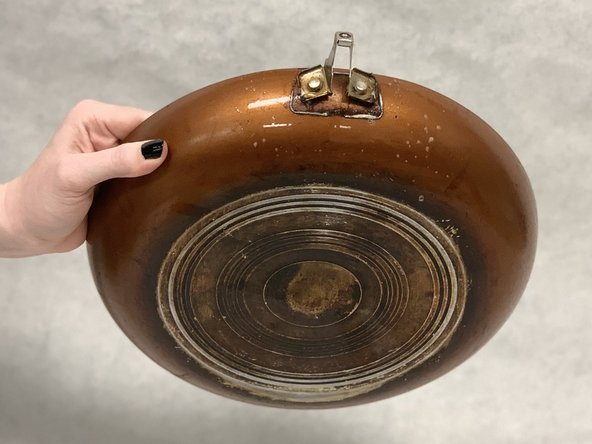
    • Identify the screw keeping the handle in place.

    • Most screws are located on the underside, and a typical pan has only one screw. If there are more, locate them as well.

    • Use a standard Phillips screwdriver to remove the screw(s).

  2. Этот шаг не переведен. Помогите перевести

    : шаг 2, изображение 1 из 3 : шаг 2, изображение 2 из 3 : шаг 2, изображение 3 из 3
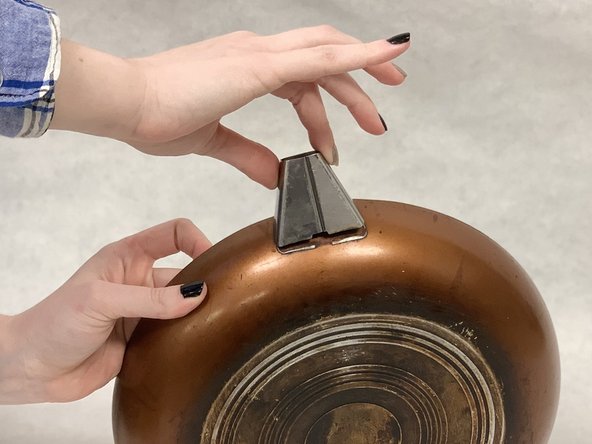
    • Remove the handle and the metal bar to expose the base of the pan handle.

    • The base is where the full handle and the pan meet.

  3. Этот шаг не переведен. Помогите перевести

    : шаг 3, изображение 1 из 3 : шаг 3, изображение 2 из 3 : шаг 3, изображение 3 из 3
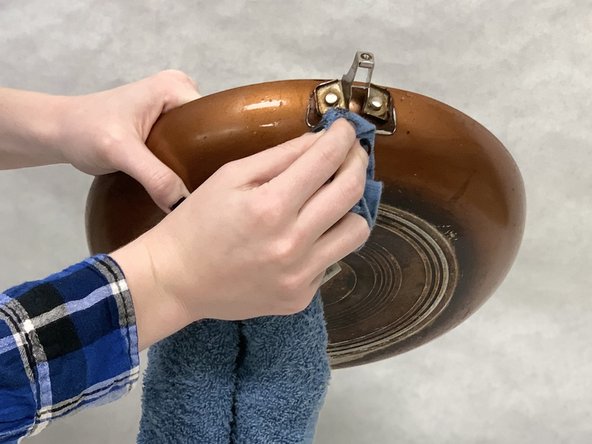
    • Determine what kind of cleaning is required. I used a Lysol solution, which can be substituted with soap and water.

    • If there is rust or burn marks, there are two guides on iFixit by other creators that work well. Their links can be followed by their respective words.

    • Apply your cleaning solution to the base.

    • If necessary, apply cleaning solution to the handle and metal bar, as well.

    • Wipe the area until it is clean, repeat if necessary.

  4. Этот шаг не переведен. Помогите перевести

    : шаг 4, изображение 1 из 2 : шаг 4, изображение 2 из 2
    • Identify the warp on the pan, if any.

    • Warps can impact the handle, making it loose or rest incorrectly. This can occur with even small warps, so look closely at your pan.

    • Set the pan on top of a flat cloth.

    • If the warp is going in towards the pan, lay it down with the inside of the pan facing up. If the warp is going out away from the pan, lay it down with the bottom of the pan facing up.

  5. Этот шаг не переведен. Помогите перевести

    : шаг 5, изображение 1 из 1
    • If you do not use cloths, you will scratch the pan when you do Step 6.

    • Cover the warp with a second cloth. We used a different dish towel.

  6. Этот шаг не переведен. Помогите перевести

    : шаг 6, изображение 1 из 1
    • Do not hammer too forcefully otherwise the pan will warp the opposite way.

    • Hammer the warp carefully.

    • It should take 2-3 strikes for smaller warps and more than 3 for bigger warps.

  7. Этот шаг не переведен. Помогите перевести

    : шаг 7, изображение 1 из 2 : шаг 7, изображение 2 из 2
    • Take the metal bar and place it back over the base.

  8. Этот шаг не переведен. Помогите перевести

    : шаг 8, изображение 1 из 3 : шаг 8, изображение 2 из 3 : шаг 8, изображение 3 из 3
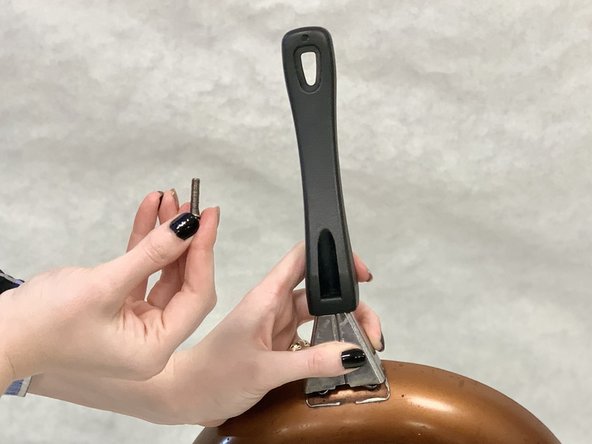
    • Align the handle onto the metal bar.

    • Push the handle into the metal bar socket.

    • Put the screw back in the socket.

    • Use the screw driver to tighten the screw.

    • To make sure it's not too loose, pick it up by the handle to test it. If it wobbles it is too loose, and needs to be tightened more.

Финишная черта

5 участников успешно повторили данное руководство.

Augustus Gunnerson

Участник с: 02/18/20

202 Репутация

1 руководство автора

Команда

UC Davis, Team S1-G2, Andersen Winter 2020 Участник UC Davis, Team S1-G2, Andersen Winter 2020

UCD-ANDERSEN-W20S1G2

3 членов

Автор 3 руководств

0 Комментариев

Добавить комментарий

Просмотр статистики:

За последние 24часов: 23

За последние 7 дней: 123

За последние 30 дней: 514

За всё время: 13,633