Этот документ имеет более свежие изменения. Перейти к последней непроверенной версии.
Введение
It is fairly simple to replace the bread lift shelf, even though the metal flaps holding the bread lift shelf can be difficult to access.
Выберете то, что вам нужно
-
-
Using the Phillips-head #2 screwdriver, unscrew the three 1cm Phillips-head screws on the plastic base of the toaster to separate the outer metal shell from the plastic base.
-
-
-
Push the plastic push-down handle down and pull the plastic handle straight from metal arm.
-
-
-
Loosen the outer metal shell from the plastic base by holding the plastic base while pulling up on the metal shell.
-
-
-
Disconnect the cable clips from the circuit board using the tweezers to free the outer metal shell from the plastic base.
-
-
-
-
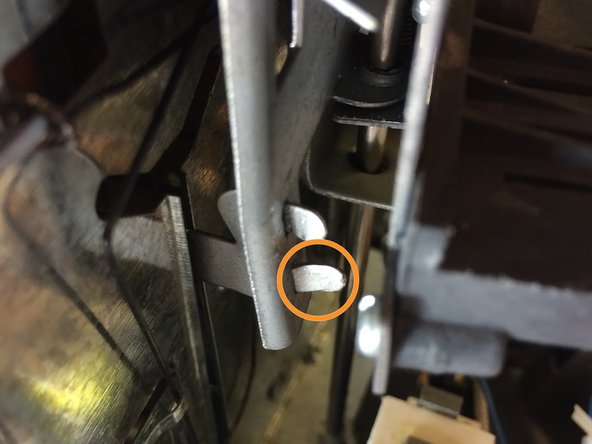
Use a flat-head screwdriver to separate the metal flap from the metal plate.
-
-
-
Grasp the metal flap with the large needle nose pliers.
-
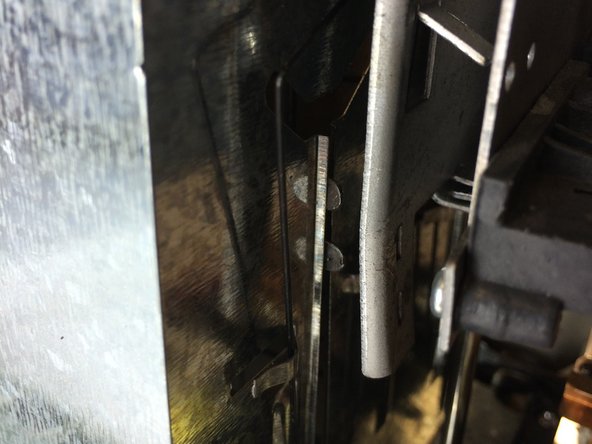
Unbend metal flap until at a 90 degree angle from the metal plate.
-
Repeat these steps for the second metal flap.
-
-
-
Use the large need nose pliers to grab the metal panel.
-
Pull the metal panel away from the body of the toaster to dislodge the flaps.
-
-
-
Push the metal flaps towards the body of the toaster to access the bread lift shelf.
-
-
-
Push down on the opposite side of the bread lift shelf to expose the metal flaps.
-


To reassemble your device, follow these instructions in reverse order.
To reassemble your device, follow these instructions in reverse order.
Команда

Cal Poly, Team 13-15, Regan Winter 2014 Участник Cal Poly, Team 13-15, Regan Winter 2014
CPSU-REGAN-W14S13G15
5 членов
Автор 6 руководств