Этот документ имеет более свежие изменения. Перейти к последней непроверенной версии.
Введение
Breaking the invisible zipper of your fancy cocktail dress or everyday skirt doesn't need to be a tragic affair anymore. Following this guide will let you easily replace an invisible zipper and bring new life to the outfit gathering dust in the back of your closet. You will need a sewing machine and basic knowledge of how to operate it for this guide.
Выберете то, что вам нужно
-
-
Thread the needle thread through the invisible zipper foot hole.
-
Pull the needle thread through the zipper foot hole.
-
-
-
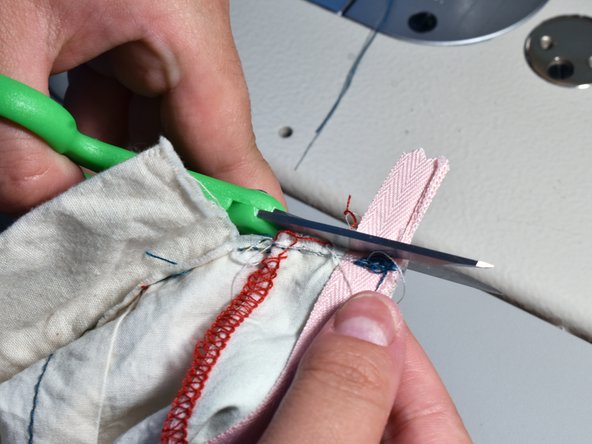
Locate the stitch lines of where the broken zipper was sewn on both sides of your garment.
-
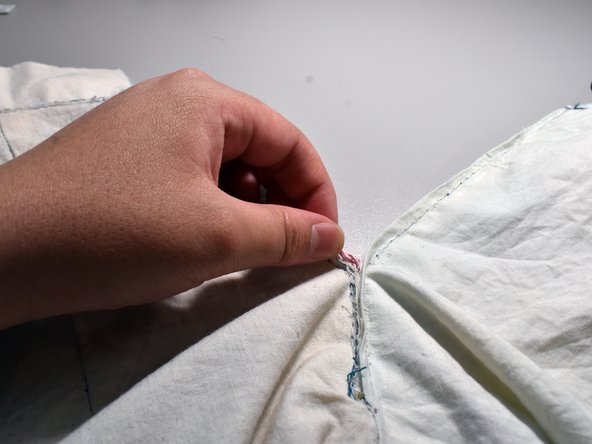
Use a seam ripper to carefully rip out both of the stitching lines.
-
Remove old invisible zipper.
-
-
-
Turn the skirt inside out.
-
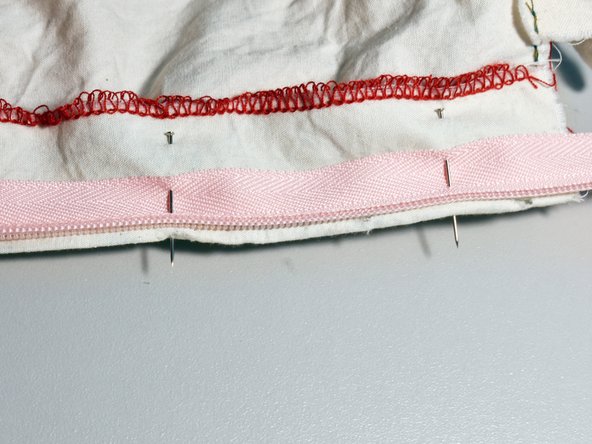
Place the replacement invisible zipper on the table, with the teeth side pointing up and the zipper pull facing down.
-
Unzip the invisible zipper. Line up the left side of the tape of the invisible zipper with the left side of your fabric.
-
-
-
-
Pin the tape of the zipper to your garment's fabric perpendicular to the invisible zipper.
-
-
-
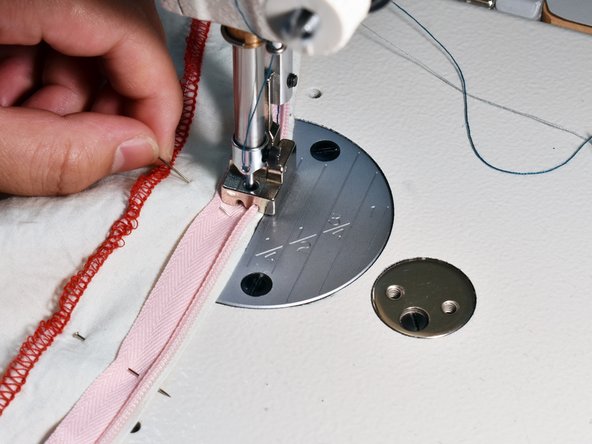
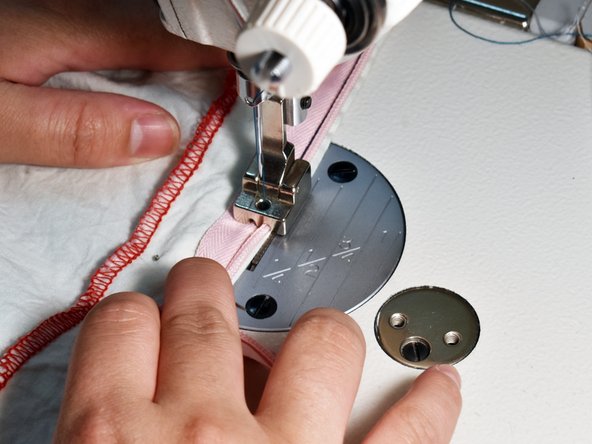
Place the teeth of the left side of the zipper into the right side of the invisible zipper foot.
-
-
-
Sew a straight line carefully, removing pins as you go.
-
Repeat Steps 5-8 on the right side of your garment.
-
-
-
Turn the skirt right-side out again, so you don't see the zipper teeth.
-
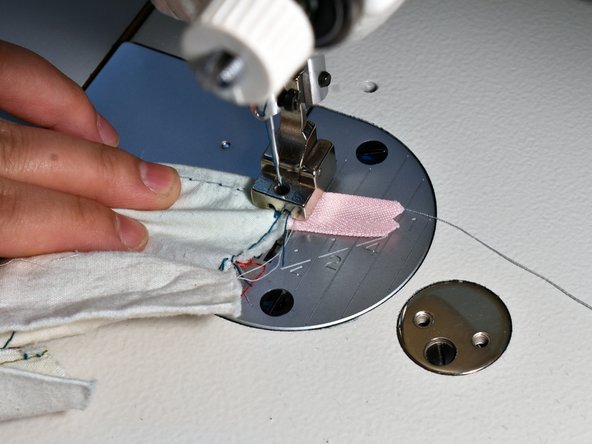
Rotate the fabric so the zipper foot is perpendicular to the zipper tape.
-
Position the zipper foot on top of the fabric 1/8th of an inch from where the zipper tape meets the garment.
-
Sew back and forth at least 6 times to seal the end.
-
Flip garment over to see the stitch line you just made. Cut off excess zipper tape.
-
-
-
Pull up your newly replaced zipper.
-
Be proud of yourself! You've just replaced an invisible zipper!
-


To reassemble your device, follow these instructions in reverse order.
To reassemble your device, follow these instructions in reverse order.
Отменить: Я не выполнил это руководство.
Еще один человек закончил это руководство.
Команда

UC Davis, Team S3-G2, Coad Spring 2017 Участник UC Davis, Team S3-G2, Coad Spring 2017
UCD-COAD-S17S3G2
3 членов
Автор 1 руководств