Эта версия возможно содержит некорректные исправления. Переключить на последнюю проверенную версию.
Выберете то, что вам нужно
-
Этот шаг не переведен. Помогите перевести
-
Using a toothbrush, clean the entire cleat, especially where the shoe is ripped.
-
-
Этот шаг не переведен. Помогите перевести
-
Squeeze out a good amount of the Shoe Goo onto the piece of printer paper.
-
-
Этот шаг не переведен. Помогите перевести
-
Using the paint brush, paint the glue in the opening of the ripped cleat and between the leather and the sole of the cleat.
-
Let dry for 3 minutes and repeat the step again.
-
-
-
Этот шаг не переведен. Помогите перевести
-
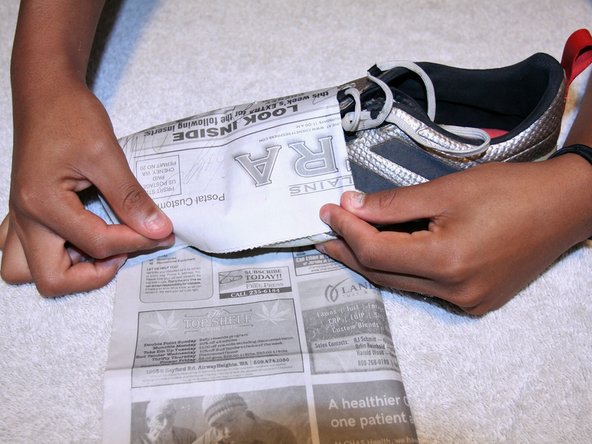
Press the cleat together firmly and wrap a few pieces of newspaper around the sole of the shoe.
-
-
Этот шаг не переведен. Помогите перевести
-
Wrap the adhesive tape around the newspaper tightly to keep pressure on the tear until the glue dries.
-
-
Этот шаг не переведен. Помогите перевести
-
Use a hair dryer to slowly warm the newspaper surrounding the tear. Do this for 10 minutes, then let the shoe rest.
-
-
Этот шаг не переведен. Помогите перевести
-
After 24 hours, remove the tape and newspaper.
-
Then once the tape and newspaper are removed, peel off any excess glue that is stuck around the area of the rip.
-


Отменить: Я не выполнил это руководство.
2 участников успешно повторили данное руководство.

Команда

Eastern Washington University, Team S2-G1, Crane Summer 2018 Участник Eastern Washington University, Team S2-G1, Crane Summer 2018
EWU-CRANE-SU18S2G1
4 членов
Автор 4 руководств