Введение
This guide will show you how to remove the components of the product necessary to access the bluetooth speaker, remove it, and replace it with a new one.
Выберете то, что вам нужно
-
-
Using the metal spudger, remove the outer cap from the top of the device.
-
-
-
Using a Phillips # 1 screwdriver, remove the four 1.1 cm flathead screws attaching the metal ring to the top of the device.
-
-
-
Using a Phillips # 1 screwdriver, remove the four 1.1 sm screws attaching the metal ring to the bottom of the device.
-
-
-
-
Using a Phillips # 1 screwdriver, remove the four 1 cm screws from the outside panel. You will do this for each panel; it does not matter which side you start with.
-
-
-
Using the metal spudger, pry off the side panel. Repeat this step on the other side panel.
-
-
-
Using a Phillips #1 screwdriver, remove the four 1.1 cm flathead screws from the side of the device. Repeat this step on the other side of the device.
-
-
-
Using your fingers (or a pair of tweezers), disconnect the speaker cord from its socket.
-
-
-
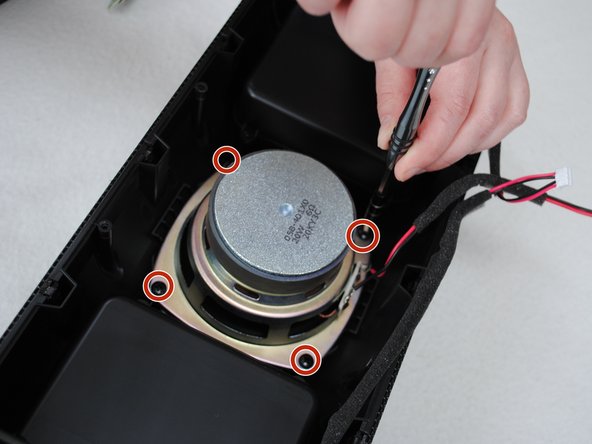
Using a Phillips #1 screwdriver, remove the four 1.2 cm pan head screws surrounding the speaker.
-


To reassemble your device, follow these instructions in reverse order.
To reassemble your device, follow these instructions in reverse order.
Команда

Washington State, Team 1-50, Staggers Spring 2017 Участник Washington State, Team 1-50, Staggers Spring 2017
WSU-STAGGERS-S17S1G50
2 членов
Автор 1 руководств