Введение
By the end of the guide you will have the ability to replace the motherboard of your device.
Выберете то, что вам нужно
-
-
Prior to any repairs make sure that you are familiar with the device as well as the location of its buttons and ports.
-
-
-
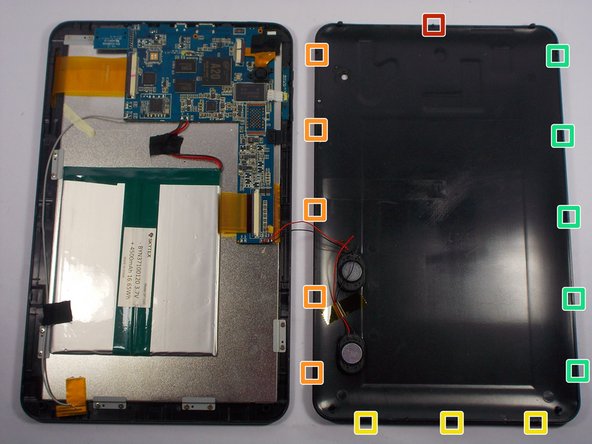
Insert the plastic opening tool between the bottom seam of the back panel and the micro SD port. The tool's edge should point toward the rear panel to prevent any scratching or damage.
-
Follow up with the plastic opening tool, releasing the clips as you go all the way around the device.
-
-
-
The clips will be released in the order specified as the spudger tool is moved along the seam around the device.
-
-
-
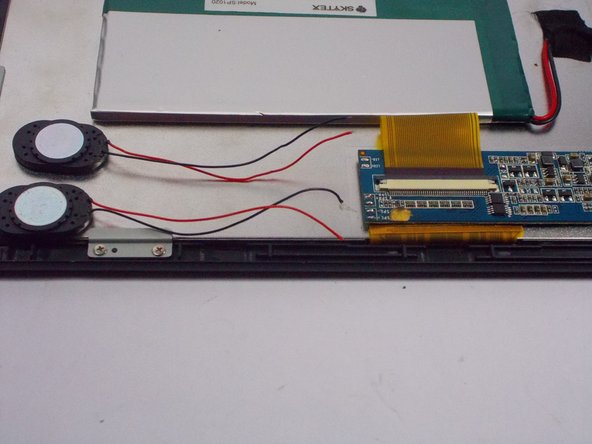
Use a plastic opening tool to pry the speakers out of the rear case.
-
The rear case will now be free from the rest of the device.
-
-
-
Use a soldering iron and desoldering braid to desolder the red and black motherboard battery connections.
-
-
-
-
Use a soldering iron and desoldering braid to desolder the two sets of red and black wires.
-
-
-
The image shows and specify the order of the major components that must be removed before moving on.
-
-
-
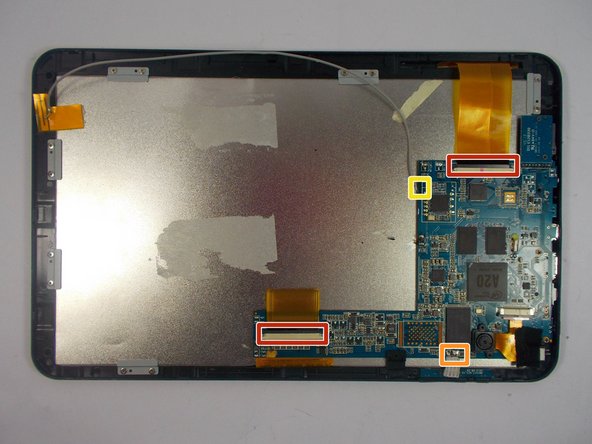
Locate the two ribbon cables that will need to be removed.
-
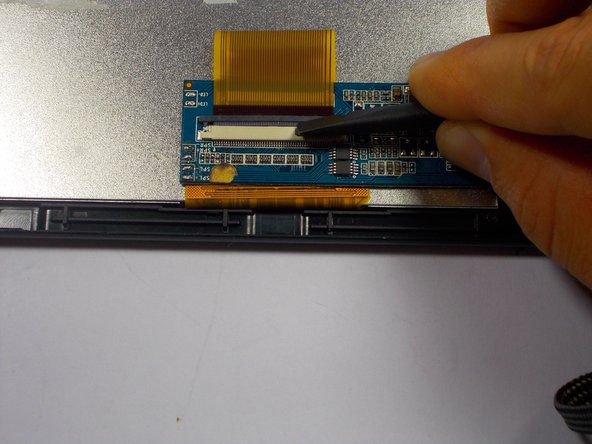
Using the spudger tool, slide the black clip over the white housing up. This will release the ribbon cable.
-
Once the ribbon cable is loose, the tweezers should be used to slide the cable out.
-
-
-
Using the tweezers carefully remove the cables one at a time from the motherboard.
-
-
-
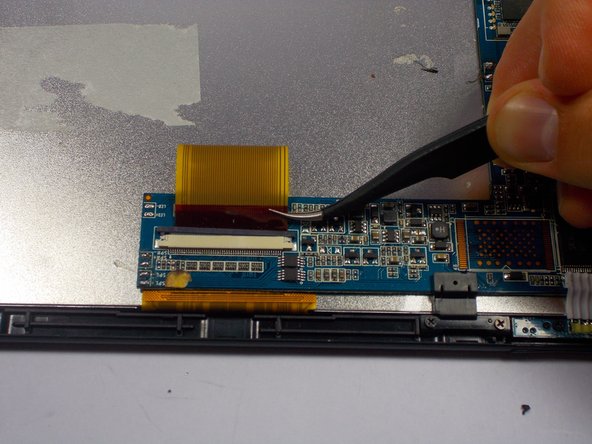
Using the tweezers remove the single white coated wire from the motherboard with a split at the tip.
-
-
-
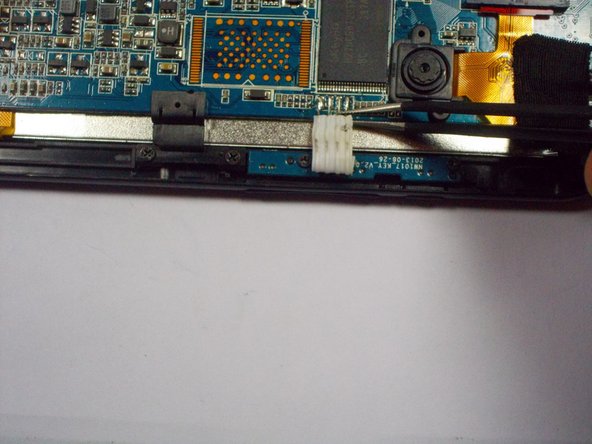
Using the (3.75mm) Phillips #00 screwdriver remove all of the indicated screws connecting the motherboard to the case.
-
-
-
Using a soldering kit attach the set of white coated wires back to the new motherboard.
-


To reassemble your device, follow these instructions in reverse order.
To reassemble your device, follow these instructions in reverse order.
Отменить: Я не выполнил это руководство.
2 участников успешно повторили данное руководство.
Команда

UMass Dartmouth, Team 1-6, Miles Spring 2015 Участник UMass Dartmouth, Team 1-6, Miles Spring 2015
UMASSD-MILES-S15S1G6
4 членов
Автор 8 руководств