Введение
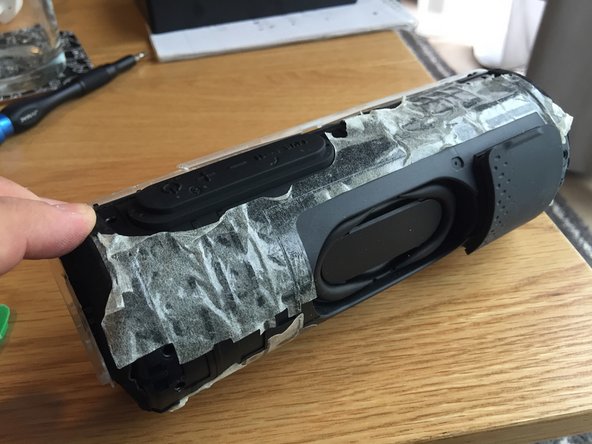
This is a battery replacement / teardown guide for the SRS-XB22 Bluetooth speaker. I couldn’t find a guide anywhere on the internet for the speaker; as I had to fix my wife’s speaker, I thought I’d do a guide on how I tore it down. I hope this helps you.
Выберете то, что вам нужно
-
-
Firstly, you need to pry the speaker grill away from the speaker.
-
Use a spudger/guitar pick to prise up each end of the grill.
-
You are trying to lift a clip at either end. (circled in red)
-
Once lifted at both ends, gently pull the grill forwards.
-
-
-
Completely remove the grill.
-
Remove the 8 screws that hold the speakers in place.
-
Slowly pull the speakers forward to free them from the case.
-
-
-
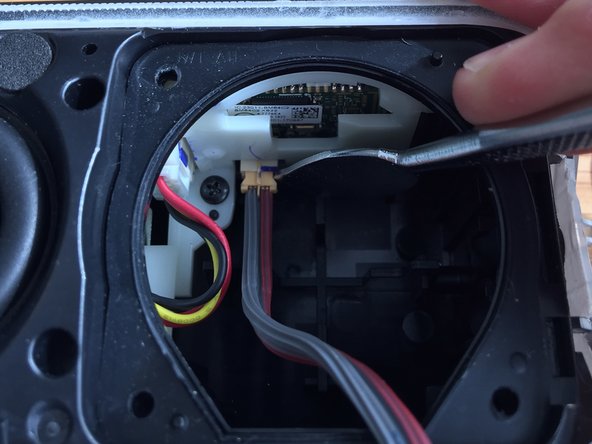
Disconnect the speaker cables from the internal circuit boards.
-
Be careful, the sockets are easy to damage
-
Remove both of the rubber gaskets from the case - one for the left speaker, one for the right.
-
-
-
Starting at the ends of the speaker, prise the back case away from the main unit.
-
Work your way along the front of the case.
-
Once the front in freed, work you way along the edges, freeing the whole case.
-
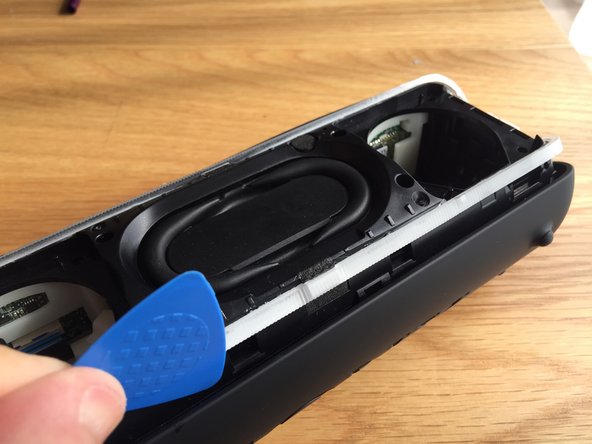
There is A LOT of double sided tape between the outer and inner case. It requires a lot of work to remove it.
-
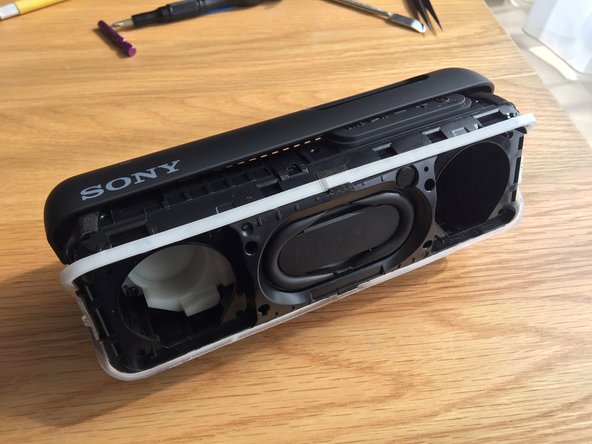
The case is one piece. Although it looks as if it splits at the rear, it is sealed together.
-
-
-
-
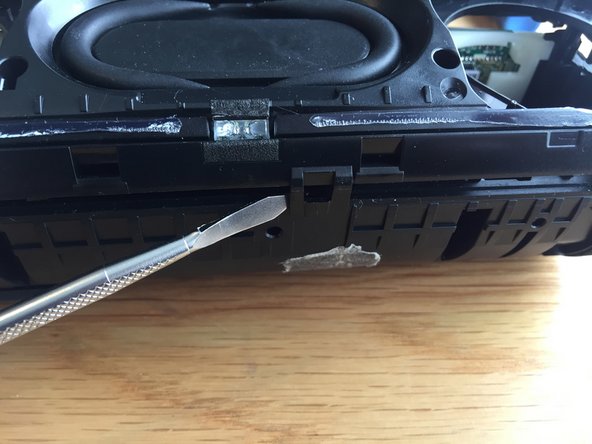
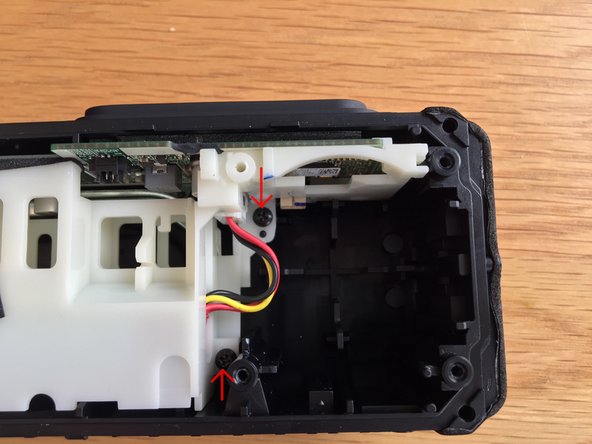
Remove 3 screws at either end of the speaker, so 6 screws in total.
-
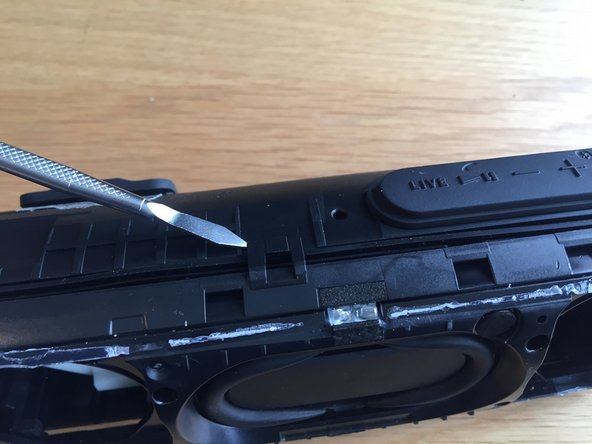
Using a spudger, unclip the top and bottom plastic clips, holding the front of the speaker.
-
(I made the error and removed the illuminated surround, hence it is not in two of my pictures here - it is NOT necessary to remove it)
-
-
-
Slowly pull the front panel forwards.
-
Be careful, there are 3 wires still connected.
-
Disconnect the three wires, freeing the front panel.
-
-
-
Lift the rubber gasket away from the unit.
-
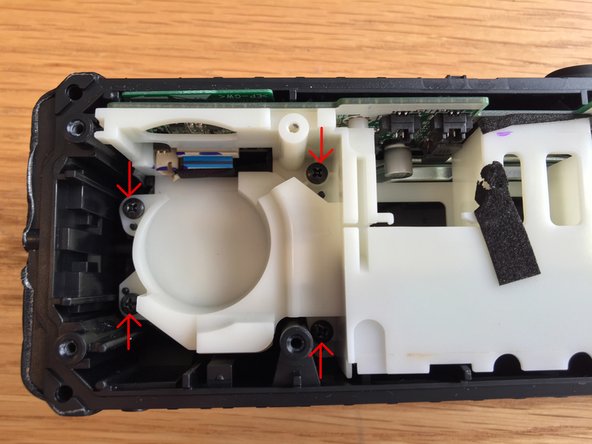
Locate the 6 screws holding the internal structure in place.
-
Remove these 6 screws.
-
-
-
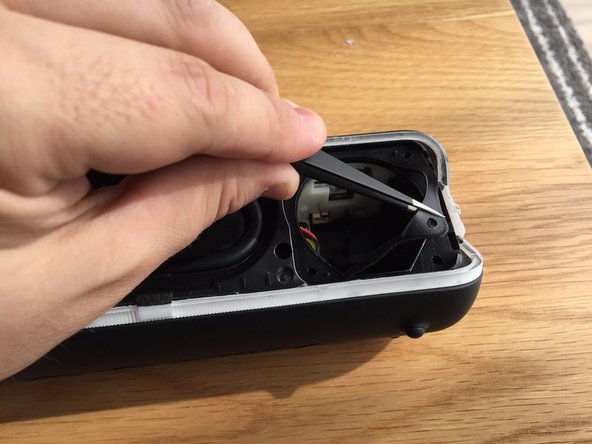
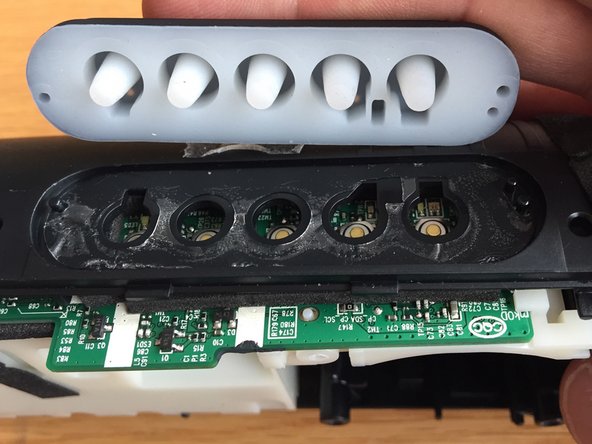
Use a spudger to lift the button away from the speaker.
-
Be careful, it's held down by more sticky tape!
-
-
-
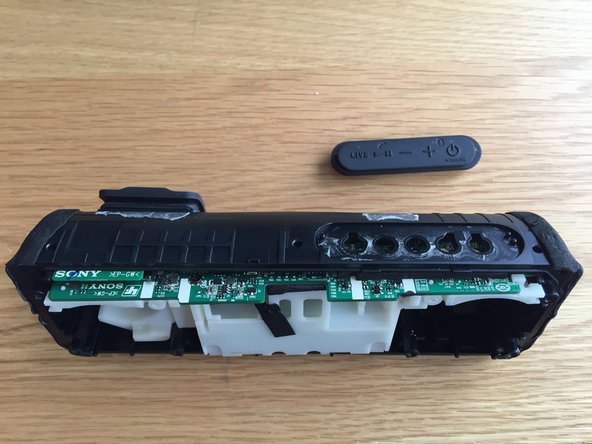
Slide the main plastic unit forward from the speaker.
-
There will still be a couple of circuit boards in the back that are connected. These are the boards for the rear panel.
-
-
-
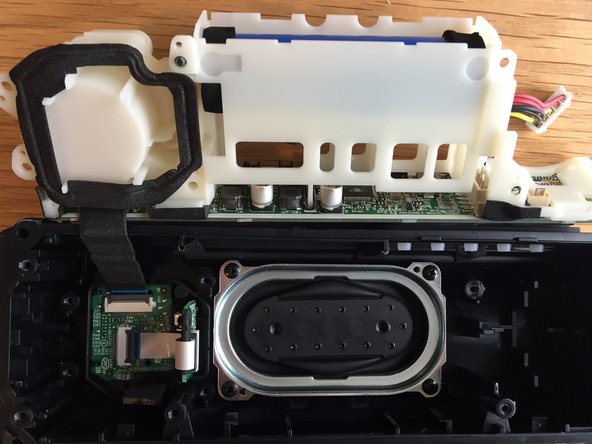
Disconnect the battery lead from the circuit board.
-
Carefully, pull the battery out of its recess.
-


To reassemble your device, follow these instructions in reverse order.
To reassemble your device, follow these instructions in reverse order.
Отменить: Я не выполнил это руководство.
7 участников успешно повторили данное руководство.
4 Комментариев
has anyone ever heard the battery lady come on by herself? could it be cause I knocked it a bit too hard accidentally while attached to backpack? I loosened something inside on board?
So the battery type is st-05s, thank you.
you can find it on amazon. this is the one im trying out tomorrow.