Выберете то, что вам нужно
-
-
Two screws hold the part, loosen. A seal becomes free, pick up well, better still replace later.
-
Inside is a feather and a small glass ball. Store carefully.
-
-
-
With a 6mm Allen key (or the key that comes with the machine), the brewing sieve can be unscrewed. It strongly determines the aroma, if it is dirty the coffee tastes bad.
-
-
-
He is held in place by four latches. These impress, e.g. with a screwdriver, then the piston can be pushed down.
-
The new sealing ring is already waiting, but first it has to be cleaned properly.
-
-
-
-
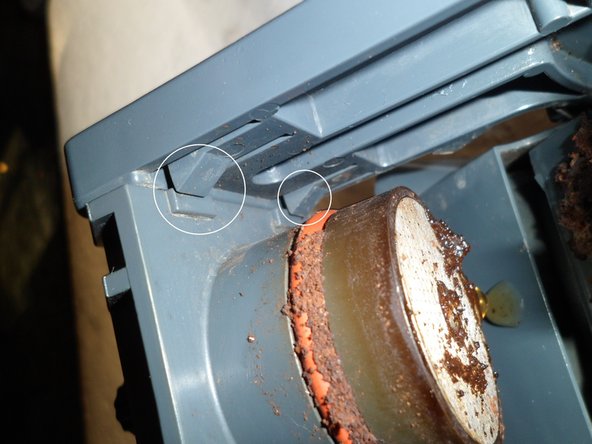
Through the hole on the opposite side of the fixing screw can be solved. The inlet is plugged in and held by a latch, which you have to push away.
-
-
-
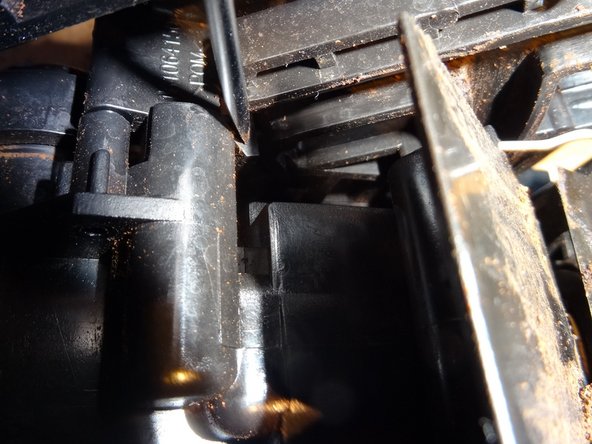
Three screws hold the brew groups together, loosen.
-
The whole mechanics can now be broken down into three big parts. The coffee funnel can stay.
-
-
-
That's the trickiest part: you have to lever this lever out of its camp. To do this you drive with a screwdriver between the lever and the carrier and press it really very strong outwards. Now he grabs out - hopefully!
-
-
-
Since the lever is gone you can easily pull out the piston. It has no seal.
-
-
-
That's why we did it. All parts are thoroughly cleaned. For this purpose, a solution of machine detergent is good. (Use rubber gloves!) Clean all channels with pipe cleaners. The brewing sieve is like new again! Allow to dry well.
-
Then apply new gaskets, in particular to the crema valve and piston and lubricate with food-grade grease.
-
Fat also belongs to the bearings of the rocker arm and into the slides, the piston skirt, as well as into the water inlet
-


To reassemble your device, follow these instructions in reverse order.
To reassemble your device, follow these instructions in reverse order.
Особая благодарность этим переводчикам:
100%
VauWehпомогает нам починить мир! Хотите внести свой вклад?
Начните переводить ›
Команда

Repair is War on Entropy Участник Repair is War on Entropy
Community
25 членов
Автор 1 097 руководств