Введение
By: Nathan Zimmerer, Peter Rubis, Paul Biggins, and Brad Funsten.
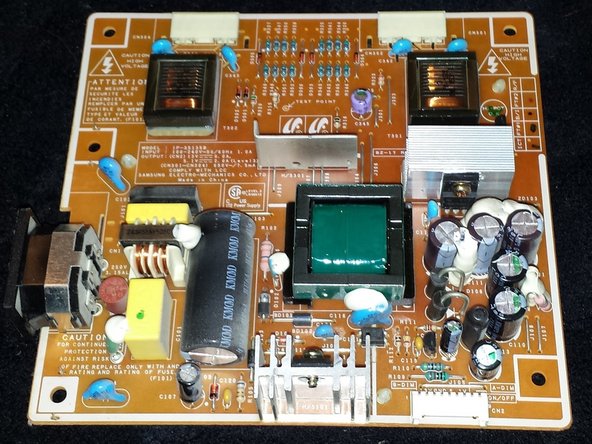
This guide could be used to replace the blown capacitors on this board. It is suggested that a whole new replacement board
Выберете то, что вам нужно
-
-
You will need a phillips screwdriver and a replacement power board which can be ordered online 1. First, place the monitor face down, then remove the plastic covering if it’s on Once this is done remove the three screws shown below. Once these screws are removed, the stand is able to be removed.
-
-
-
3. Now the plastic casing is able to be removed. Carefully pull apart the two pieces to reveal the metal casing as shown below. There are a few connectors you’ll have to remove before revealing the power board.
-
-
-
-
5. Once this is removed you’ll need to remove the black plastic connector holders. Then remove the four connectors, I suggest you mark these to make sure they are connected back into the same location when reassembling because the monitor was known to work this way.
-
-
-
6. Remove the LCD display connector as show. You’ll need to squeeze the two sides on this connector with your index finger and thumb in order to unlock it.
-
-
-
7. Now the metal casing that is holding the power board can be detached from the LCD screen. You’ll need to remove the final three screws in order to replace the power board. You’ll be able to follow this walkthrough in reverse in order to reassemble the monitor.
-


To reassemble your device, follow these instructions in reverse order.
To reassemble your device, follow these instructions in reverse order.
Отменить: Я не выполнил это руководство.
12 участников успешно повторили данное руководство.