Перейти к основному содержанию
Присоединяйся к сообществу ремонтников - Создай аккаунт

Samsung Alias 2 Hinge Replacement

Просмотров: 5 тыс.

Просмотр статистики:

За последние 24 часа:
2
За последние 7 дней:
18
За последние 30 дней:
78
За все время:
4 954
Комментарии: 0

Никто не оставлял комментариев к этой инструкции. Будете ли Вы первым?

Перейти к комментариям инструкции
Завершено: 1

1 пользователь отметил эту инструкцию как "завершенное". Вы будете следующим?

Избранные: 1

1 человек поставил лайк на эту инструкцию (и подписался на нее). Вы будете следующим?

Необходимое время: 20 - 25 минут
Сложность: Умеренно
Нужны более качественные фото

Более качественные фотографии улучшат это руководство. Помогайте, делая снимки, редактируя или загружая новые!

Ненаглядные фото

Будьте героем экшена! Изображения в этой инструкции должны более наглядно демонстрировать, как нужно выполнять то или иное действие.

Samsung Alias 2 Hinge Replacement

This guide provides an outline of how to remove and replace the hinge in the Samsung Alias 2. The hinge holds the phone together and allows the spring action of the flip phone. This repair would need to happen if the phone is unable to close or if it is in 2 seperate pieces.

Выберете то, что Вам нужно

Инструменты

    1. Samsung Alias 2 Hinge Replacement, Battery: шаг 1, изображение 1 из 1
      • Press down on the back cover of the phone and remove it.

      Спросите у FixBot

      Добавить комментарий

    2. Samsung Alias 2 Hinge Replacement: шаг 2, изображение 1 из 1
      • Take out the battery from the device.

      Спросите у FixBot

      Добавить комментарий

    1. Samsung Alias 2 Hinge Replacement, Hinge: шаг 3, изображение 1 из 1
      • Use a Phillips #00 screwdriver to remove the two 4 mm screws on screen.

      Спросите у FixBot

      Добавить комментарий

    2. Samsung Alias 2 Hinge Replacement: шаг 4, изображение 1 из 2 Samsung Alias 2 Hinge Replacement: шаг 4, изображение 2 из 2
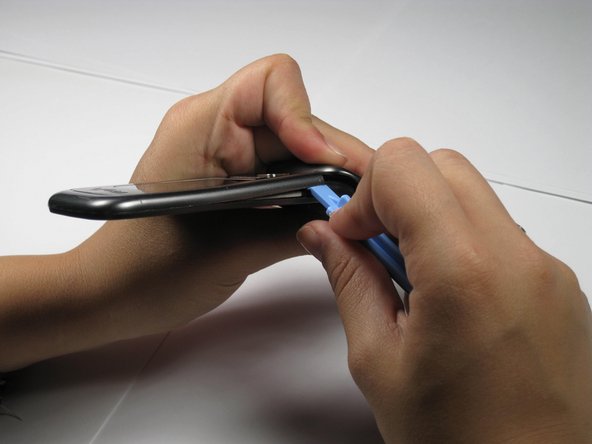
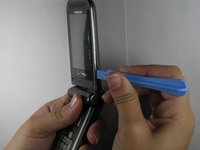
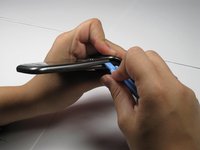
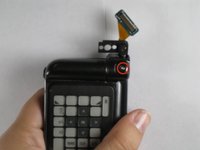
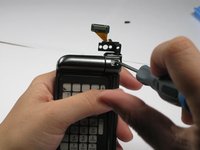
      • Use the opening tool to remove the front outside casing.

      Спросите у FixBot

      Добавить комментарий

    3. Samsung Alias 2 Hinge Replacement: шаг 5, изображение 1 из 1
      Инструмент, используемый на этом этапе:
      Tweezers
      $4.99
      • Remove ribbon connector next to camera using tweezers.

      Спросите у FixBot

      Добавить комментарий

    4. Samsung Alias 2 Hinge Replacement: шаг 6, изображение 1 из 1
      • Unscrew and remove the two 3.95 mm screws underneath that ribbon connector.

      • Be careful not to lose their accompanying plastic washers.

      Спросите у FixBot

      Добавить комментарий

    5. Samsung Alias 2 Hinge Replacement: шаг 7, изображение 1 из 2 Samsung Alias 2 Hinge Replacement: шаг 7, изображение 2 из 2
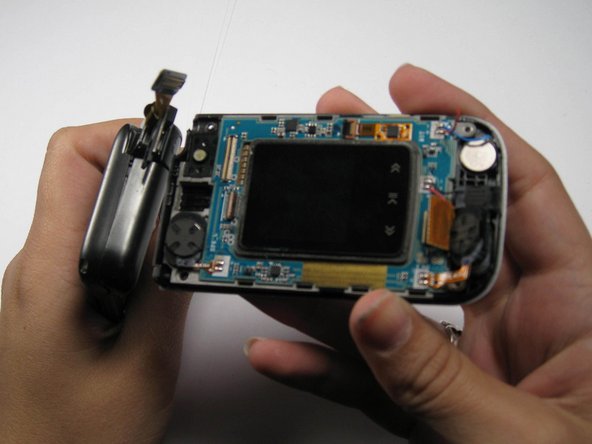
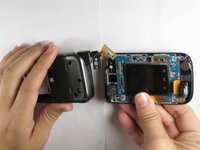
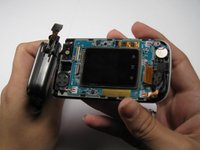
      • Pull the two halves of the phone apart.

      • The phone will not slide straight apart. You have to angle the back half up a little.

      • Do not force it. Jiggle it a little if it doesn't come apart.

      Спросите у FixBot

      Добавить комментарий

    6. Samsung Alias 2 Hinge Replacement: шаг 8, изображение 1 из 1
      • Remove the plastic panel cover from the hinge.

      Спросите у FixBot

      Добавить комментарий

    7. Samsung Alias 2 Hinge Replacement: шаг 9, изображение 1 из 2 Samsung Alias 2 Hinge Replacement: шаг 9, изображение 2 из 2
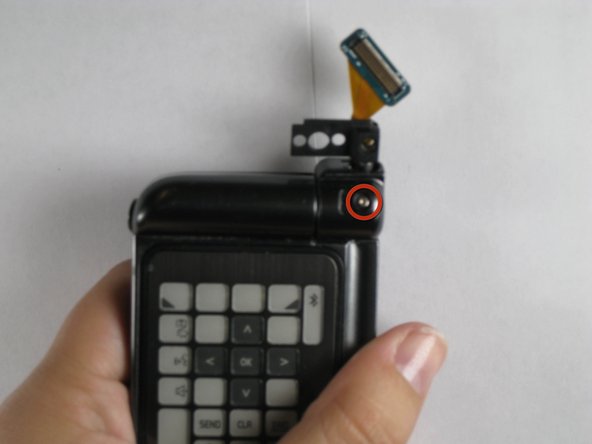
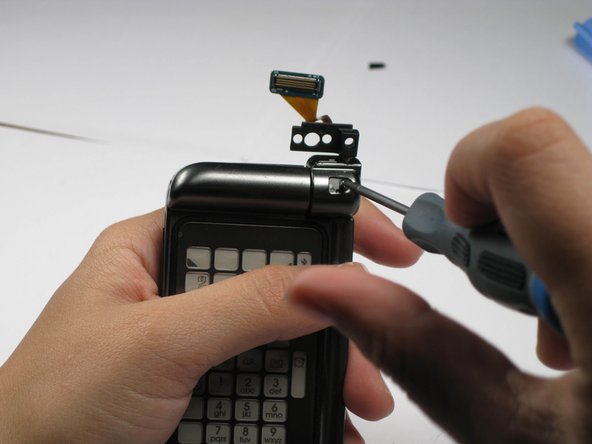
      • Remove the 3.41 mm screw out from underneath plastic cover.

      Спросите у FixBot

      Добавить комментарий

    8. Samsung Alias 2 Hinge Replacement: шаг 10, изображение 1 из 2 Samsung Alias 2 Hinge Replacement: шаг 10, изображение 2 из 2
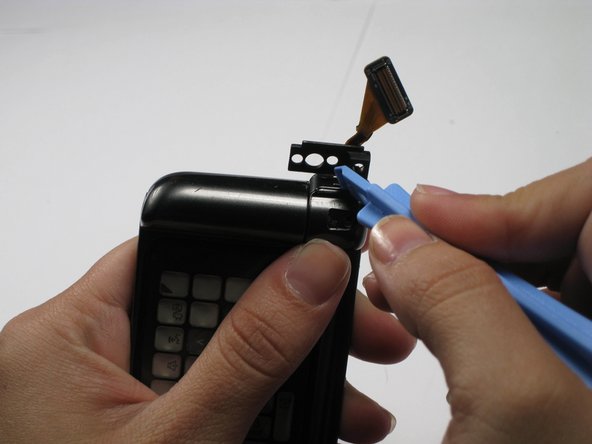
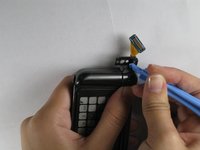
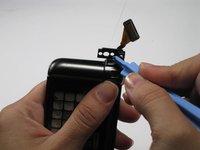
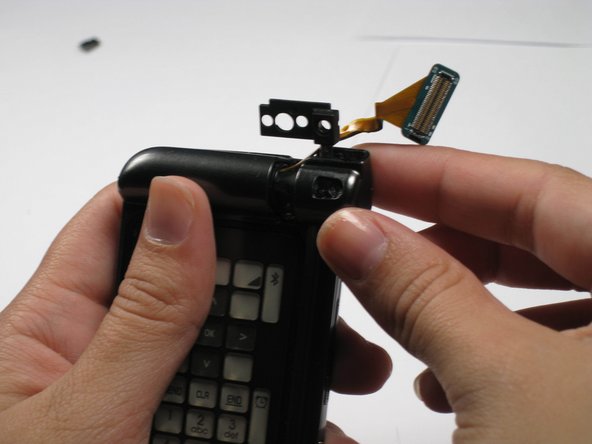
      • Pop out the top half of the hinge with the plastic opening tool. This will release the hinge cover for removal.

      Спросите у FixBot

      Добавить комментарий

    9. Samsung Alias 2 Hinge Replacement: шаг 11, изображение 1 из 2 Samsung Alias 2 Hinge Replacement: шаг 11, изображение 2 из 2
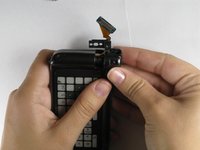
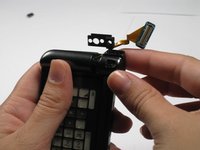
      • Pull off the hinge cover.

      Спросите у FixBot

      Добавить комментарий

    10. Samsung Alias 2 Hinge Replacement: шаг 12, изображение 1 из 2 Samsung Alias 2 Hinge Replacement: шаг 12, изображение 2 из 2
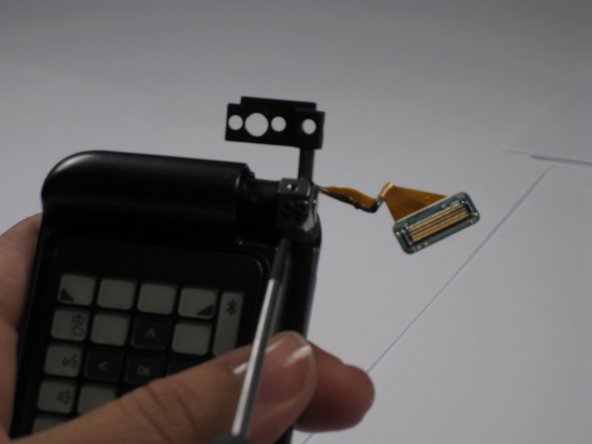
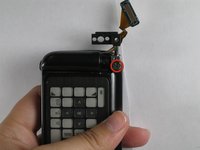
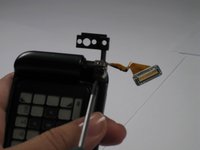
      • Remove the two 2.71 mm screws on the hinge using screwdriver.

      • Under these screws will be a washer, spring, and small metal disc. Make sure you don't lose these.

      Спросите у FixBot

      Добавить комментарий

    11. Samsung Alias 2 Hinge Replacement: шаг 13, изображение 1 из 1
      • Remove the Verizon logo from the back of phone using the plastic opening tool.

      • The logo is attached with glue. It will be sticky, but it just pulls off.

      Спросите у FixBot

      Добавить комментарий

    12. Samsung Alias 2 Hinge Replacement: шаг 14, изображение 1 из 1
      • Remove the four 4.44 mm screws from the back.

      • Remove the three 4.35mm screws from under the Verizon logo.

      • Make sure you don't mix the screws together.

      Спросите у FixBot

      Добавить комментарий

    13. Samsung Alias 2 Hinge Replacement: шаг 15, изображение 1 из 1
      • Pull the back off by using the plastic opening tool.

      • Do not lose the buttons on the side of the phone, as they will come off of the phone when you remove the back outside casing.

      Спросите у FixBot

      Добавить комментарий

    14. Samsung Alias 2 Hinge Replacement: шаг 16, изображение 1 из 1
      • Pull up on the yellow tab.

      Спросите у FixBot

      Добавить комментарий

    15. Samsung Alias 2 Hinge Replacement: шаг 17, изображение 1 из 1
      • Disconnect the connecting cord using tweezers.

      Спросите у FixBot

      Добавить комментарий

    16. Samsung Alias 2 Hinge Replacement: шаг 18, изображение 1 из 1
      • Disconnect the rectangular ribbon.

      Спросите у FixBot

      Добавить комментарий

    17. Samsung Alias 2 Hinge Replacement: шаг 19, изображение 1 из 1
      • Remove the logic board.

      Спросите у FixBot

      Добавить комментарий

    18. Samsung Alias 2 Hinge Replacement: шаг 20, изображение 1 из 1
      • Remove the three 3.95 mm screws.

      • The two rightmost screws must be pulled out with tweezers after unscrewed.

      Спросите у FixBot

      Добавить комментарий

    19. Samsung Alias 2 Hinge Replacement: шаг 21, изображение 1 из 1
      • Pull the hinge out.

      Спросите у FixBot

      Добавить комментарий

Заключение

To reassemble your device, follow these instructions in reverse order.

Отменить: Я не выполнил это руководство.

Еще один человек закончил это руководство.

Автор

с

Chris

Участник с: 04/16/11

133 Репутация

Автор 5 руководств

Команду

Cal Poly, Team 12-35, Maness Spring 2011 Участник Cal Poly, Team 12-35, Maness Spring 2011

CPSU-MANESS-S11S12G35

4 членов

Автор 60 руководств

0 Комментарии к руководству

Добавить комментарий

Статистика просмотров:

За последние 24 часов: 2

За последние 7 дней: 18

За последние 30 дней: 78

За все время: 4,954