Эта версия возможно содержит некорректные исправления. Переключить на последнюю проверенную версию.
Выберете то, что вам нужно
-
Этот шаг не переведен. Помогите перевести
-
Make sure your Chromebook is turned off before you begin.
-
Set the labtop face down on a flat surface.
-
-
Этот шаг не переведен. Помогите перевести
-
Remove the nine 5 mm screws on the bottom cover using a Phillips #0 screwdriver.
-
-
Этот шаг не переведен. Помогите перевести
-
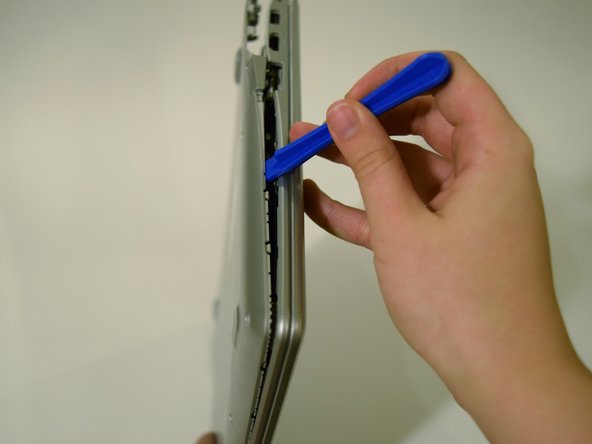
Loosen the back cover panel with a plastic opening tool, and work it all the way around the computer.
-
-
Этот шаг не переведен. Помогите перевести
-
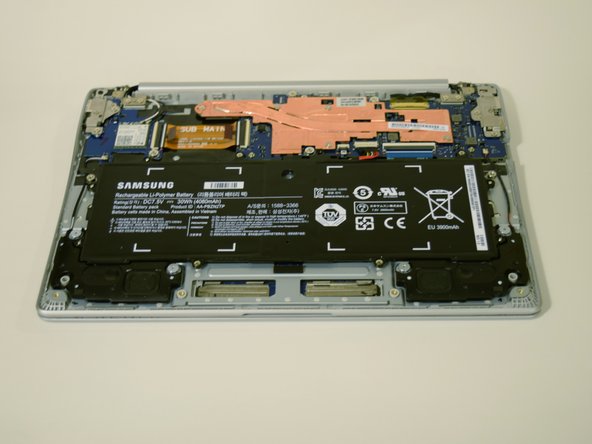
Once the cover is loose, remove the back cover panel using your hands.
-
-
-
Этот шаг не переведен. Помогите перевести
-
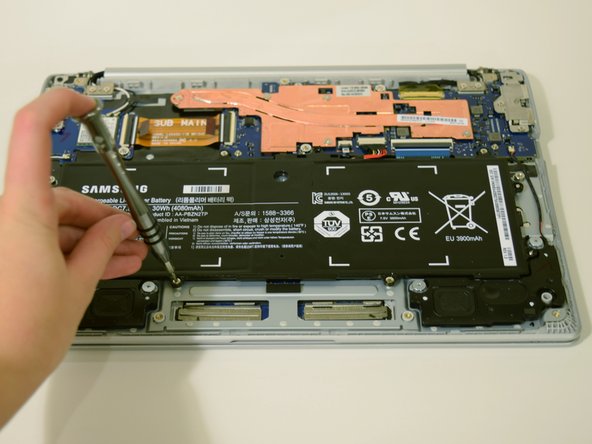
Unscrew the four 4 mm screws holding the battery in place with a Phillips #0 screwdriver.
-
-
Этот шаг не переведен. Помогите перевести
-
Disconnect the wire that connects the battery to the motherboard by pulling upward.
-
-
Этот шаг не переведен. Помогите перевести
-
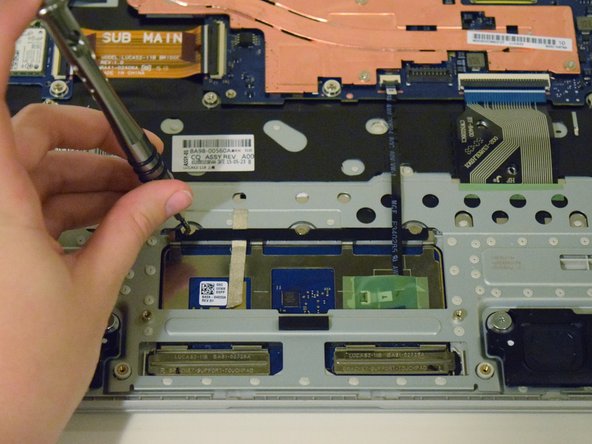
Using the Phillips #00 screwdriver, remove the three 2 mm screws keeping the trackpad in place.
-
-
Этот шаг не переведен. Помогите перевести
-
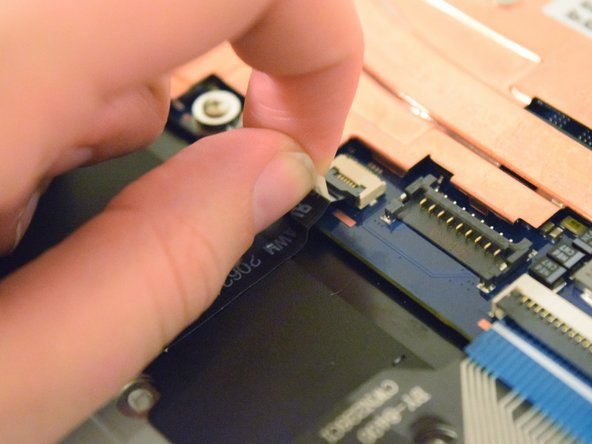
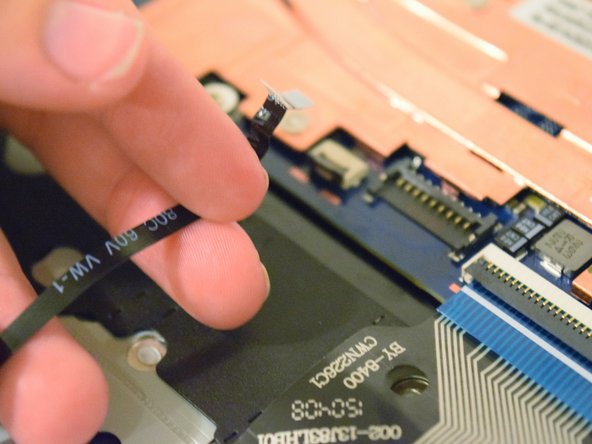
Remove the connector between the trackpad and the motherboard by pulling upwards on it at the port.
-
-
Этот шаг не переведен. Помогите перевести
-
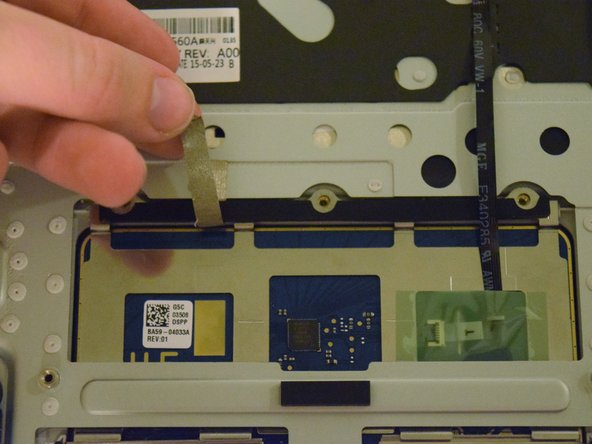
Peel back the adhesive strip holding the trackpad in place with the heavy-duty spudger.
-
-
Этот шаг не переведен. Помогите перевести
-
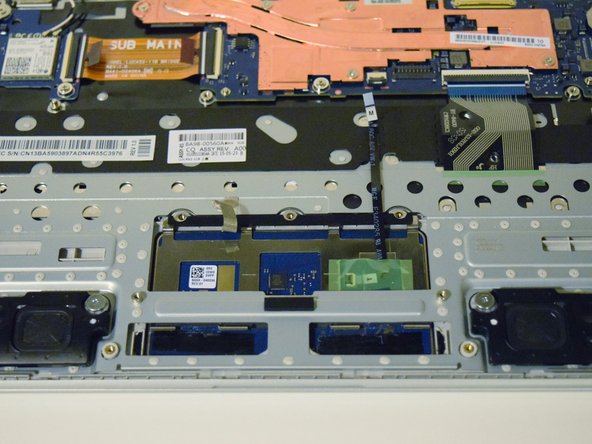
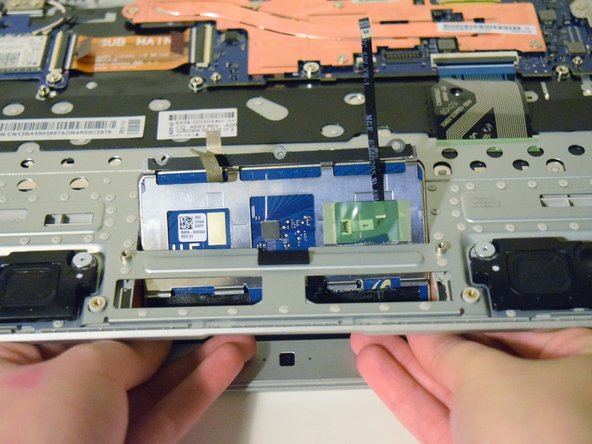
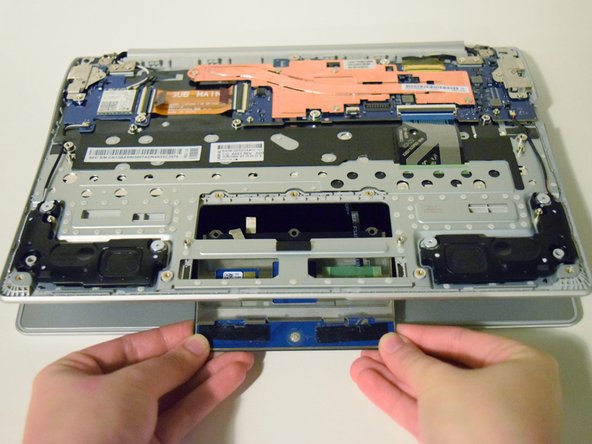
Use a plastic opening tool to disconnect the metal trackpad support brackets.
-
-
Этот шаг не переведен. Помогите перевести
-
With the laptop slightly open, push the trackpad upwards at the rear, and pull it out from the bottom.
-


Отменить: Я не выполнил это руководство.
7 участников успешно повторили данное руководство.
Команда

UW Tacoma, Team 1-3, Rose Winter 2016 Участник UW Tacoma, Team 1-3, Rose Winter 2016
UWT-ROSE-W16S1G3
4 членов
Автор 4 руководств
2 Комментариев
Olá, gostei do site , pois apresenta um conteúdo bem rico em conhecimento gostaria de uma assistência sempre uso os métodos de reparo do site sempre da certo , porém não visualizei os manuais de reparo toubleshoting , ficaria muito agradecido caso vocês envie esses arquivos pra mim aprofundar meus conhecimentos da área de eletrônica .
atenciosamente.