Перейти к основному содержанию

Samsung Chromebook 2 XE503c12 Trackpad Replacement

Выберете то, что вам нужно

  1. Samsung Chromebook 2 XE503c12 Trackpad Replacement, Trackpad: шаг 1, изображение 1 из 2 Samsung Chromebook 2 XE503c12 Trackpad Replacement, Trackpad: шаг 1, изображение 2 из 2
    • Turn the power off before beginning this step.

    • Most Chromebooks contain rubber circle pads on each of the four corners to cover the screws. In order to remove the rubber pads, simply use any opening tool.

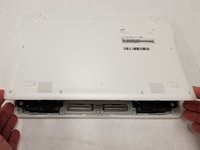
    • Lay the Chromebook down so that the bottom cover is facing upward.

    • Using a Phillips #00 screwdriver, remove all nine 5.5 mm screws from the back cover.

  2. Samsung Chromebook 2 XE503c12 Trackpad Replacement: шаг 2, изображение 1 из 2 Samsung Chromebook 2 XE503c12 Trackpad Replacement: шаг 2, изображение 2 из 2
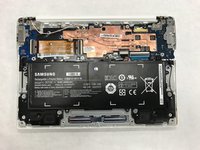
    • Place the opening tool in the divot between the spine of the Chromebook and the back cover.

    • Slowly glide and push down the end of the opening tool along all sides of the Chromebook to detach the brackets. You will hear the brackets detach.

  3. Samsung Chromebook 2 XE503c12 Trackpad Replacement: шаг 3, изображение 1 из 2 Samsung Chromebook 2 XE503c12 Trackpad Replacement: шаг 3, изображение 2 из 2
    • Slowly pry off the back cover of the Chromebook.

    • Be gentle while prying to avoid breaking the back cover.

  4. Samsung Chromebook 2 XE503c12 Trackpad Replacement: шаг 4, изображение 1 из 2 Samsung Chromebook 2 XE503c12 Trackpad Replacement: шаг 4, изображение 2 из 2
    • Remove the four 3 mm screws using a Phillips #000 screwdriver.

  5. Samsung Chromebook 2 XE503c12 Trackpad Replacement: шаг 5, изображение 1 из 2 Samsung Chromebook 2 XE503c12 Trackpad Replacement: шаг 5, изображение 2 из 2
    • Carefully lift the top of the battery then pull it away from you to remove it.

    • Some batteries may be attached via a battery connector. Disconnect the battery connector by simply pulling straight up at its base.

  6. Samsung Chromebook 2 XE503c12 Trackpad Replacement: шаг 6, изображение 1 из 2 Samsung Chromebook 2 XE503c12 Trackpad Replacement: шаг 6, изображение 2 из 2
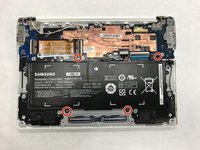
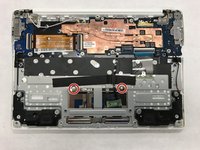
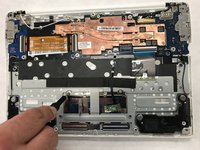
    • Using a Phillips #00 screwdriver, remove all of the two screws keeping the trackpad in place.

  7. Samsung Chromebook 2 XE503c12 Trackpad Replacement: шаг 7, изображение 1 из 3 Samsung Chromebook 2 XE503c12 Trackpad Replacement: шаг 7, изображение 2 из 3 Samsung Chromebook 2 XE503c12 Trackpad Replacement: шаг 7, изображение 3 из 3
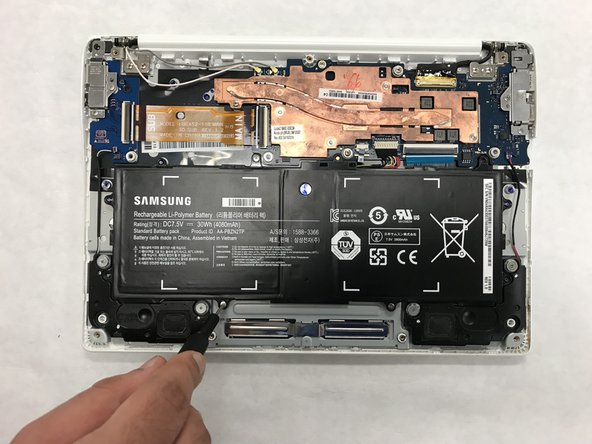
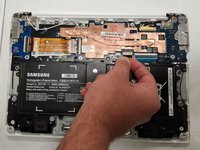
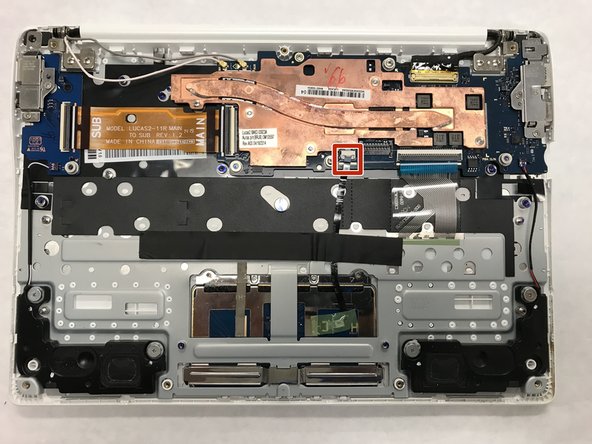
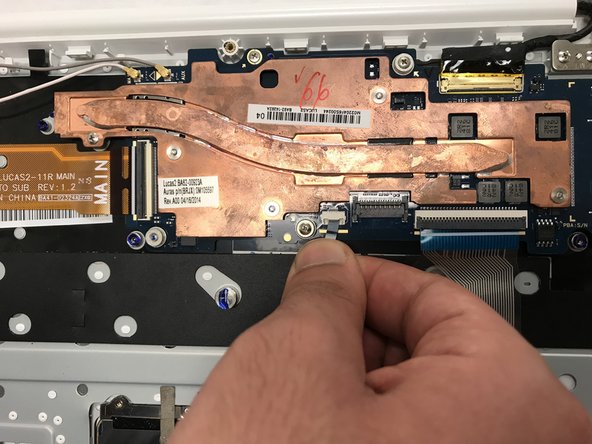
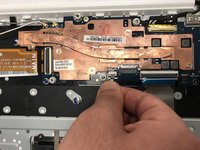
    • Gently remove the connector between the trackpad and the motherboard by pulling upward on it at the port.

  8. Samsung Chromebook 2 XE503c12 Trackpad Replacement: шаг 8, изображение 1 из 2 Samsung Chromebook 2 XE503c12 Trackpad Replacement: шаг 8, изображение 2 из 2
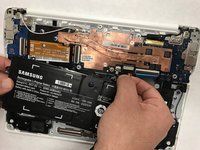
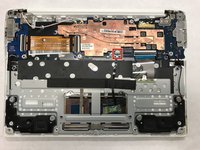
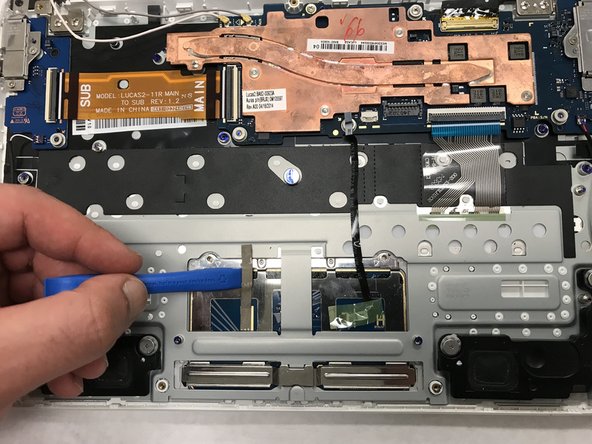
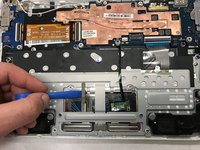
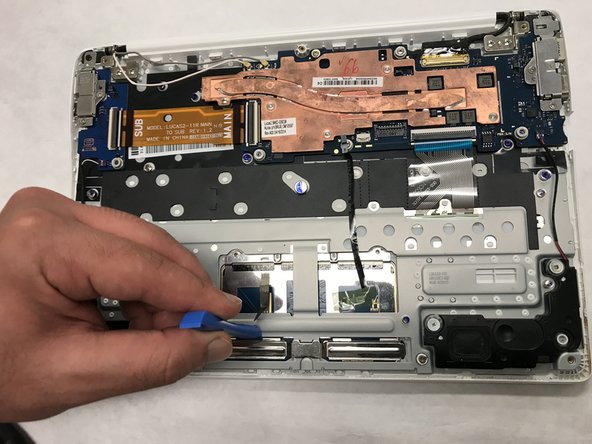
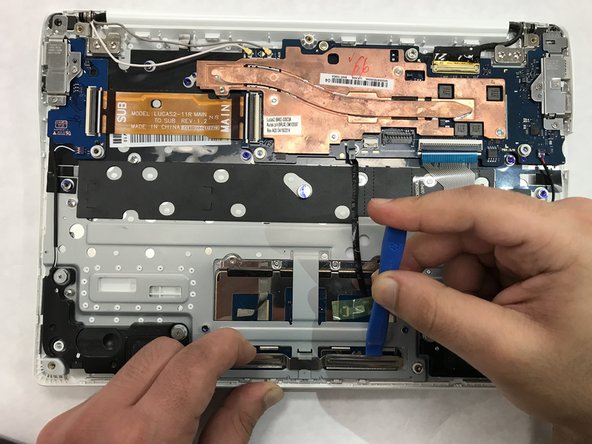
    • Using an opening tool, gently peel back the adhesive strip holding the trackpad in place.

  9. Samsung Chromebook 2 XE503c12 Trackpad Replacement: шаг 9, изображение 1 из 3 Samsung Chromebook 2 XE503c12 Trackpad Replacement: шаг 9, изображение 2 из 3 Samsung Chromebook 2 XE503c12 Trackpad Replacement: шаг 9, изображение 3 из 3
    • Using the opening tool, disconnect the metal trackpad support brackets.

    • Don't be afraid to use a moderate amount of force when prying the support brackets loose.

  10. Samsung Chromebook 2 XE503c12 Trackpad Replacement: шаг 10, изображение 1 из 2 Samsung Chromebook 2 XE503c12 Trackpad Replacement: шаг 10, изображение 2 из 2
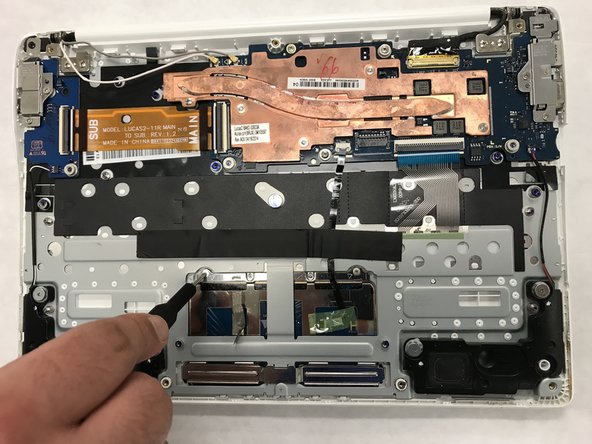
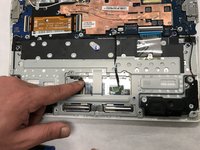
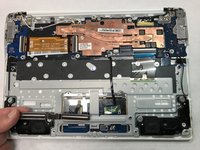
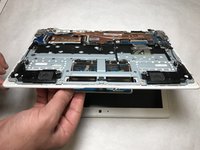
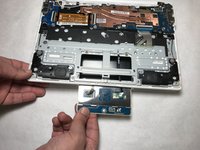
    • With the laptop slightly open, push the trackpad upwards at the rear, and pull it out from the bottom.

Заключение

To reassemble your device, follow these instructions in reverse order.

Еще один человек закончил это руководство.

Shane Solomon

Участник с: 05/22/19

181 Репутация

1 руководство автора

Команда

IUPUI, Team S1-G1, Wilson Summer 2019 Участник IUPUI, Team S1-G1, Wilson Summer 2019

IUPUI-WILSON-SU19S1G1

4 членов

Автор 4 руководств

0 Комментариев

Добавить комментарий

Просмотр статистики:

За последние 24часов: 1

За последние 7 дней: 2

За последние 30 дней: 4

За всё время: 173