Перейти к основному содержанию

Samsung Chromebook 3 XE500C13-K05US Speaker Replacement

Выберете то, что вам нужно

  1. Samsung Chromebook 3 XE500C13-K05US Speaker Replacement, Speaker: шаг 1, изображение 1 из 1
    • Place the Chromebook face down so the bottom case is uncovered.

    • Use the Phillips #00 screwdriver to remove all nine 4.6mm screws from the back case.

  2. Samsung Chromebook 3 XE500C13-K05US Speaker Replacement: шаг 2, изображение 1 из 1
    • Use a nylon spudger or plastic opening tool to pry the case up from the vent on the hinge side of the Chromebook.

    • You will hear a popping sound as the connectors disengage inside the case.

  3. Samsung Chromebook 3 XE500C13-K05US Speaker Replacement: шаг 3, изображение 1 из 1
    • Raise the case up and off the device.

  4. Samsung Chromebook 3 XE500C13-K05US Speaker Replacement: шаг 4, изображение 1 из 3 Samsung Chromebook 3 XE500C13-K05US Speaker Replacement: шаг 4, изображение 2 из 3 Samsung Chromebook 3 XE500C13-K05US Speaker Replacement: шаг 4, изображение 3 из 3
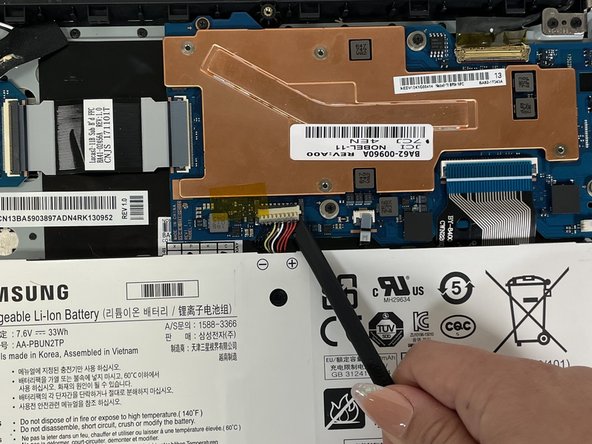
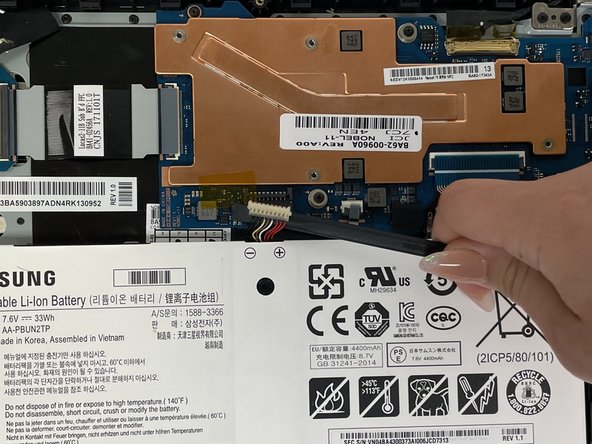
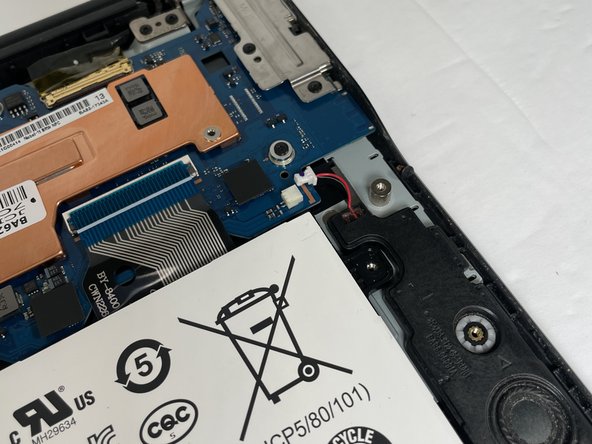
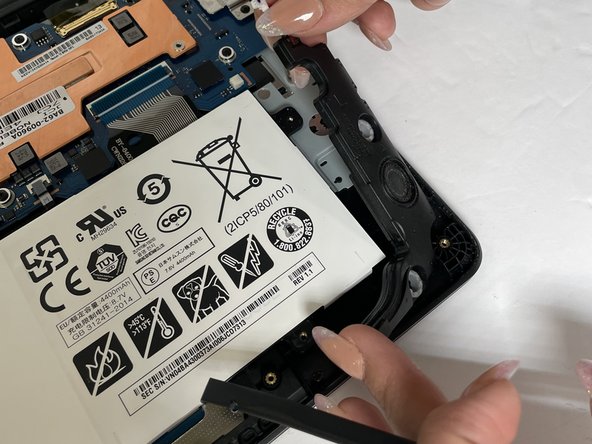
    • Disconnect the battery from the motherboard by prying upwards on the cable connector with a spudger.

  5. Samsung Chromebook 3 XE500C13-K05US Speaker Replacement: шаг 5, изображение 1 из 3 Samsung Chromebook 3 XE500C13-K05US Speaker Replacement: шаг 5, изображение 2 из 3 Samsung Chromebook 3 XE500C13-K05US Speaker Replacement: шаг 5, изображение 3 из 3
    • Remove one 4.9mm silver screw from each speaker.

  6. Samsung Chromebook 3 XE500C13-K05US Speaker Replacement: шаг 6, изображение 1 из 3 Samsung Chromebook 3 XE500C13-K05US Speaker Replacement: шаг 6, изображение 2 из 3 Samsung Chromebook 3 XE500C13-K05US Speaker Replacement: шаг 6, изображение 3 из 3
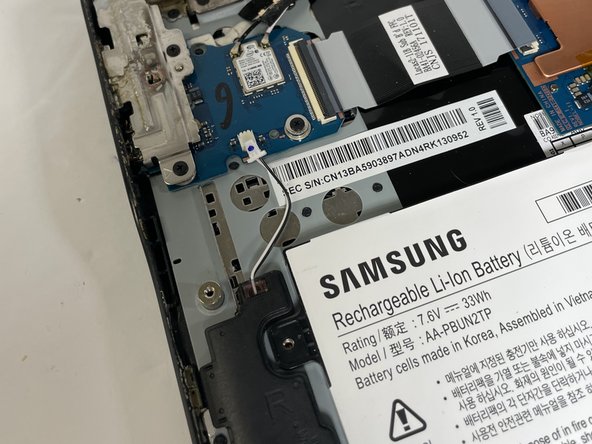
    • Use a spudger to gently push the cable connector sideways from the motherboard and the left speaker to disconnect the cable.

    • Remove the speaker.

  7. Samsung Chromebook 3 XE500C13-K05US Speaker Replacement: шаг 7, изображение 1 из 2 Samsung Chromebook 3 XE500C13-K05US Speaker Replacement: шаг 7, изображение 2 из 2
    • Use a spudger to gently push the cable connector sideways from the motherboard and the right speaker to disconnect the cable.

    • Remove the speaker.

Заключение

To reassemble your device, follow these instructions in reverse order.

Yamaris Acosta

Участник с: 02/07/23

557 Репутация

Автор 3 руководств

Команда

Gateway, Team 4-4, Gonzalez Spring 2023 Участник Gateway, Team 4-4, Gonzalez Spring 2023

GCC-GONZALEZ-S23S4G4

4 членов

Автор 3 руководств

0 Комментариев

Добавить комментарий

Просмотр статистики:

За последние 24часов: 0

За последние 7 дней: 0

За последние 30 дней: 2

За всё время: 58