Введение
Disassemble a Galaxy Amp 2 phone in order to replace the speaker. You might need to remove this piece if you can't hear the other person on the line during phone calls, or if your phone can't play music. This guide requires the careful use of a heat gun or blow dryer, and careful use is advised to avoid damaging the phone.
Выберете то, что вам нужно
-
-
Insert your fingernail or an opening tool into the divot on the side of the phone. The divot is located to the left of the rear-facing camera.
-
Lift upwards and gently pry the rear panel off of the phone.
-
-
-
Insert a fingernail or plastic opening tool into the gap in the bottom right corner of the battery and lift upward.
-
Grip the battery and safely remove it from the phone.
-
-
-
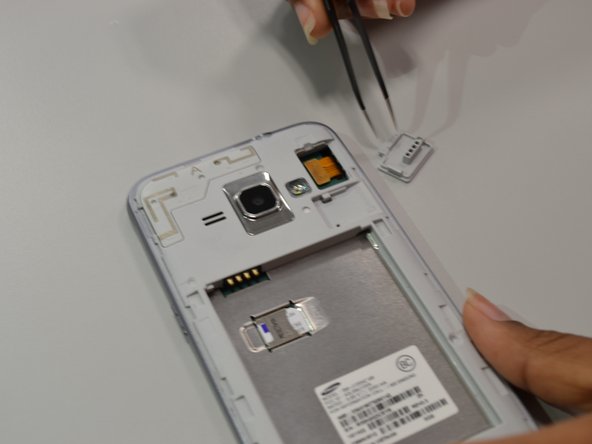
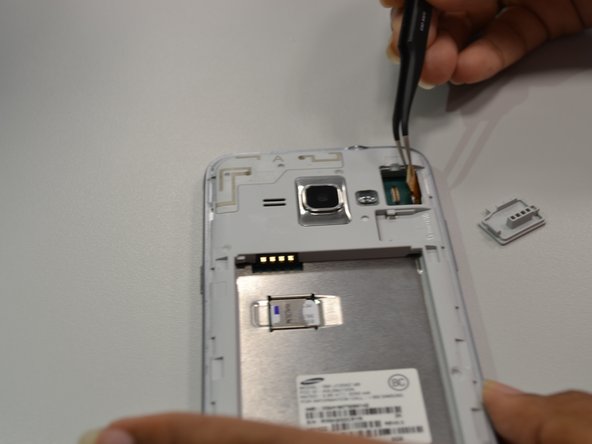
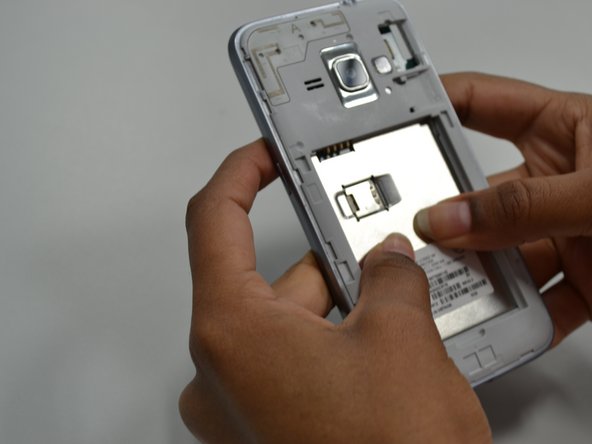
Using angled tweezers, lift the small rectangular guard at upper right corner of the phone.
-
Disconnect the connector piece from the back panel.
-
-
-
-
Apply heat from heat gun or blow dryer on periphery of the screen for one to two minutes.
-
-
-
Unscrew the nine 4.5mm PH screws using a screwdriver with a PH000 bit.
-
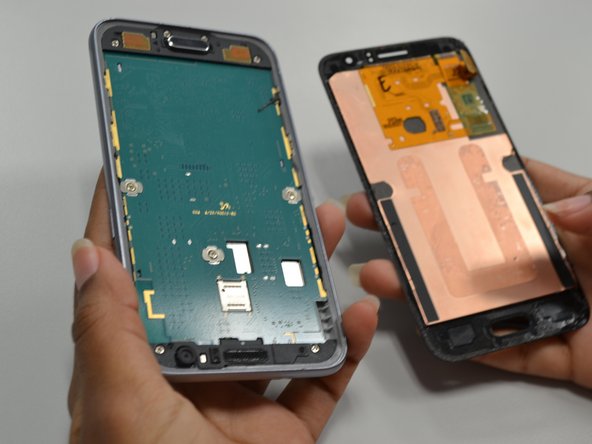
Push from the back panel to remove the bottom part of the motherboard.
-
Push from the front panel to remove the top part of the motherboard.
-
-
-
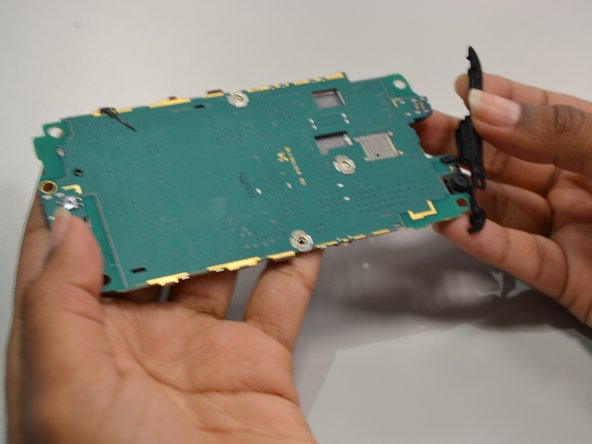
Gently pull the black piece that is connected to the top of the motherboard. This is the speaker.
-


To reassemble your device, follow these instructions in reverse order.
To reassemble your device, follow these instructions in reverse order.
Отменить: Я не выполнил это руководство.
Еще один человек закончил это руководство.

Команда

UW Tacoma, Team S1-G1, Cardinal Summer 2018 Участник UW Tacoma, Team S1-G1, Cardinal Summer 2018
UWT-CARDINAL-SU18S1G1
4 членов
Автор 5 руководств