Эта версия возможно содержит некорректные исправления. Переключить на последнюю проверенную версию.
Выберете то, что вам нужно
-
Этот шаг не переведен. Помогите перевести
-
Begin by turn the device over to it's back, with the screen facing down.
-
-
Этот шаг не переведен. Помогите перевести
-
At the top of the device there is a small notch that is used to remove the battery door.
-
Using a pry tool or your fingernail, pry off the battery door from the main housing.
-
-
Этот шаг не переведен. Помогите перевести
-
Place the battery door to the side.
-
Using a pry tool or your fingernail, pry the battery up towards you.
-
You have now removed the battery!
-
-
Этот шаг не переведен. Помогите перевести
-
Remove the 6 Phillips head screws that hold the rear housing in place.
-
-
Этот шаг не переведен. Помогите перевести
-
Using a spudger or plastic pry tool, slowly go around the phone between the display & rear housing to release the clips.
-
-
-
Этот шаг не переведен. Помогите перевести
-
Using your spudger/plastic pry tool, disconnect the headphone jack flex cable.
-
-
Этот шаг не переведен. Помогите перевести
-
Using your spudger/plastic pry tool, disconnect the rear speaker flex cable.
-
-
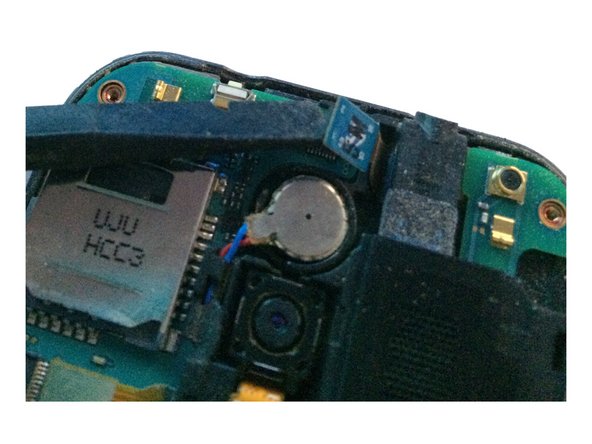
Этот шаг не переведен. Помогите перевести
-
Using a spudger/pry tool, carefully remove the vibration motor from its housing. This has a mild adhesive on the bottom.
-
-
Этот шаг не переведен. Помогите перевести
-
After removing both flex cables, slowly move the logic board to the left of the screen assembly.
-
-
Этот шаг не переведен. Помогите перевести
-
Using your spudger/plastic pry tool, disconnect the LCD/Digitizer flex cable.
-
-
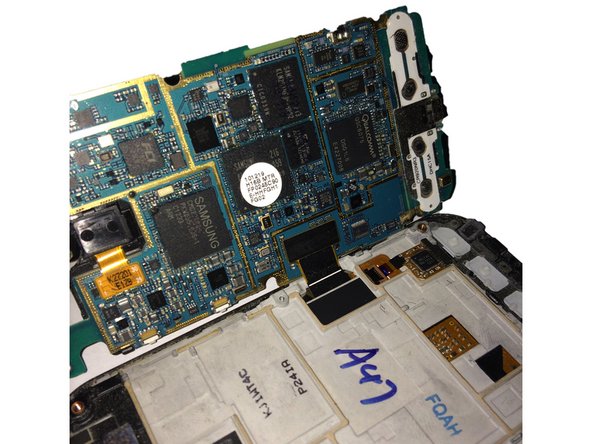
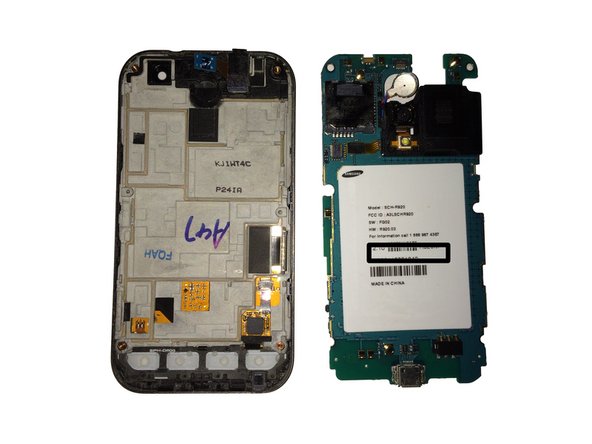
Этот шаг не переведен. Помогите перевести
-
You have now removed the logic board from the display assembly.
-
-
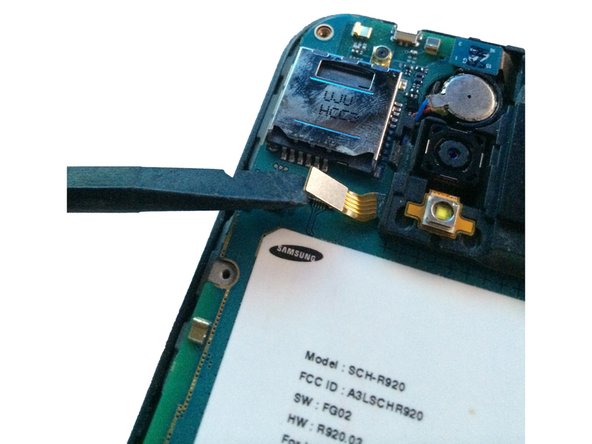
Этот шаг не переведен. Помогите перевести
-
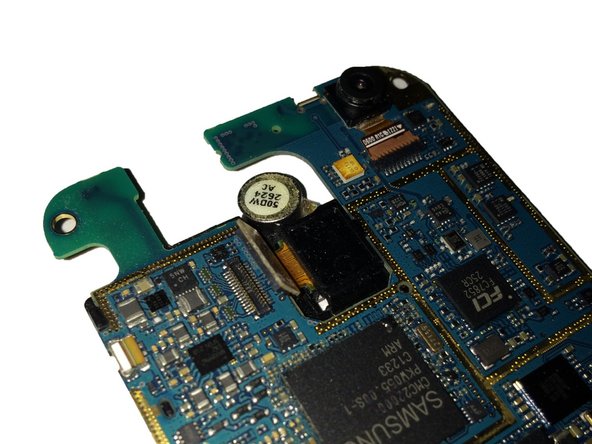
Flip the logic board to the rear side, and using a spudger/plastic pry tool to disconnect the rear camera flex cable.
-
-
Этот шаг не переведен. Помогите перевести
-
Flip the logic board to the front, and using a spudger/plastic pry tool to push the tension clip away from the board that holds the speaker/rear camera.
-
-
Этот шаг не переведен. Помогите перевести
-
Flipping the board back over, remove the speaker/rear camera by lifting from the right side as shown.
-
-
Этот шаг не переведен. Помогите перевести
-
The speaker/rear camera has now been removed from the board.
-


Отменить: Я не выполнил это руководство.
2 участников успешно повторили данное руководство.
