Введение
This guide will enable you to replace the screen in case of broken glass, failure to respond, etc. You will need a heat gun, Phillips #00 screwdriver, iFixit opening tool, and tweezers. Take care when using dangerous tools.
Выберете то, что вам нужно
-
-
Turn the smartphone off by using the power button on the right-hand side.
-
-
-
Locate the battery near the bottom of the phone. The battery is square, flat, and is labeled 'SAMSUNG'.
-
-
-
-
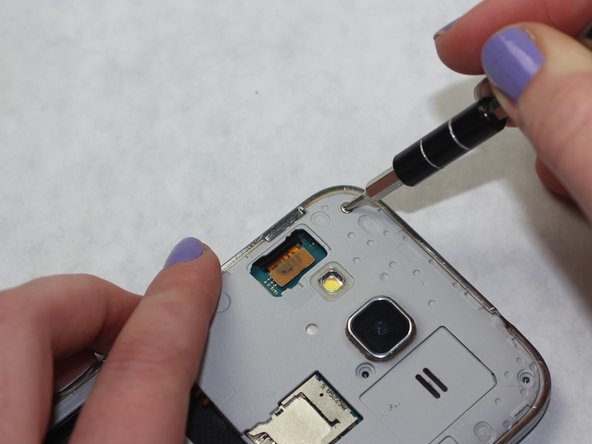
Use the Phillips #00 screwdriver to remove the eight 4 mm screws from the midframe.
-
-
-
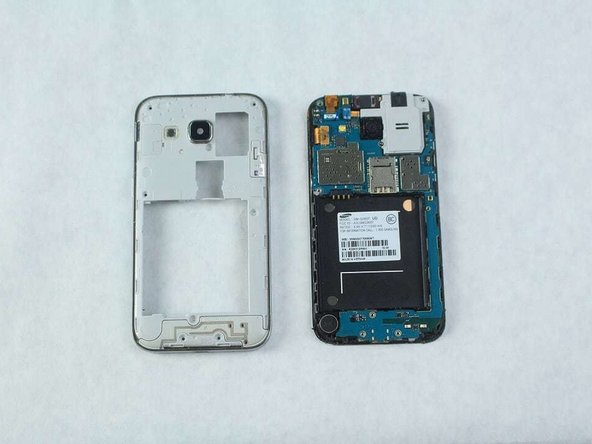
Use a heat gun or hair dryer to loosen the adhesive between the midframe and the rest of the device.
-
-
-
Use the iFixit Opening Tool to lift the frame.
-
-
-
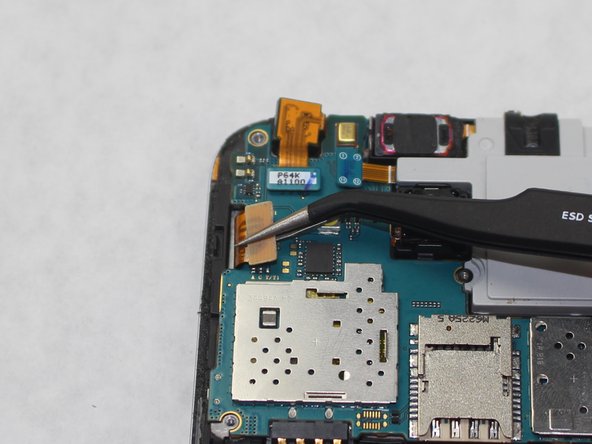
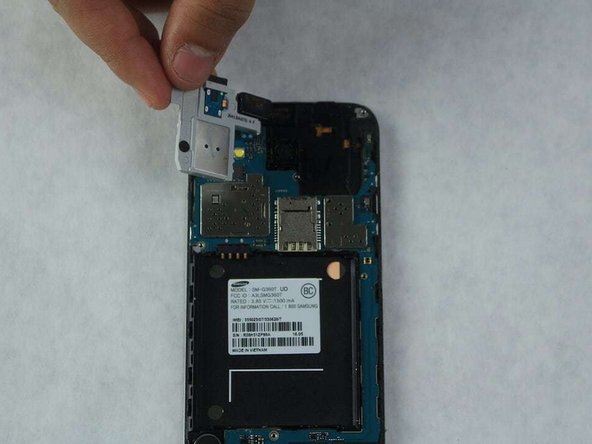
Use the iFixit Opening Tool to remove the mother board.
-
-
-
Lift the plastic panel that separates the digitizer and the motherboard with an iFixit Opening Tool
-
-
-
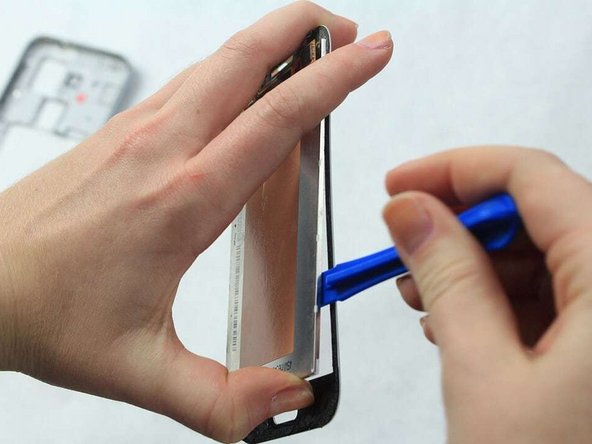
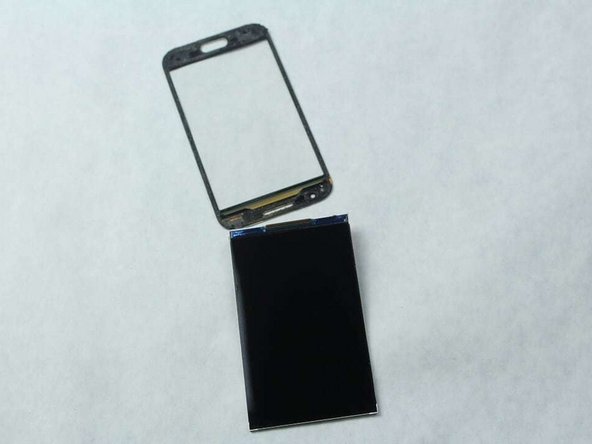
Use a heat gun and an iFixit Opening Tool tool to separate the screen from the digitizer.
-


To reassemble your device, follow these instructions in reverse order.
To reassemble your device, follow these instructions in reverse order.
Отменить: Я не выполнил это руководство.
7 участников успешно повторили данное руководство.
Команда

Sam Houston State, Team S11-G2, Blackburne Fall 2018 Участник Sam Houston State, Team S11-G2, Blackburne Fall 2018
SHSU-BLACKBURNE-F18S11G2
4 членов
Автор 5 руководств