Перейти к основному содержанию

Samsung Galaxy Grand Neo Plus Touch screen Digitizer Glass Replacement

Выберете то, что вам нужно

Видео обзор

  1. Samsung Galaxy Grand Neo Plus Touch screen Digitizer Glass Replacement, SIM and Memory Cards: шаг 1, изображение 1 из 3 Samsung Galaxy Grand Neo Plus Touch screen Digitizer Glass Replacement, SIM and Memory Cards: шаг 1, изображение 2 из 3 Samsung Galaxy Grand Neo Plus Touch screen Digitizer Glass Replacement, SIM and Memory Cards: шаг 1, изображение 3 из 3
    • This is Samsung Galaxy Grand Neo Plus i9060i with broken screen.

    • Remove the battery and any installed SIM and memory cards.

  2. Samsung Galaxy Grand Neo Plus Touch screen Digitizer Glass Replacement, Rear Cover 1: шаг 2, изображение 1 из 3 Samsung Galaxy Grand Neo Plus Touch screen Digitizer Glass Replacement, Rear Cover 1: шаг 2, изображение 2 из 3 Samsung Galaxy Grand Neo Plus Touch screen Digitizer Glass Replacement, Rear Cover 1: шаг 2, изображение 3 из 3
    • There are 12x small Phillips screws, remove them.

    • With a plastic tool start the disassembling from the bottom side.

    • You can use more then one plastic tool.

  3. Samsung Galaxy Grand Neo Plus Touch screen Digitizer Glass Replacement, Rear Cover 2: шаг 3, изображение 1 из 2 Samsung Galaxy Grand Neo Plus Touch screen Digitizer Glass Replacement, Rear Cover 2: шаг 3, изображение 2 из 2
    • The rear bezel is locked to the frame near to the battery connector. Use a tool with a sharp tip and unhook it.

    • Now you can separate the rear bezel.

    • This is the Loudspeaker (in case if you want to change it).

  4. Samsung Galaxy Grand Neo Plus Touch screen Digitizer Glass Replacement, Logic Board: шаг 4, изображение 1 из 3 Samsung Galaxy Grand Neo Plus Touch screen Digitizer Glass Replacement, Logic Board: шаг 4, изображение 2 из 3 Samsung Galaxy Grand Neo Plus Touch screen Digitizer Glass Replacement, Logic Board: шаг 4, изображение 3 из 3
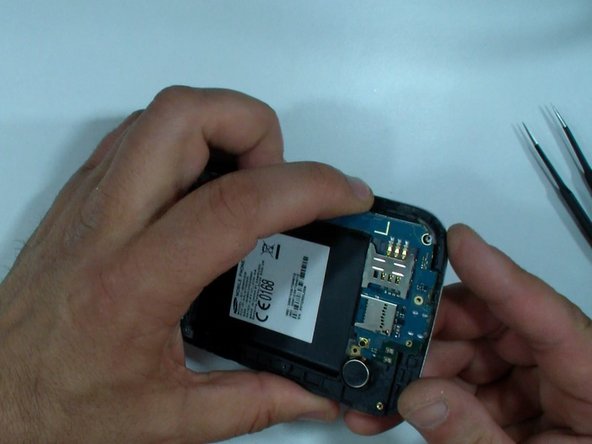
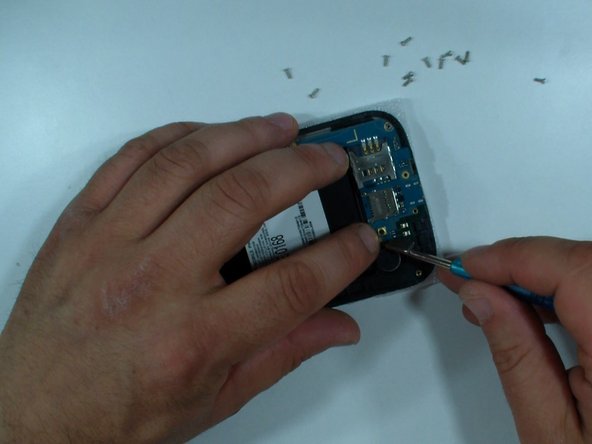
    • Remove one Phillips screw.

    • Disconnect:

    • Vloume UP/DWN buttons flex cable and Power ON button flex cable.

    • LCD flex cable

    • Front camera

    • Audio jack flex cable

    • Now gently remove the logic board.

  5. Samsung Galaxy Grand Neo Plus Touch screen Digitizer Glass Replacement, Front Camera: шаг 5, изображение 1 из 2 Samsung Galaxy Grand Neo Plus Touch screen Digitizer Glass Replacement, Front Camera: шаг 5, изображение 2 из 2
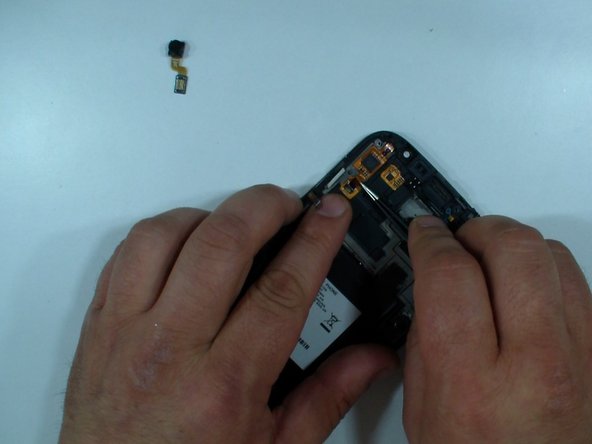
    • Remove the front camera.

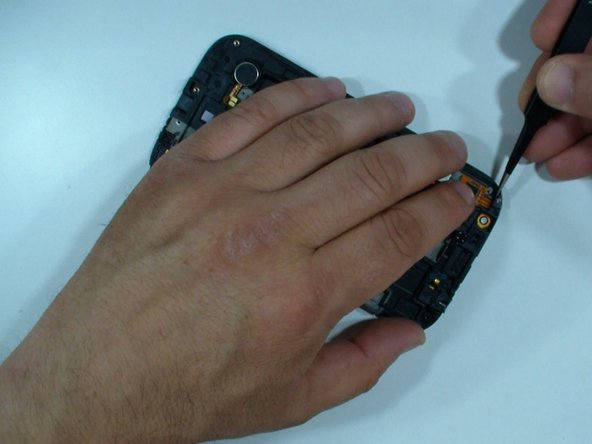
    • Disconnect the touchscreen flex cable and unstuck it from the middle frame.

  6. Samsung Galaxy Grand Neo Plus Touch screen Digitizer Glass Replacement, Touch Screen Removal - Part 1: шаг 6, изображение 1 из 3 Samsung Galaxy Grand Neo Plus Touch screen Digitizer Glass Replacement, Touch Screen Removal - Part 1: шаг 6, изображение 2 из 3 Samsung Galaxy Grand Neo Plus Touch screen Digitizer Glass Replacement, Touch Screen Removal - Part 1: шаг 6, изображение 3 из 3
    • At the bottom side, under the touch screen glass is the menu buttons flex cable. Be careful for it when you separating the glass from the frame.

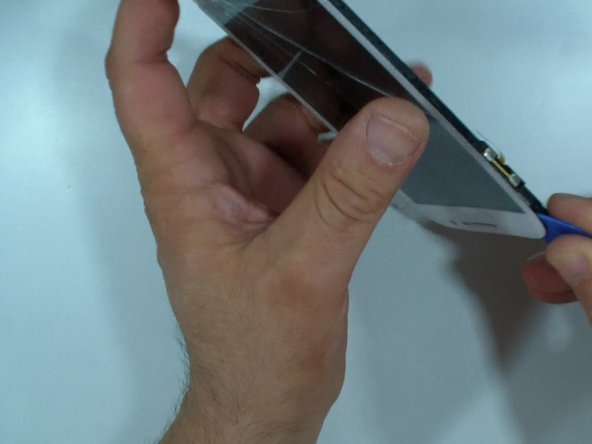
    • Warm the glass. This will soften the adhesive tape. You can use hot air gun or hair dryer.

    • With a plastic tool start the separation at the upper side.

  7. Samsung Galaxy Grand Neo Plus Touch screen Digitizer Glass Replacement, Touch Screen Removal - Part 2: шаг 7, изображение 1 из 3 Samsung Galaxy Grand Neo Plus Touch screen Digitizer Glass Replacement, Touch Screen Removal - Part 2: шаг 7, изображение 2 из 3 Samsung Galaxy Grand Neo Plus Touch screen Digitizer Glass Replacement, Touch Screen Removal - Part 2: шаг 7, изображение 3 из 3
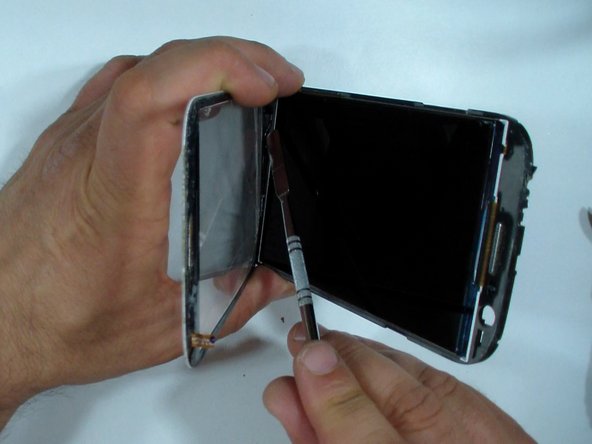
    • You can warm the glass again to separate the glass easier.

    • Gently unstuck the menu buttons flex cable and remove the glass.

  8. Samsung Galaxy Grand Neo Plus Touch screen Digitizer Glass Replacement, Cleaning: шаг 8, изображение 1 из 3 Samsung Galaxy Grand Neo Plus Touch screen Digitizer Glass Replacement, Cleaning: шаг 8, изображение 2 из 3 Samsung Galaxy Grand Neo Plus Touch screen Digitizer Glass Replacement, Cleaning: шаг 8, изображение 3 из 3
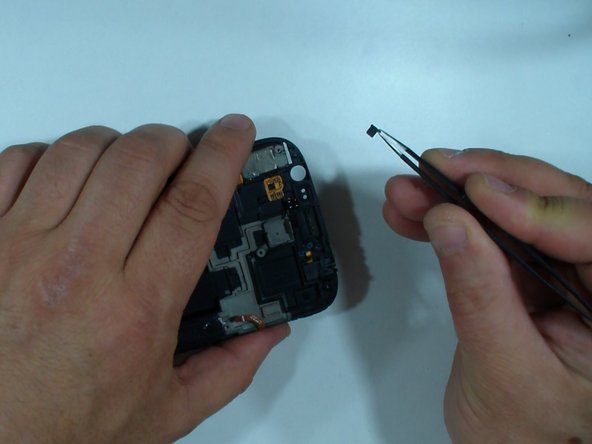
    • There is a small plate in the touch screen flex cable slot. Remove it to allow the flex cable of the new touch screen to pass.

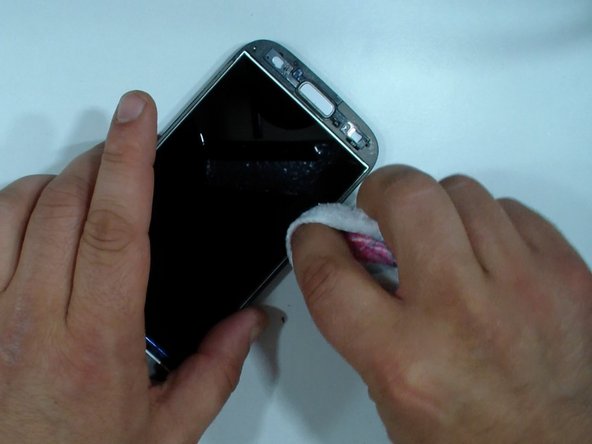
    • Remove the remnants of the adhesive sticker and clean the LCD.

  9. Samsung Galaxy Grand Neo Plus Touch screen Digitizer Glass Replacement, Installation of the new Touch Screen: шаг 9, изображение 1 из 3 Samsung Galaxy Grand Neo Plus Touch screen Digitizer Glass Replacement, Installation of the new Touch Screen: шаг 9, изображение 2 из 3 Samsung Galaxy Grand Neo Plus Touch screen Digitizer Glass Replacement, Installation of the new Touch Screen: шаг 9, изображение 3 из 3
    • Install the new touch screen and start with the reassembling.

  10. Samsung Galaxy Grand Neo Plus Touch screen Digitizer Glass Replacement: шаг 10, изображение 1 из 1
    • That's all. Thanks!

Заключение

To reassemble your device, follow these instructions in reverse order.

29 участников успешно повторили данное руководство.

ZFix

Участник с: 12/09/13

191 278 Репутация

Автор 330 руководств

Команда

Master Techs Участник Master Techs

Community

322 членов

Автор 2 528 руководств

Один комментарий

very much helpful..this guide saved my repairing charge...this page is awesome..

Pravesh - Ответить

Добавить комментарий

Просмотр статистики:

За последние 24часов: 0

За последние 7 дней: 3

За последние 30 дней: 28

За всё время: 16,665