Введение
The goal of this guide is to demonstrate how to replace the motherboard of a Samsung Galaxy Grand Prime. This replacement is needed if you can't find anything else wrong with your phone, but it still won't work. No special skills are required for this replacement. The successful replacement of the motherboard will ensure that the phone will be able to boot up properly if done correctly.
Выберете то, что вам нужно
-
-
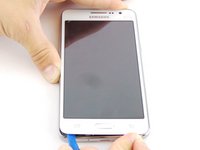
Remove the back cover of phone by lifting up on the back cover tab with the blue plastic opening tool.
-
Go around the edge of the back cover to completely remove it.
-
-
-
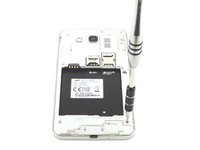
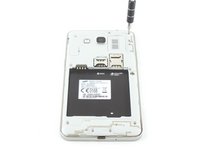
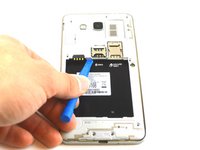
Remove the old battery by lifting up on the thumb tab.
-
Periodically clean the brass terminals on the battery and the phone. Place a minute amount of ISO on a Q-tip and gingerly clean the connections.
-
-
-
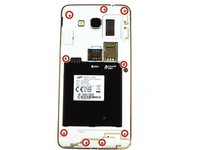
Remove the nine 4mm screws screws from the midframe with a Phillips #000 screwdriver.
-
-
-
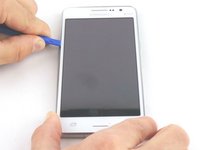
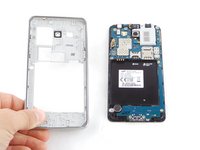
Wedge the blue plastic opening tool in between the front and side panel.
-
Move the blue plastic opening tool around the edges between the front and side panel.
-
-
-
-
Unhook the ribbon cable clip with the plastic opening tool and remove the audio jack.
-
-
Инструмент, используемый на этом этапе:Tweezers$4.99
-
Gently pull on the connector with the tweezers until the speaker comes off.
-
-
-
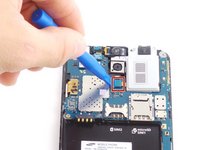
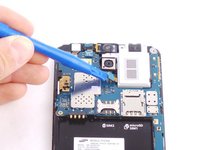
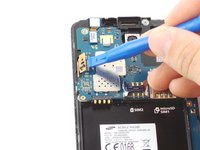
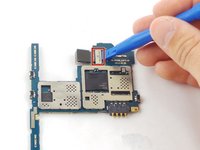
Unhook the other ribbon cable clip to the screen with the blue plastic opening tool.
-
-
-
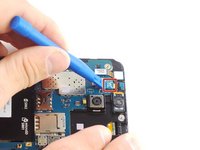
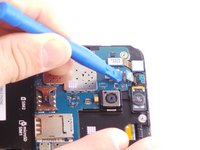
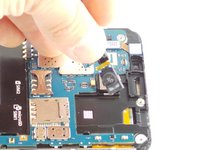
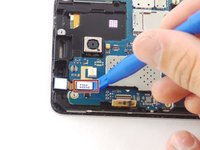
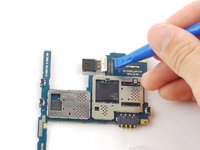
Unhook the ribbon cable clip to the front camera.
-
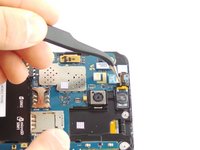
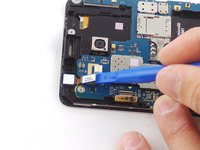
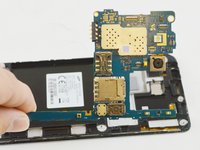
Lift the motherboard up and out of the device.
-


To reassemble your device, follow these instructions in reverse order.
To reassemble your device, follow these instructions in reverse order.
Отменить: Я не выполнил это руководство.
86 человек успешно провели ремонт по этому руководству.
Команду

USF Tampa, Team 17-3, Blackwell Winter 2016 Участник USF Tampa, Team 17-3, Blackwell Winter 2016
USFT-BLACKWELL-W16S17G3
3 членов
Автор 12 руководств
13Комментарии к руководству
After fixing all the screen, for some reason the LCD was turning on but it showed black and i dont know if is because im missing a screw or because the LCD doesnt work?
lol this is likely because you ruined the lcd. this tutorial forgot to mention that it is essential to apply heat, as the midframe is adhered on to the inner component.
Just need to get a idea on this phone, the silver backing thats usually stuck to the mid frame, when pulling out the old lcd this also came with it.
My question is whether or not that needs to replaced?
Also it changes screens all on its on.