Эта версия возможно содержит некорректные исправления. Переключить на последнюю проверенную версию.
Выберете то, что вам нужно
-
Этот шаг не переведен. Помогите перевести
-
This is the back of the device and where you will begin to take it apart.
-
It is necessary to remove the silver piece covering the camera first before removing the bigger back piece.
-
Use a metal spudger to pop up the corner of the silver piece.
-
Use the plastic opening tools to pry along the edges of the silver piece.
-
Lift up the silver piece to reveal the rest of the back cover.
-
-
-
Этот шаг не переведен. Помогите перевести
-
Remove the three 5mm screws indicated by the red circles with the Philips #00 Screwdriver.
-
Using the plastic opening tools pry along the bottom of the device, moving to the sides of the cover to the top.
-
Remove the back cover.
-
-
Этот шаг не переведен. Помогите перевести
-
Remove the three 2 mm screws indicated by the red circles with the Phillips #00 screwdriver.
-
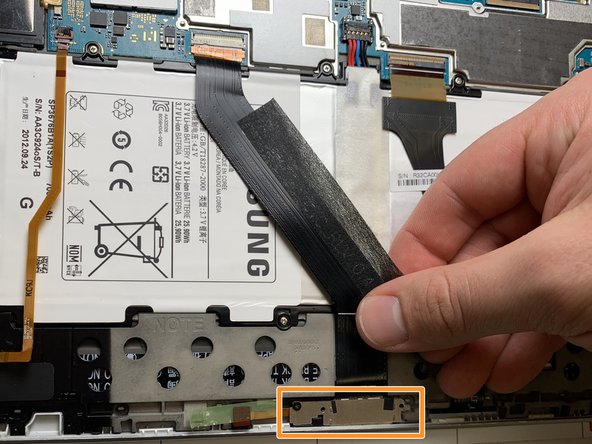
Pull the charging port indicated by the orange rectangle in picture two out from its position.
-
Unplug the black motherboard connector as indicated in the third picture.
-
Replace the charging port with a similar model.
-


