Эта версия возможно содержит некорректные исправления. Переключить на последнюю проверенную версию.
Выберете то, что вам нужно
-
Этот шаг не переведен. Помогите перевести
-
Grasp the end of the stylus and remove it from its slot in the midframe.
-
-
Этот шаг не переведен. Помогите перевести
-
Pry with a plastic opening tool, or your fingernail, in the divot to the left of the rear-facing camera, near the power button.
-
-
Этот шаг не переведен. Помогите перевести
-
Lift the rear case by the corner nearest the divot and remove it from the phone.
-
-
Этот шаг не переведен. Помогите перевести
-
If you have an SD card inserted, use the flat end of a spudger, or your fingernail, to press the microSD card slightly deeper into its slot until you hear a click.
-
After the click, release the card and it will pop out of its slot.
-
Remove the microSD card.
-
-
Этот шаг не переведен. Помогите перевести
-
Insert a plastic opening tool, or your finger, into the notch of the battery compartment and lift the battery upward.
-
-
Этот шаг не переведен. Помогите перевести
-
Remove the eleven 4.0 mm Phillips #00 screws securing the midframe to the display assembly.
-
-
Этот шаг не переведен. Помогите перевести
-
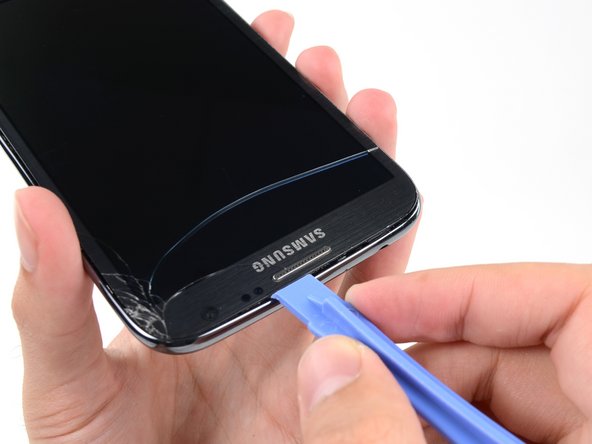
Insert your plastic opening tool between the midframe and front panel assembly on the side of the phone.
-
Slide the plastic opening tool down the seam.
-
-
-
Этот шаг не переведен. Помогите перевести
-
Carefully pry around the corner with a plastic opening tool.
-
-
Этот шаг не переведен. Помогите перевести
-
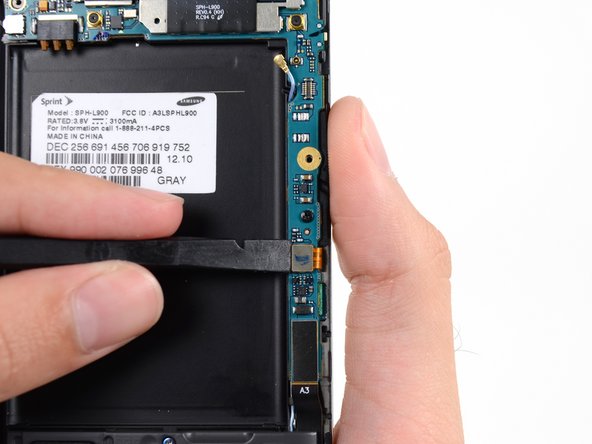
Pry along the top of the phone with a plastic opening tool.
-
-
Этот шаг не переведен. Помогите перевести
-
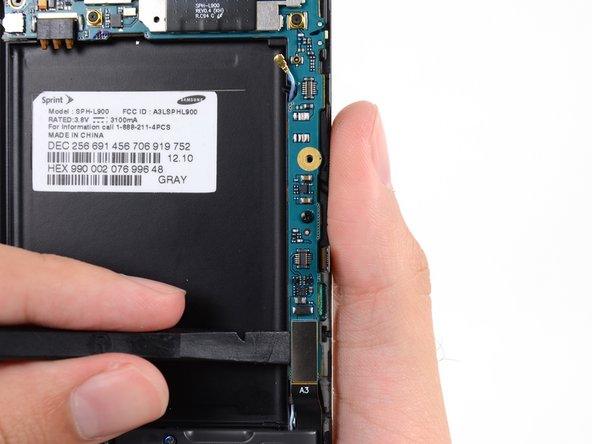
Push the plastic opening tool down to free the corner of the midframe from the display assembly.
-
-
Этот шаг не переведен. Помогите перевести
-
Free the clips along the power button side of the phone.
-
Lastly, free the two clips along the top and bottom edge of battery compartment.
-
-
Этот шаг не переведен. Помогите перевести
-
Use a spudger to disconnect the vibrator/power button assembly cable connector.
-
Disconnect the antenna cable connector.
-
Disconnect the display cable connector.
-
-
Этот шаг не переведен. Помогите перевести
-
Disconnect the front-facing camera cable connector.
-
Disconnect the headphone jack cable connector.
-
Disconnect the digitizer cable connector.
-
-
Этот шаг не переведен. Помогите перевести
-
Use the spudger to disconnect the antenna cable connector from the motherboard.
-
Disconnect the soft button cable connector.
-
Disconnect the USB board cable connector.
-
-
Этот шаг не переведен. Помогите перевести
-
Remove the 3 mm Phillips #00 screw securing the motherboard to the display assembly.
-
-
Этот шаг не переведен. Помогите перевести
-
Remove the 3 mm Phillips #00 screw securing the headphone jack assembly to the display assembly.
-
-
Этот шаг не переведен. Помогите перевести
-
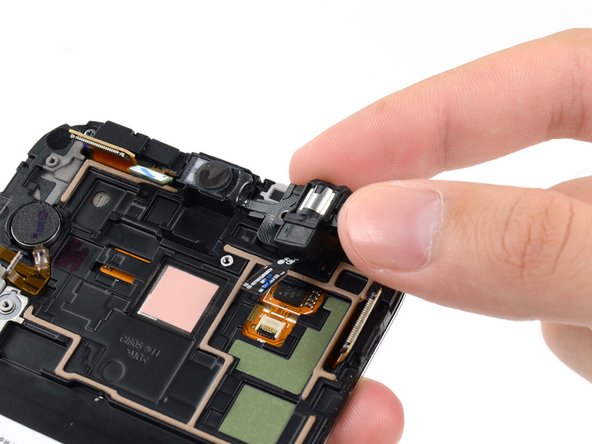
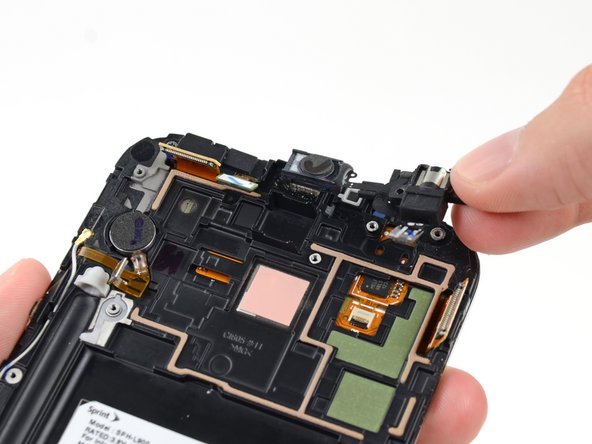
Grasp the headphone jack portion of the assembly and lift it out of its groove in the display assembly.
-
-
Этот шаг не переведен. Помогите перевести
-
Gently pull the headphone jack straight up without twisting the cable to remove the earpiece speaker portion from its recess.
-


Отменить: Я не выполнил это руководство.
42 участников успешно повторили данное руководство.


5 Комментариев
Did you use the miniature hammer for that step David?
Where can I purchase a headphone jack to replace my defective one?
Installed everything correctly. Ear piece works fine, however my headphone jack (which was the faulty component in the first place) does not work at all. The phone does not even detect when I have a pair of earbuds plugged in. I replaced this piece due to heavy static out of the headphone jack.