Перейти к основному содержанию

Samsung Galaxy Note SM-P600 Battery Replacement

Архивированное руководство
Это руководство сохранено для исторических целей. Используйте его обновлённую версию, чтобы выполнить ремонт.

Выберете то, что вам нужно

  1. Samsung Galaxy Note SM-P600 Battery Replacement, Begin repair: шаг 1, изображение 1 из 1
    • To start, power down your device

  2. Samsung Galaxy Note SM-P600 Battery Replacement, Removing the plastic back: шаг 2, изображение 1 из 2 Samsung Galaxy Note SM-P600 Battery Replacement, Removing the plastic back: шаг 2, изображение 2 из 2
    • Carefully insert either a plastic pry tool or an iSesamo around the edges to pop the plastic clips free, allowing the seperation of the rear cover. You may need to go around all four edges a few times till you feel it begin to lift. Again, this step must be completed very carefully to avoid damaging the display or the buttons located on the sides.

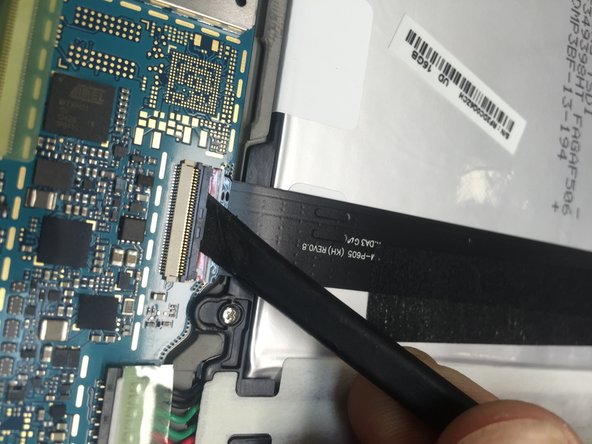
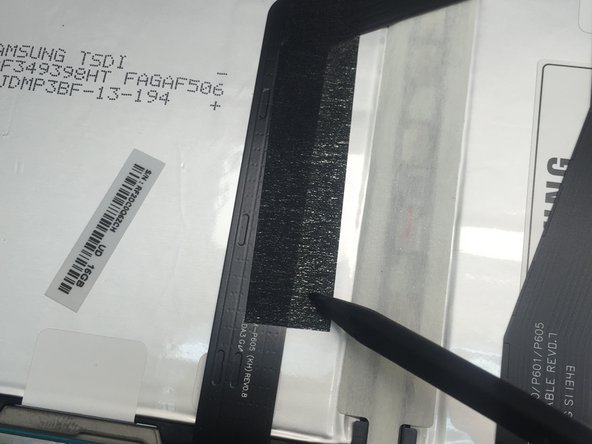
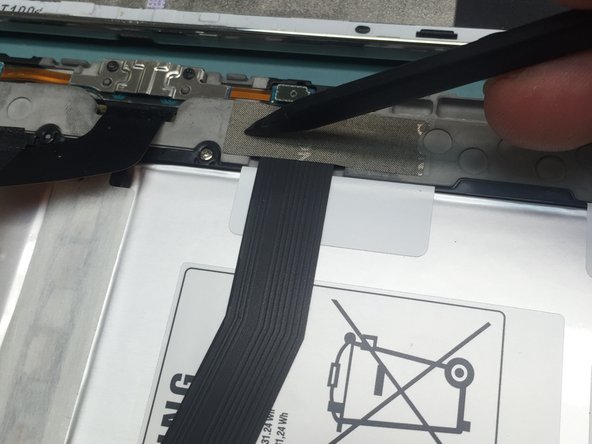
  3. Samsung Galaxy Note SM-P600 Battery Replacement, Removing ribbon cables covering battery: шаг 3, изображение 1 из 3 Samsung Galaxy Note SM-P600 Battery Replacement, Removing ribbon cables covering battery: шаг 3, изображение 2 из 3 Samsung Galaxy Note SM-P600 Battery Replacement, Removing ribbon cables covering battery: шаг 3, изображение 3 из 3
    • Using no plastic spudger, push the zif connector on each ribbon cable to release them. Then use the plastic spudger to slide under the cable with the black adhesive tape to remove it. Use a pair of tweezers to remove the silver tape on the top of the other cable.

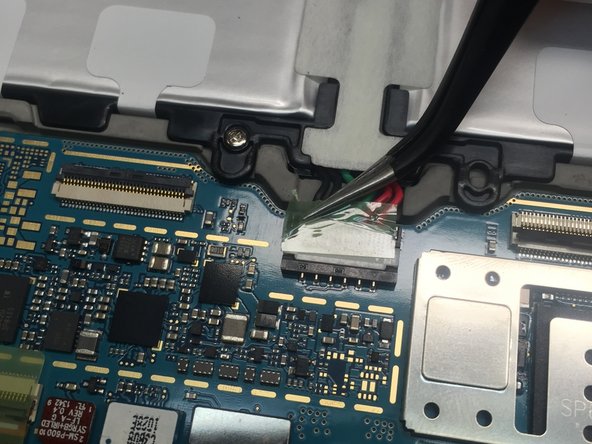
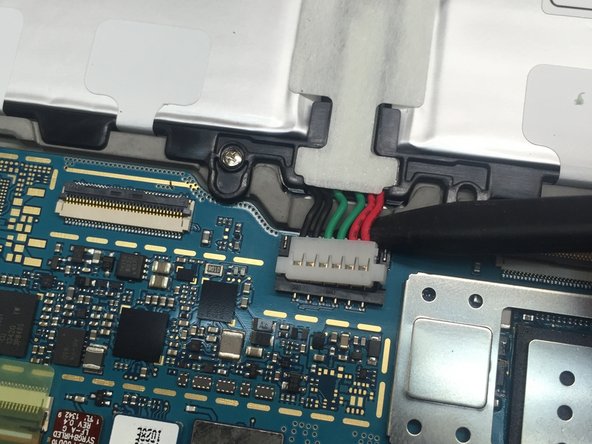
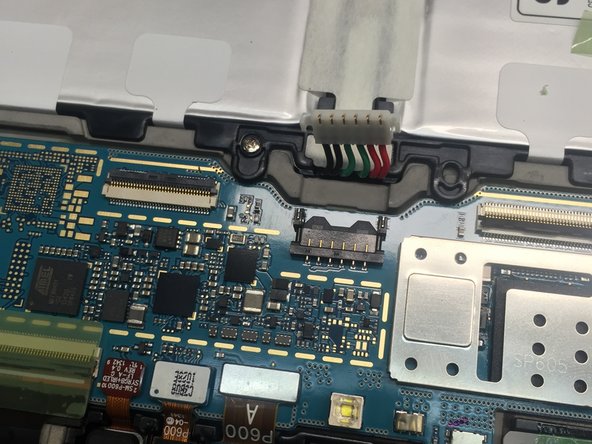
  4. Samsung Galaxy Note SM-P600 Battery Replacement, Disconnecting the battery: шаг 4, изображение 1 из 3 Samsung Galaxy Note SM-P600 Battery Replacement, Disconnecting the battery: шаг 4, изображение 2 из 3 Samsung Galaxy Note SM-P600 Battery Replacement, Disconnecting the battery: шаг 4, изображение 3 из 3
    • Remove the kapton tape located on the connector of the battery. Use the spudger to release the battery connector. Do this carefully as it is a tight connection. Then remove the 6 screws located along the sides, they are the same length and thread so their return spots are not an issue. Lift out the battery and the reverse steps to reinstall.

Заключение

To reassemble your device, follow these instructions in reverse order.

9 участников успешно повторили данное руководство.
dwales

Участник с: 07/05/16

611 Репутация

1 руководство автора

2 Комментариев

dewales -- Thank you for an outstanding tutorial. You helped me to revive my beloved Note 10.1 ed. 2014.

Preston - Ответить

Thanks! This worked!

Vera - Ответить

Добавить комментарий

Просмотр статистики:

За последние 24часов: 0

За последние 7 дней: 0

За последние 30 дней: 1

За всё время: 5,397