Введение
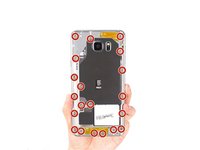
Cracked the screen on your shiny new Galaxy Note 5?Use this guide to replace a cracked or broken display on your Samsung Galaxy Note 5. In this guide, you will be melting the adhesive holding the back glass in place. Then, you will seperate the middle housing before removing the display.
Note: The display removal process usually destroys the display, so only follow this guide if you are replacing the display with a new one.
Выберете то, что вам нужно
-
-
Insert a SIM Ejector Tool into the small hole on the left side of the top edge of the device.
-
Press down until the SIM Card Tray begins to protrude out of the device.
-
-
-
Once the device is very warm to the touch, place a suction cup near the bottom of the back of the device.
-
Gently pull upwards on the suction cup to separate the rear glass from the body of the phone.
-
While pulling upwards, insert a pick under the rear glass
-
-
-
Keeping the pick under the rear glass, move the pick along the bottom edge of the device to cut the adhesive.
-
-
-
Repeat the previous heating and cutting procedure for the remaining three sides of the phone.
-
Leave a pick on each side as you continue to the next to prevent the adhesive from resealing.
-
-
-
-
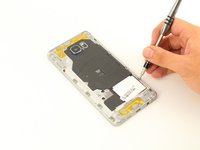
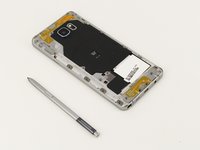
Grip the back of the device and press down on the white square to remove the middle housing.
-
-
Инструмент, используемый на этом этапе:Tweezers$4.99
-
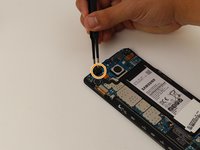
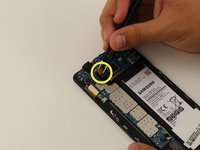
Disconnect the battery flex.
-
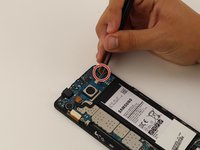
Disconnect the earpiece flex.
-
Disconnect the battery flex.
-
-
-
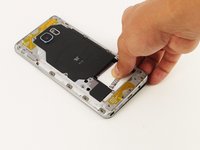
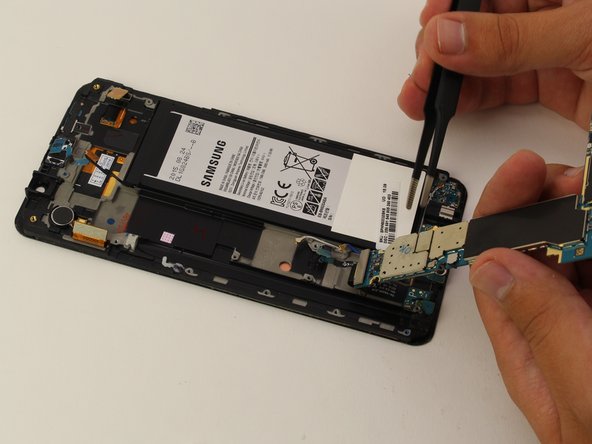
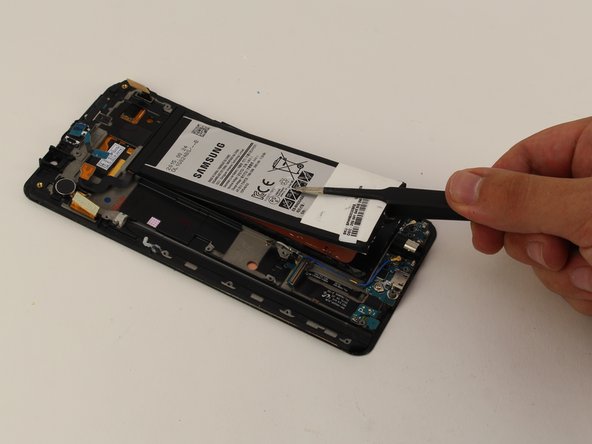
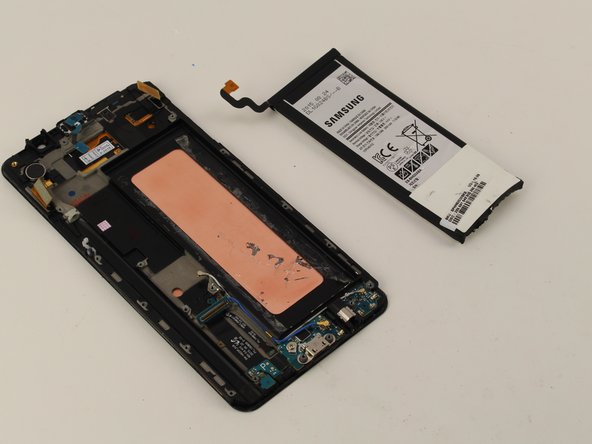
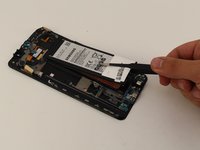
With the motherboard removed, slowly pry off the battery with tweezers, starting at the bottom.
-
-
-
Once the display is very warm to the touch, slide a pick between the LCD and the LCD shield on the bottom edge of the device.
-
Slide the pick across the bottom to cut through the adhesive.
-


To reassemble your device, follow these instructions in reverse order.
Отменить: Я не выполнил это руководство.
41 человек успешно провели ремонт по этому руководству.
Команда

Cal Poly, Team S25-G17, Maness Spring 2018 Участник Cal Poly, Team S25-G17, Maness Spring 2018
CPSU-MANESS-S18S25G17
4 членов
Автор 6 руководств
6 Комментарии к руководству
Worked like a charm
How does one bond everything back together?
I am working in fixing my own Note 5. I have heard that double-sided tape made specifically for this task are best. You can find different options here: https://www.magazingsm.ro/adeziv-geam-si...
Cristina -
I have now replaced the display on my Note 5 and actually I didn’t even use the glue I bought. The original glue is quite a lot and the new display comes with glue on the back of it. Thanks again, Alexander, for your helpful instructions!
Cristina -