Эта версия возможно содержит некорректные исправления. Переключить на последнюю проверенную версию.
Выберете то, что вам нужно
-
Этот шаг не переведен. Помогите перевести
-
To remove the rear cover, locate the tab indicated by the red outline.
-
Using your fingernail, gently pry the rear cover.
-
-
Этот шаг не переведен. Помогите перевести
-
The SIM card is the small white rectangle located in the red rectangle.
-
To remove the SIM card, press down on the card and slide it to the left, until it no longer is in contact with the metal.
-
-
-
Этот шаг не переведен. Помогите перевести
-
The media card is found inside the area indicated with the red rectangle. The card itself is small and black making it hard to easily see.
-
After locating the card, gently use your fingers to slide the card to the right, until the card is no longer in contact with the metal.
-
-
Этот шаг не переведен. Помогите перевести
-
The battery can be removed from the phone by applying an upwards pressure to the bottom right edge of the battery, as indicated by the red rectangle.
-
After the battery starts to lift upwards, use your hand to hold and remove it.
-
-
Этот шаг не переведен. Помогите перевести
-
The inner plate is held on by six screws that are 1/16 of an inch (1.6 mm).
-
Remove the screws with a Philips head precision screwdriver.
-
Place all screws someplace that they will not easily be lost, such as a magnetic mat or a plastic bag.
-
-
Этот шаг не переведен. Помогите перевести
-
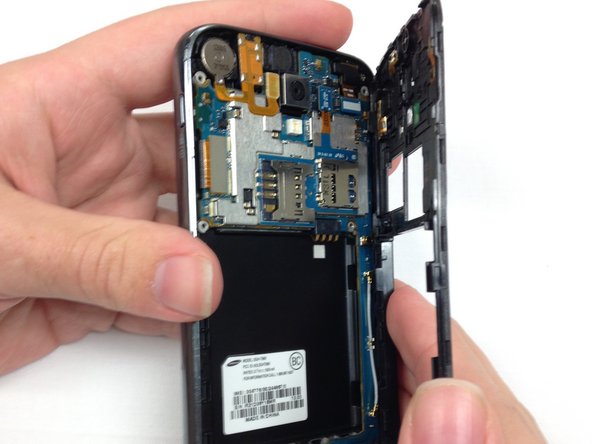
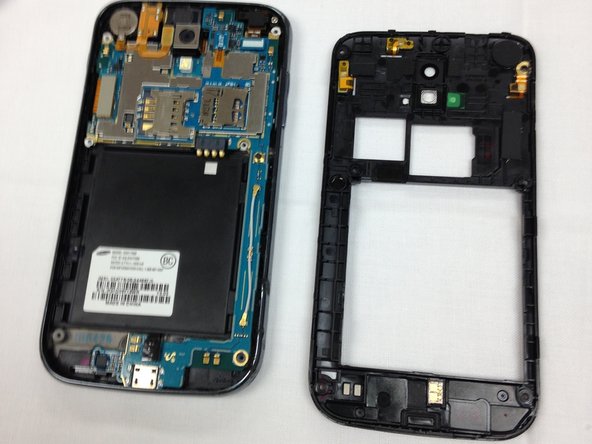
After the screws have been removed, the only thing holding the inner plate in is several plastic tabs built into the frame of the phone.
-
Firmly pinch the edge, as shown in the picture, and pull the plate away from the frame.
-
If you cannot get a grip on the inner plate, consider using the spudger to pry and lift the plate out.
-


Команда

Clemson, Team 1-5, Benson Spring 2014 Участник Clemson, Team 1-5, Benson Spring 2014
CLEM-BENSON-S14S1G5
4 членов
Автор 9 руководств