Введение
Follow this guide to replace the display or screen adhesive for the Samsung Galaxy S7 edge. This guide covers how to install a three-piece adhesive set as well as a full set.
This procedure is meant to be used in conjunction with the Galaxy S7 Edge display assembly replacement guide.
Выберете то, что вам нужно
-
-
Remove all traces of adhesive and debris from the phone frame's perimeter. Clean the adhesion surface with high concentration isopropyl alcohol (over 90%) and wipe it clean with a lint-free cloth.
-
Do not remove the recessed strip of adhesive trapped under the fingerprint sensor cable. If there is adhesive adhered on top of this strip, carefully separate and peel the top adhesive off.
-
If you do plan to replace the button adhesive, use tweezers to carefully pull the adhesive off. If needed, use an opening tool to gently scrape the adhesive off.
-
Lay the adhesive strips out to get an idea of where they go.
-
-
-
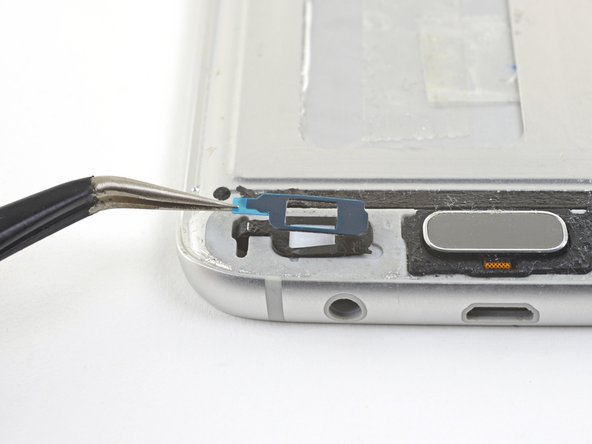
Insert the edge of an opening tool underneath black bracket surrounding the fingerprint sensor.
-
Pry up and remove the fingerprint bracket.
-
Use the opening tool to scrape off any adhesive residue from the fingerprint bracket.
-
-
-
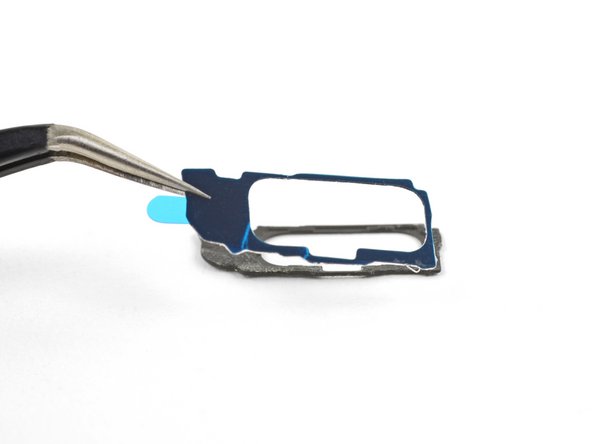
Peel off the white backing from the fingerprint bracket adhesive.
-
Carefully align and apply the adhesive to the fingerprint bracket.
-
Use your fingers to press the adhesive onto the bracket.
-
Use tweezers to peel off the blue plastic liner from the adhesive.
-
-
-
-
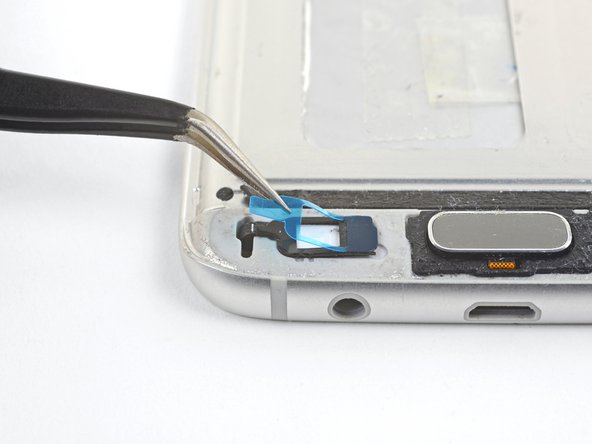
Carefully lay the bracket around the fingerprint sensor. The bracket holds the sensor in place, so it is important to ensure that it is well aligned.
-
Once the bracket is aligned, use the flat edge of a spudger or a finger to press the bracket in place.
-
-
-
Peel off the white backing from one of the capacitative button adhesives.
-
Carefully align the adhesive over the capacitative button.
-
Use your finger to press the adhesive in place.
-
If needed, repeat the procedure for the other capacitative button.
-
Peel off the blue plastic liners from the adhesives.
-
-
-
Peel off the clear plastic backing from the U-shaped adhesive, exposing one side of the adhesive.
-
Carefully line up a long edge of the adhesive with the corresponding edge of the phone frame. The open end of the "U" should face towards the top end of the frame.
-
Set the adhesive down lightly on the frame.
-
If it is not properly aligned, you can carefully peel the adhesive back up and realign it.
-
Once the adhesive is aligned, use your fingers to press the adhesive onto the frame.
-
-
-
Peel one of the end adhesive strips from the white plastic backing.
-
Holding the strip by the two green end tabs, line the adhesive strip with the phone frame.
-
Set the adhesive down lightly on the phone. Make sure that all cutouts are properly aligned.
-
Once aligned, use your fingers to press the adhesive into place.
-
Repeat the procedure for the remaining end adhesive strip.
-
-
-
Continue reassembling your device until you are ready to attach the screen.
-
Peel and remove the green plastic liner from all adhesive strips to expose the screen-facing adhesive.
-
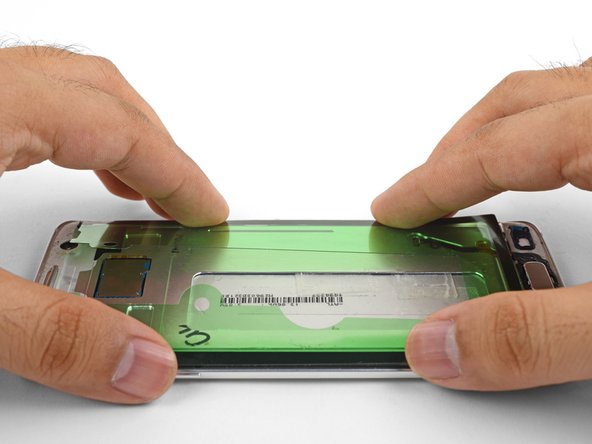
Align and set the phone screen on top of the adhesive.
-
Use your fingers to squeeze around the perimeter of the phone to set the adhesive.
-
Apply a few books worth of weight on top of the screen for an hour to help the adhesive bond.
-


Follow this link to return to the Galaxy S7 Edge display assembly replacement guide.
Follow this link to return to the Galaxy S7 Edge display assembly replacement guide.
Отменить: Я не выполнил это руководство.
6 участников успешно повторили данное руководство.

