Введение
In this guide, you will learn how to replace the motherboard on your Samsung Galaxy Tab 10.1. A faulty motherboard can lead to a multitude of performance issues, especially if your device doesn't turn on at all. There are a couple prerequisites we need to get out of the way first!
Выберете то, что вам нужно
-
-
Place the bottom of the tablet towards you.
-
Remove the 4.1mm screws near the charge port with a Tri-Wing screwdriver.
-
If there are plastic tabs covering these screws, use pointed tweezers to pry the tabs out.
-
-
-
Start in the middle of the left side and insert a plastic opening tool between the rear panel and the front panel assembly.
-
Carefully run the plastic opening tool along the left and top edge to pry the rear panel away from the rest of the device.
-
-
-
Using the plastic opening tools, continue to carefully run along the right and bottom edge, and then lift the screen from the back panel.
-
-
-
Flip up the retaining flaps on the ZIF connectors that secure the three large ribbon cables.
-
Carefully pull the three ribbon cables from their sockets on the motherboard.
-
-
-
-
Lift the edge of the battery up with your finger or a spudger.
-
Detach the battery by holding the motherboard down while gently lifting the battery up.
-
-
-
Hold down the motherboard with your finger and use a spudger to gently pry up the connection for the volume keys and power key.
-
-
-
Using the flat end of a spudger, disconnect the black flash cable connector from the motherboard.
-
Disconnect the white rear-facing camera connector.
-
-
-
Use the flat end of a spudger to disconnect the orange front-facing camera connector.
-
Disconnect the blue Micro SD card/headphone jack connector from its socket on the motherboard.
-
-
-
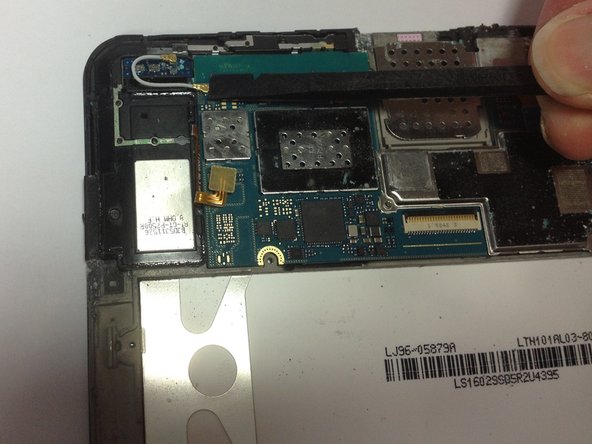
Using the flat end of a spudger, disconnect the orange speaker connectors for the left and right speakers.
-
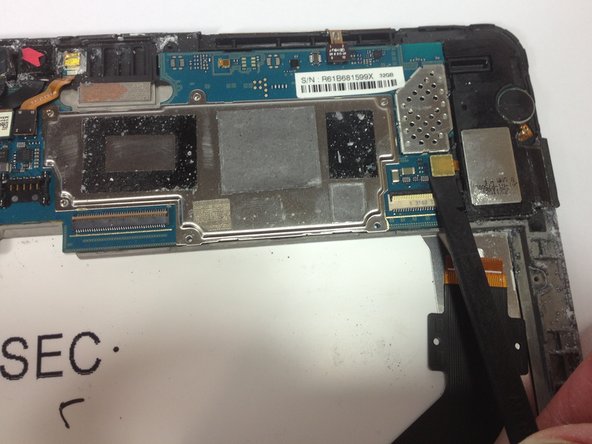
Disconnect the gold antenna cable connector from its socket on the motherboard.
-
-
-
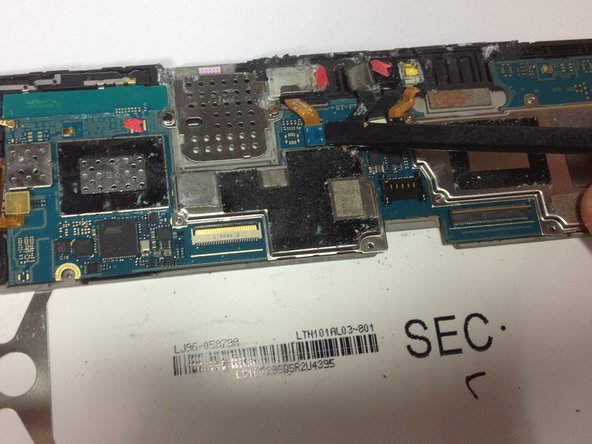
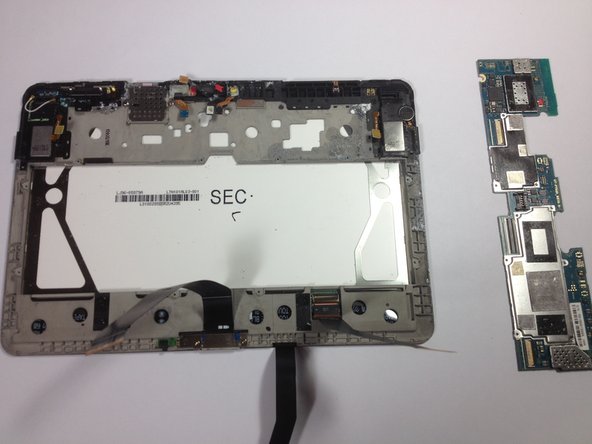
Lifting from the bottom edge, gently remove the motherboard.
-


To reassemble your device, follow these instructions in reverse order.
To reassemble your device, follow these instructions in reverse order.
Отменить: Я не выполнил это руководство.
18 участников успешно повторили данное руководство.
Команда

Cal Poly, Team 13-5, Forte Fall 2013 Участник Cal Poly, Team 13-5, Forte Fall 2013
CPSU-FORTE-F13S13G5
5 членов
Автор 17 руководств
5 Комментариев
Comment passe t'on de l'étape 6 à 7 ? (plastique gris qui fait le tour)
My 10.1 tablet switches on but the only thing showing on the screen is the “Samsung Galaxy 10.1” logo.
If the on/off button is held down for 20 seconds or so the screen goes blank for a few seconds then the logo reappears but nothing else happens. This logo only disappears when the battery is fully discharged.
After re-charging the battery the whole process is repeated
Any suggestions as to the problem
Jim
I'm having the same issue
have anyone found a solution?
What if I don't have screws on the outside of tablet?