Эта версия возможно содержит некорректные исправления. Переключить на последнюю проверенную версию.
Выберете то, что вам нужно
-
Этот шаг не переведен. Помогите перевести
-
Place the bottom of the tablet towards you.
-
Remove the 4.1mm screws near the charge port with a Tri-Wing screwdriver.
-
If there are plastic tabs covering these screws, use pointed tweezers to pry the tabs out.
-
-
Этот шаг не переведен. Помогите перевести
-
Start in the middle of the left side and insert a plastic opening tool between the rear panel and the front panel assembly.
-
Carefully run the plastic opening tool along the left and top edge to pry the rear panel away from the rest of the device.
-
-
Этот шаг не переведен. Помогите перевести
-
Using the plastic opening tools, continue to carefully run along the right and bottom edge, and then lift the screen from the back panel.
-
-
-
Этот шаг не переведен. Помогите перевести
-
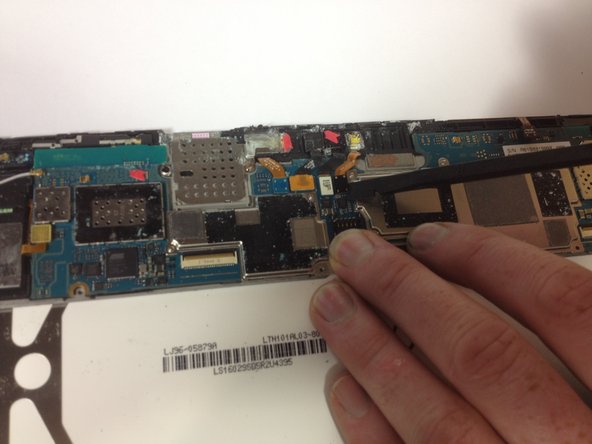
Flip up the retaining flaps on the ZIF connectors that secure the three large ribbon cables.
-
Carefully pull the three ribbon cables from their sockets on the motherboard.
-
-
Этот шаг не переведен. Помогите перевести
-
Remove the ten 3 mm Phillips #00 screws surrounding the battery.
-
-
Этот шаг не переведен. Помогите перевести
-
Lift the edge of the battery up with your finger or a spudger.
-
Detach the battery by holding the motherboard down while gently lifting the battery up.
-
-
Этот шаг не переведен. Помогите перевести
-
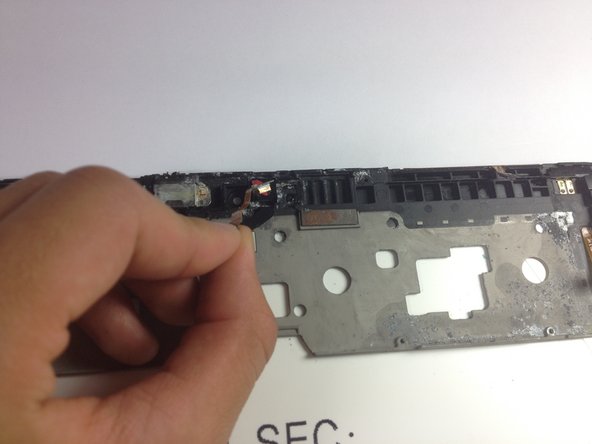
Use your spudger to gently pry up the black connection of the LED flash from the motherboard.
-
-
Этот шаг не переведен. Помогите перевести
-
Grab the black connection with your fingers and lift it up from its slot.
-


Отменить: Я не выполнил это руководство.
Еще один человек закончил это руководство.
Команда

Cal Poly, Team 13-5, Forte Fall 2013 Участник Cal Poly, Team 13-5, Forte Fall 2013
CPSU-FORTE-F13S13G5
5 членов
Автор 17 руководств