Введение
If you have damaged your auxiliary port because of general wear and tear or accidental damage, you can easily replace it so that you can get back to enjoying your music. However, keep track of all of the components along the way, as some are very small and very easy to lose.
Выберете то, что вам нужно
-
-
Using a nylon spudger or flat plastic opening tool, pry open the back of the device.
-
-
-
Using a Phillips head screwdriver, remove the 6 4mm screws holding holding the battery on the device.
-
-
-
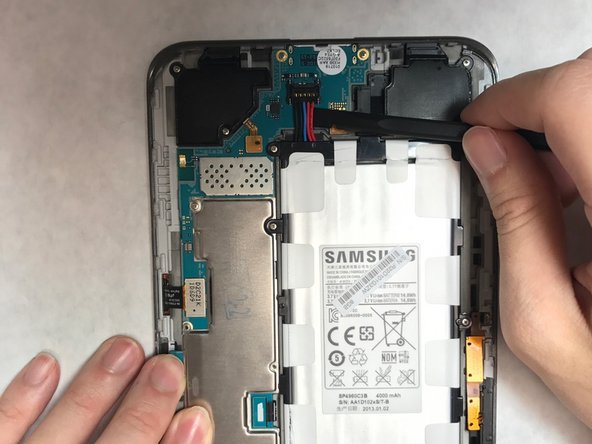
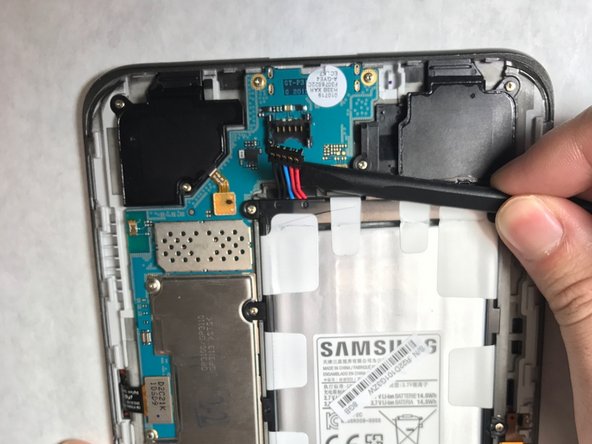
Gently detach the set of wires clips connecting the battery to the device using a nylon spudger.
-
Remove the battery and set it aside.
-
-
-
-
Using a Phillips head screwdriver, remove the 6 4mm screws holding the motherboard in the device.
-
-
-
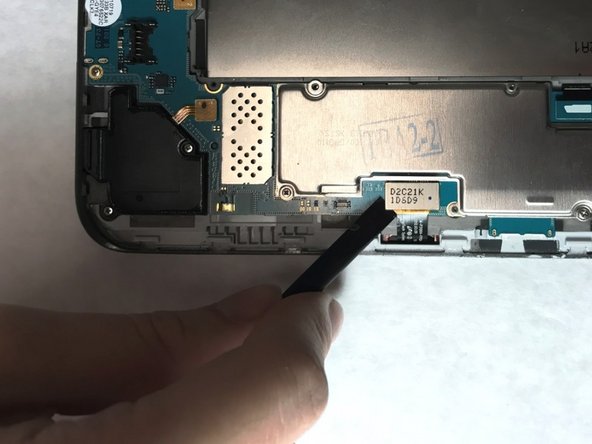
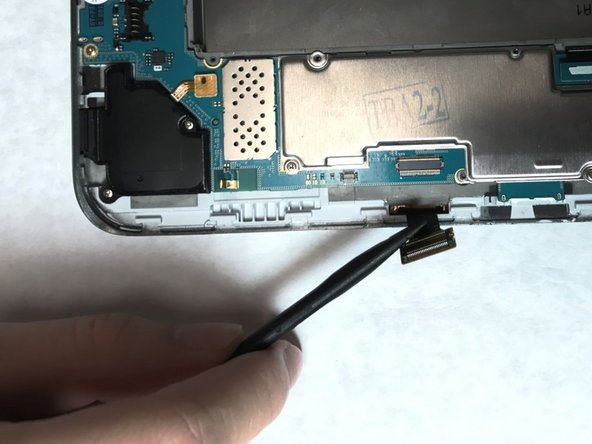
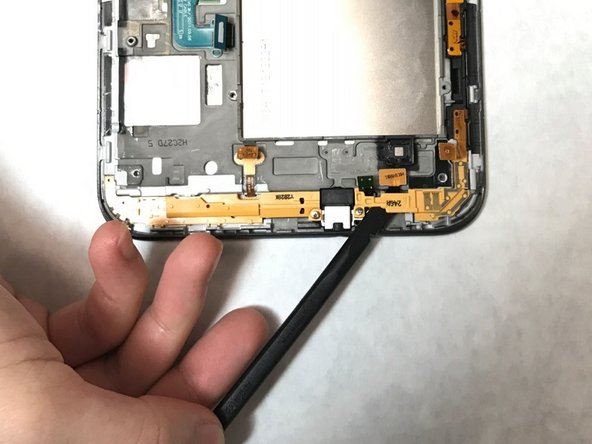
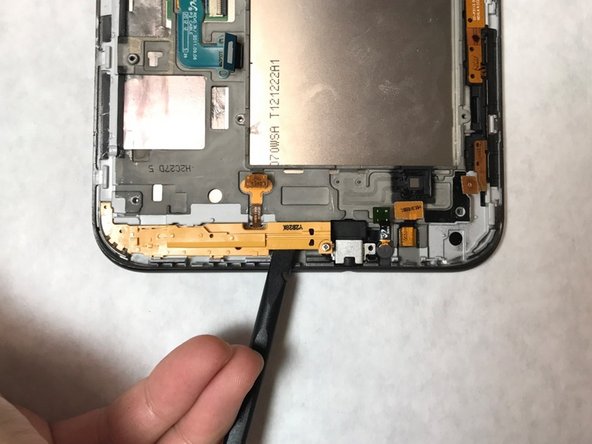
Locate the flex cables attached to the motherboard. Using a nylon spudger, gently detach each flex cable from the motherboard.
-
Lift the motherboard from the device and set it aside.
-
-
-
Locate the yellow brackets at the bottom of the device.
-
Using a phillips head screwdriver, remove the single 4mm screw on each bracket, located on either side of the auxiliary port.
-
Lift the brackets from the device and set them aside.
-
-
-
Using a nylon spudger, or any flat tool, gently pry and lift the small metal covering off of the auxiliary port.
-
-
-
Using a nylon spudger, or any flat tool, gently pry and lift the small rubber covering to expose the auxiliary port.
-


To reassemble your device, follow these instructions in reverse order.
To reassemble your device, follow these instructions in reverse order.
Отменить: Я не выполнил это руководство.
5 участников успешно повторили данное руководство.
Команда

IUPUI, Team S3-G1, Harley Spring 2017 Участник IUPUI, Team S3-G1, Harley Spring 2017
IUPUI-HARLEY-S17S3G1
4 членов
Автор 3 руководств