
Samsung Galaxy Tab 4 7.0 Home Button Replacement

Bhavesh Joshi и 3 другие участники
Последнее обновление 3 июн 2024 г.
Просмотров: 11 тыс.
Просмотр статистики:
- За последние 24 часа:
- 8
- За последние 7 дней:
- 37
- За последние 30 дней:
- 172
- За все время:
- 11 216
Комментарии: 8
8 комментариев к инструкции.
Перейти к комментариям инструкцииЗавершено: 2 3
2 пользователей отметили эту инстркукцию как "завершенное". Вы будете следующим?
3 пользователей отметили эту инструкцию как "завершенное". В том числе и Вы — отличная работа!
Избранные: 1 2
1 человек поставил лайк на эту инструкцию (и подписался на нее). Вы будете следующим?
2 эта инструкция понравилось многим пользователям (и они подписались на нее), в том числе и Вам!
Введение
Перейти к шагу 1 ↓When the home button is over-pressed or the connecting chip of home button stopped working then for effective functionality of your tablet, you need to replace your home button.
Follow these easy step by step procedure to replace your home button of Samsung Galaxy tab 4 7.0 (model 231) android tablet.
Before beginning, make sure to power off your tablet completely and disconnect from any external power source.
Выберете то, что Вам нужно
Инструменты
-
Spudger4.9
-
-


-
-
-
Using a plastic opening tool, pry open the back case by inserting the tool into the seam and moving it in the gap between front and back panel of the tablet.
-
Insert triangle opening picks into the gaps as you work to keep the back panel separated.
 Спросите у FixBot
-
-
-
Using the flat end of a spudger, unclip the press fit connections below the battery and at the top near the camera.
-
-
-
Use a plastic opening tool to pull up the locking clip of battery ZIF connector.
-
Disconnect the battery by sliding out the golden ribbon cable.
-
-
-
Use a Phillips #00 screwdriver to remove five 1.7 mm screws from the top and bottom edges of the motherboard.
-
-
-
Use a plastic opening tool to carefully lift up the motherboard and remove it.
-
-
Инструмент, используемый на этом этапе:Plastic Cards$2.99
-
To remove the digitizer, insert and move a plastic opening pick to create a gap between the digitizer and screen.
-
Carefully lift up the digitizer a little bit and insert a plastic opening card to separate the digitizer from the screen.
-
There are two things to be very careful of. The cable from the digitizer through to the motherboard goes through the top section, and could be damaged.
-
The tabs on the side of the home button are light rubber, which gives the return spring to the home key. The rubber seems less resistant to the heat gun than the glue, so if you're not careful you will end up with a pool of melted rubber. In any case, with this method of removing the digitizer, you may not save the existing home button.
-
-
-
-
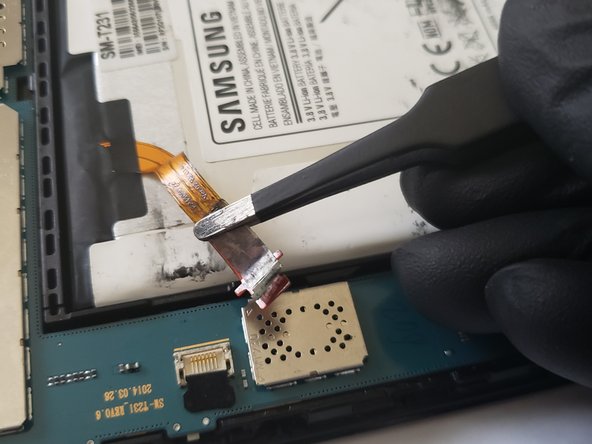
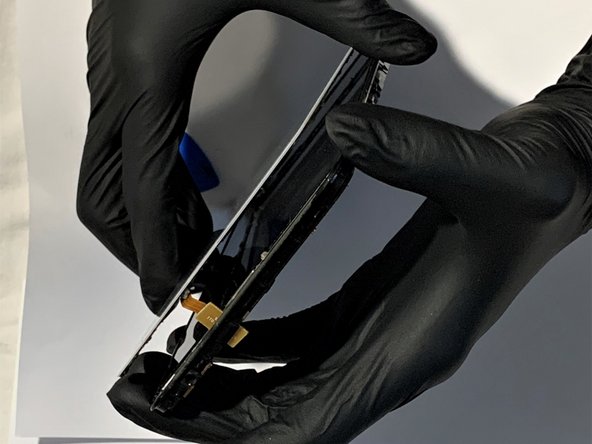
Carefully lift up the digitizer. As you do, you will need to slide one of the press fit connectors through the midframe.
-
-
-
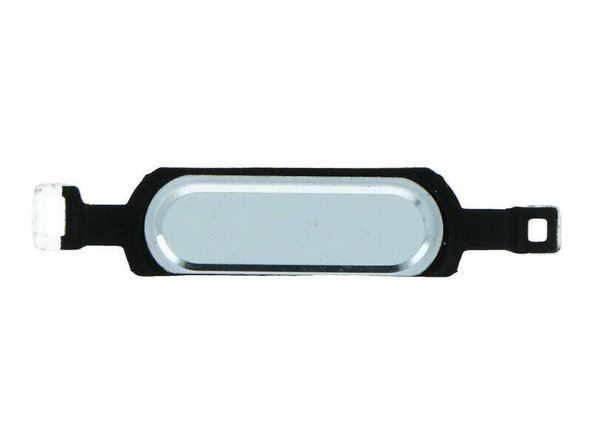
Carefully remove the old home button and replace with a new one.
-
-








To reassemble your device, follow these instructions in reverse order.
Отменить: Я не выполнил это руководство.
2 человек успешно провели ремонт по этому руководству.

Команду

UW Tacoma, Team S1-G22, Cardinal Spring 2020 Участник UW Tacoma, Team S1-G22, Cardinal Spring 2020
UWT-CARDINAL-S20S1G22
1 член
Автор 12 руководств
8 Комментарии к руководству
Where can we buy the correct home button?
I ordered one from Amazon for 8$
I'm going to have to say that as far as this guide goes, it's fine... but if it was a novel I'd feel let down. "Carefully remove the old home button and replace with a new one." is very much a litote, and "To reassemble your device, follow these instructions in reverse order." is just a let out.
What about the clean up process before re-assembly?
What's the best product to use to clean the glue away from screen and digitizer?
Is it best to clean the glue off completely and actually buy one of the preshaped glue panels?
I have to say, as far as it goes fine, and for a TV series where the hero or heroine walks off into the sunset and you imagine the rest, fine, but for a technical guide some of the crucial details are absent. Or there ought to be a general assembly and cleanup guide on fixit that you can point to. Maybe there is, but I haven't found it.
@caerwynpearce I love this response.
and here it is, on the iFixit channel.
https://www.youtube.com/watch?v=VRSokuEk...
