Введение
Use this guide to replace the front camera on your Samsung Galaxy Tab E 9.6 Verizon.
If the front camera on your Samsung Galaxy Tab E 9.6 Verizon is not functioning properly or damaged, it may be time to replace it.
This guide will walk you through each step to successfully replace the front camera on your Samsung Galaxy Tab E 9.6 Verizon. Prior to starting this repair, make sure to back up any files, power off the device, and unplug from the power source.
Be sure to check the troubleshooting page prior to starting any repair.
Выберете то, что вам нужно
-
-
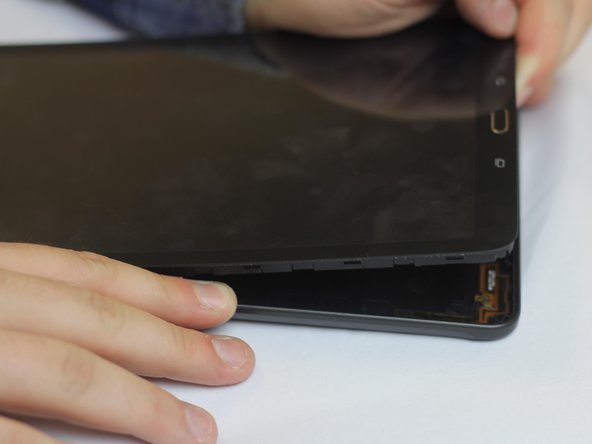
Insert the plastic opening tool by wedging it between the device's screen and back cover.
-
Move the plastic tool around the edges of the device to undo the plastic lips holding the casing together.
-
-
-
-
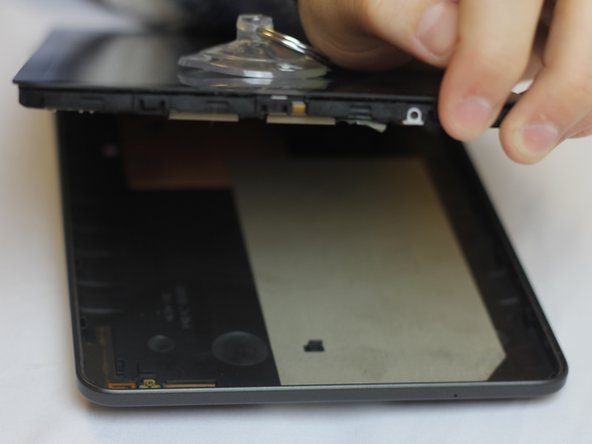
This process will become easier as more clips are separated.
-
Use your hands to gently pull the back cover off the device after about half of the clips are separated.
-
-
-
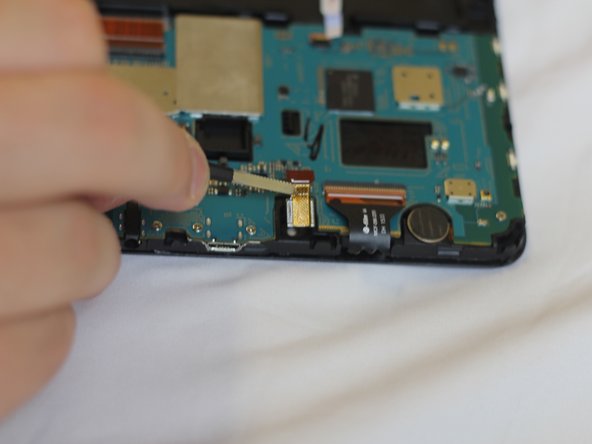
Remove the ribbon wires connecting the camera to the motherboard by using tweezers to flip the black latch away from the camera (towards the bottom of the tablet).
-
Carefully pull the camera out.
-


To reassemble your device, follow these instructions in reverse order.
To reassemble your device, follow these instructions in reverse order.
Команда

USF Tampa, Team 1-4, Cagle Fall 2016 Участник USF Tampa, Team 1-4, Cagle Fall 2016
USFT-CAGLE-F16S1G4
3 членов
Автор 14 руководств