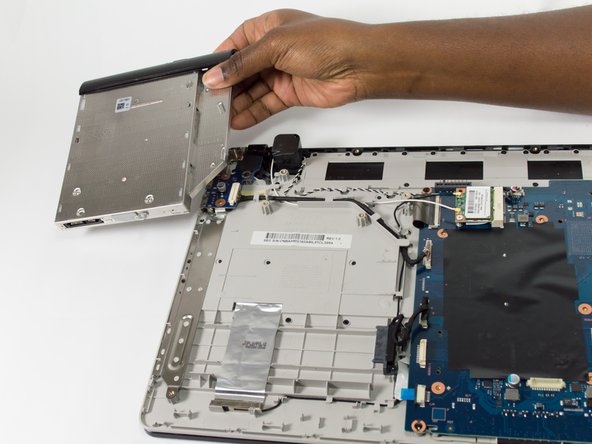
Перейти к основному содержанию

Samsung NP305E5A-A03US Optical Drive Replacement

Выберете то, что вам нужно

  1. Samsung NP305E5A-A03US Optical Drive Replacement, Hard Drive: шаг 1, изображение 1 из 1
    • Unscrew the 3.5mm screws using a Phillips J0 Screwdriver by rotating the screwdriver in the counter clockwise direction.

  2. Samsung NP305E5A-A03US Optical Drive Replacement: шаг 2, изображение 1 из 1
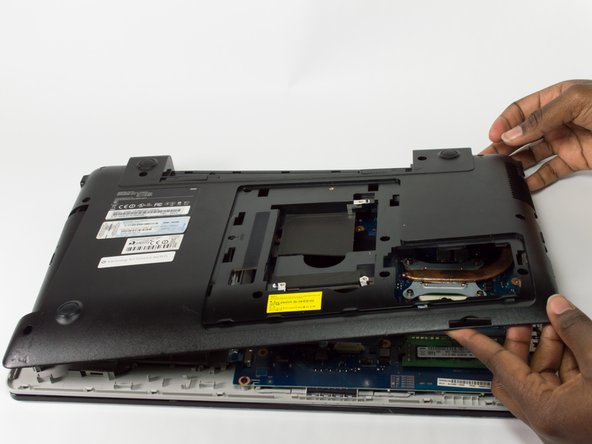
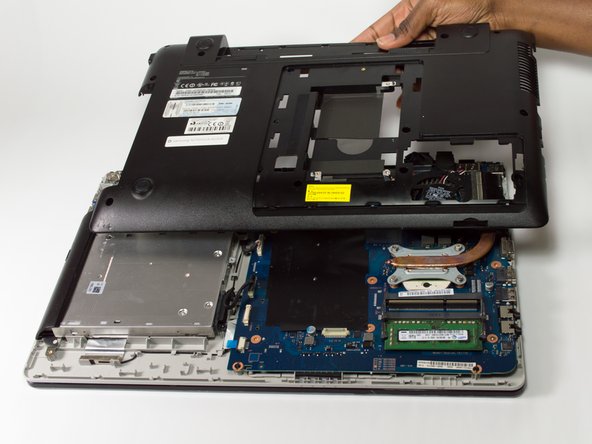
    • Wedge the plastic opening tool between the L-shaped back panel to slide the panel off.

    • Note this may take force. If you have difficulties using the plastic opening tool, try to use your hands to pull the panel off.

  3. Samsung NP305E5A-A03US Optical Drive Replacement: шаг 3, изображение 1 из 2 Samsung NP305E5A-A03US Optical Drive Replacement: шаг 3, изображение 2 из 2
    • Pull the panel towards you to remove the panel.

  4. Samsung NP305E5A-A03US Optical Drive Replacement: шаг 4, изображение 1 из 1
    • Unscrew the three 3.5mm screws using a Phillips J0 Screwdriver by rotating the screwdriver in the counter clockwise direction.

    • Unscrew the one 4.45mm screws using a Phillips J0 Screwdriver by rotating the screwdriver in the counter clockwise direction.

  5. Samsung NP305E5A-A03US Optical Drive Replacement: шаг 5, изображение 1 из 2 Samsung NP305E5A-A03US Optical Drive Replacement: шаг 5, изображение 2 из 2
    • Pull the cord that connects the Hard Drive to the Motherboard to disconnect it.

  6. Samsung NP305E5A-A03US Optical Drive Replacement: шаг 6, изображение 1 из 1
    • Remove the Hard Drive by lifting it towards you.

  7. Samsung NP305E5A-A03US Optical Drive Replacement, Optical Drive: шаг 7, изображение 1 из 1
    • Unscrew the fourteen 9.5mm screws using a Phillips J0 Screwdriver by rotating the screwdriver in the counter clockwise direction.

    • Unscrew the two 3.5mm screws using a Phillips J0 Screwdriver by rotating the screwdriver in the counter clockwise direction.

  8. Samsung NP305E5A-A03US Optical Drive Replacement: шаг 8, изображение 1 из 2 Samsung NP305E5A-A03US Optical Drive Replacement: шаг 8, изображение 2 из 2
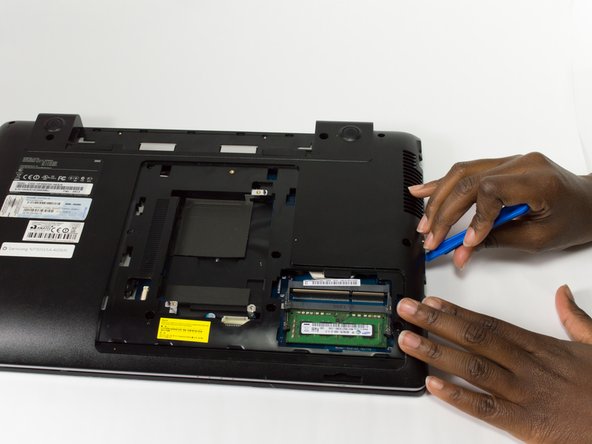
    • Insert the plastic opening tool between the seam of the back panel and the laptop.

    • Slide the plastic opening tool along the seam to loosen the back panel from the laptop.

    • It may be difficult to slide the plastic opening tool along the seam, so you may have to apply some force.

  9. Samsung NP305E5A-A03US Optical Drive Replacement: шаг 9, изображение 1 из 3 Samsung NP305E5A-A03US Optical Drive Replacement: шаг 9, изображение 2 из 3 Samsung NP305E5A-A03US Optical Drive Replacement: шаг 9, изображение 3 из 3
    • Remove the Back Panel by lifting it towards you.

    • It may take some force to remove the Back Panel.

  10. Samsung NP305E5A-A03US Optical Drive Replacement: шаг 10, изображение 1 из 2 Samsung NP305E5A-A03US Optical Drive Replacement: шаг 10, изображение 2 из 2
    • Remove the Optical Drive by sliding it away from the laptop.

Заключение

To reassemble your device, follow these instructions in reverse order.

Еще один человек закончил это руководство.

Kris Stobbe

Участник с: 10/30/16

585 Репутация

Автор 3 руководств

Команда

Baylor, Team 5-7, Williams Fall 2016 Участник Baylor, Team 5-7, Williams Fall 2016

BU-WILLIAMS-F16S5G7

3 членов

Автор 5 руководств

0 Комментариев

Добавить комментарий

Просмотр статистики:

За последние 24часов: 0

За последние 7 дней: 4

За последние 30 дней: 12

За всё время: 315