Введение
A cracked screen or broken LCD are reasons as to why you should replace the screen. Make sure you absolutely have to replace the screen before you take on this task.
Выберете то, что вам нужно
-
-
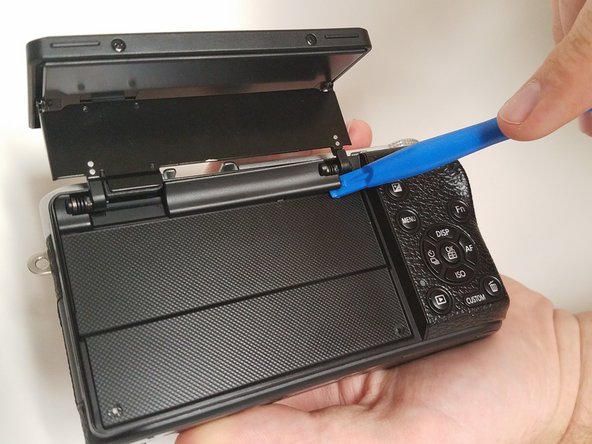
Open the screen exposing the hinge cover and place the plastic opening tool inside.
-
Pry the hinge cover up by moving the plastic opening tool in a downward motion.
-
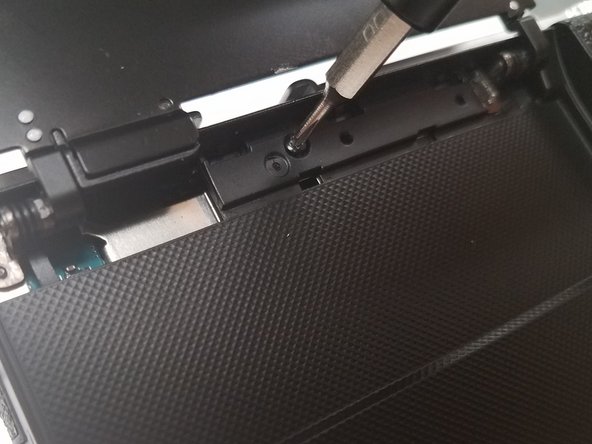
Remove the black 4mm Phillips #000 screw that is revealed once the hinge cover is removed.
-
-
-
-
Unscrew the two 4 mm Phillips #000 screws on the right hand side of the camera using the screwdriver.
-
Unscrew five more 4 mm Phillips #000 screws that are located at the bottom of the camera with the screwdriver.
-
Remove the last exterior 4 mm Phillips #000 screws on the left hand side of the camera with the scredriver.
-
-
-
Use the plastic opening tool in a downward motion around each side of the camera to pry the casing open.
-
-
-
Locate the black ribbon at the bottom left of the camera's interior.
-
Place the plastic opening tool under the black ribbon connector.
-
Remove the cable by moving your plastic opening tool in a downward motion.
-
-
-
Locate where the white ribbon cable connects to the black LCD cable.
-
Using both hands, separate the cables by pulling them away from each other.
-
-
-
Remove the four black 2-mm Phillips type 000 using the screwdriver.
-
Remark : Since these four screwdrivers are easilly loosen during normal handling, be sure that screw them very fasten or screw with a bond suck like Loctite when reassembling.
-
-
-
Carefully grab the LCD cable and begin to guide it through the hole it comes enters from.
-
Maneuver the connector through the exit site.
-
Carefully pull the cable through from the exterior of the screen encasement.
-


To reassemble your device, follow these instructions in reverse order.
To reassemble your device, follow these instructions in reverse order.
Отменить: Я не выполнил это руководство.
3 участников успешно повторили данное руководство.
Команда

USF Tampa, Team 18-5, Blackwell Fall 2016 Участник USF Tampa, Team 18-5, Blackwell Fall 2016
USFT-BLACKWELL-F16S18G5
3 членов
Автор 12 руководств
4 Комментариев
Hello Eli! I was wondering if you buy a new screen for replace, is this comes with the FPC cable? I mean, the black one. Thanks a lot!
Thanks so much! It was really helpful! One screen hinge on my nx500 was loose because the two screws holding it came off. They were loose inside the case, and eventually stuck to the magnet on the back of the speaker. So it was easy to find them and screw them back again. My camera is like new again! Keep up the good work!