Введение
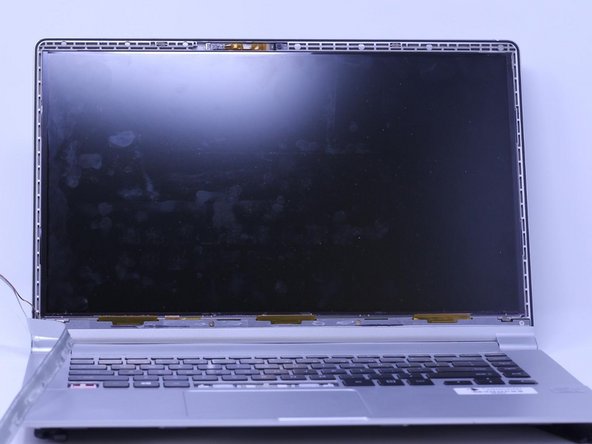
In this guide, we will be showing you how to replace the display on the Samsung Series 9 NP900X4D-A03US. We begin by removing the adhesive frame from the display, unscrewing the screws holding the display in place, and detaching the cable that keeps it intact.
Выберете то, что вам нужно
-
-
Use the screwdriver to remove the ten 2.5mm Phillips #00 screws.
-
Use an iFixit opening tool to carefully remove the back panel from the laptop.
-
-
-
Lightly place some pressure into the highlighted cavity on the battery's outlet plug with a spudger.
-
Carefully remove the wires from the outlet plug.
-
Now you will be able to remove the battery from its place.
-
-
-
-
Using tweezers, gently remove the adhesive surrounding the cover. At the same time, gently pry the cover off of the display using an iFixit opening tool.
-
Gently place the cover to the left, as a wire is still attached.
-
-
-
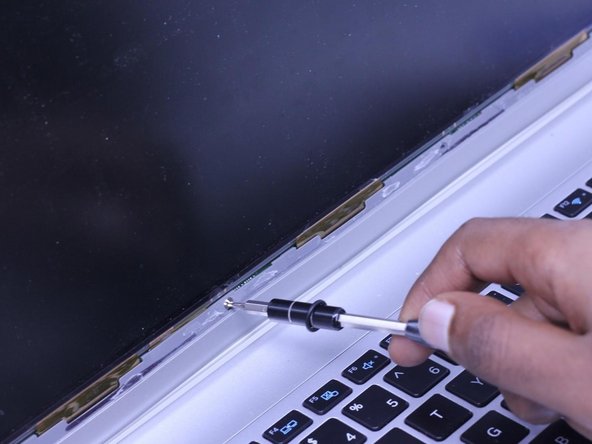
Use the Phillips #00 screwdriver to unscrew the four 2.5mm screws.
-
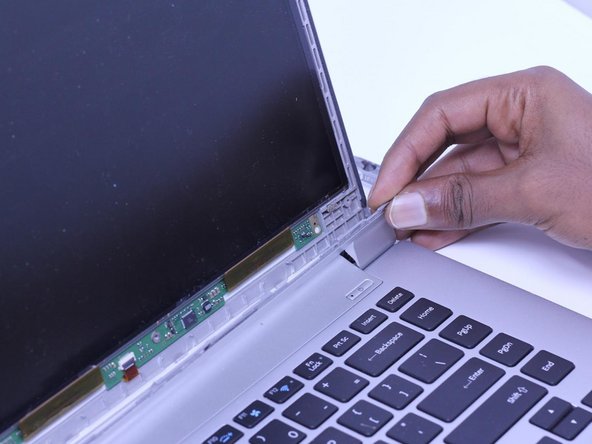
Gently remove the tabs from each corner.
-
-
-
Use the iFixit opening tool to detach the screen from the frame.
-
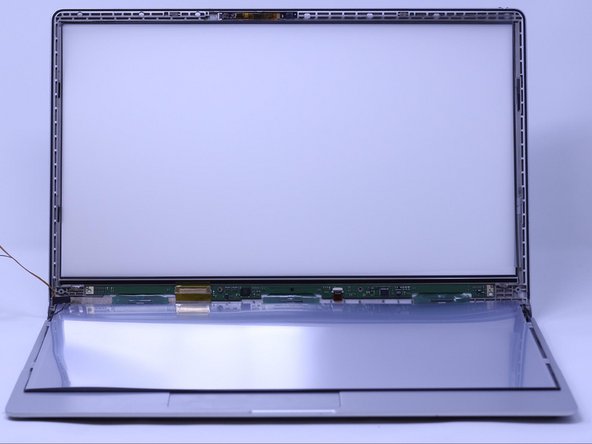
Slowly lay the screen down on the keyboard.
-
-
-
Using tweezers, slowly remove the connected wire from the display.
-
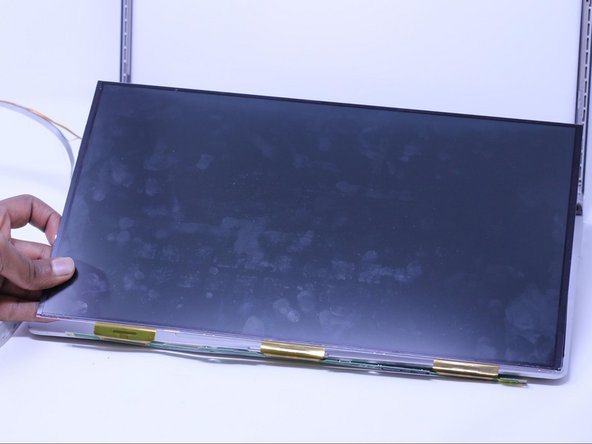
Gently remove the display from the device.
-


To reassemble your device, follow these instructions in reverse order.
To reassemble your device, follow these instructions in reverse order.
Отменить: Я не выполнил это руководство.
Еще один человек закончил это руководство.
3 Комментариев
Good day
Where can I buy the screen?
My laptop model number is NP900X4D-A01ZA
Your assistance will be highly appreciated
Kind regards
is not easy to get that screen i think it needs a special screen
How Can I get that screen or any other related Screen ?