Введение
Use this guide to remove the internal fan of the device.
Выберете то, что вам нужно
-
-
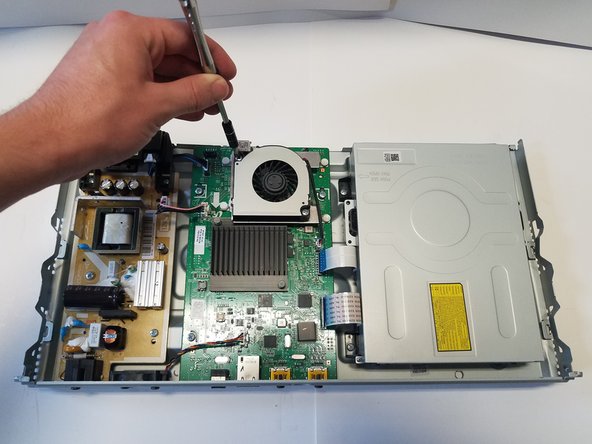
On the back side of the unit, remove the three 8.1mm screws marked with a Phillips #1 screwdriver.
-
-
-
From the back, lift the case upwards away from the unit then forwards, releasing the prongs on the front.
-
-
-
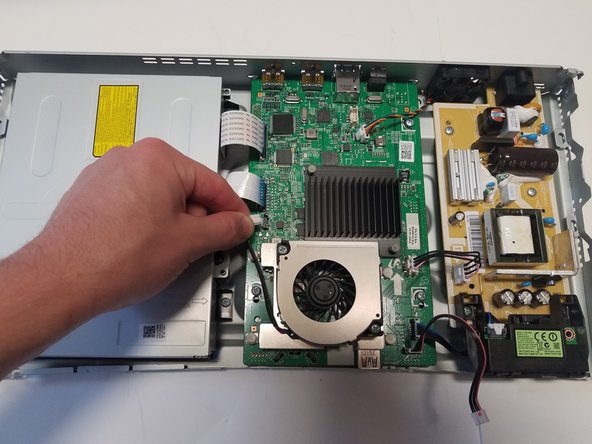
There is one group of wires located towards the front of the case and attached directly to the motherboard and the case. Using two fingers in a pinching motion, release the wire from the clip and disconnect it.
-
-
-
-
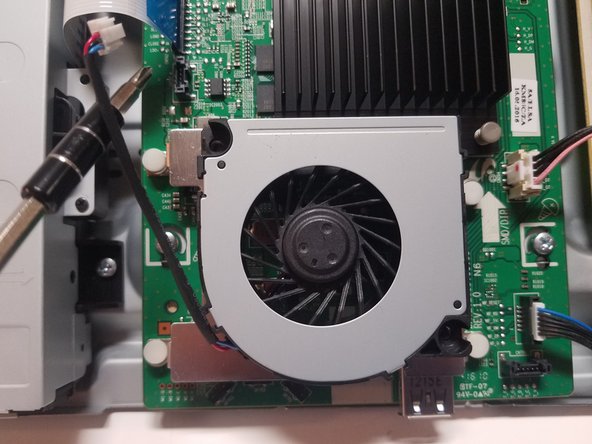
Fan A is located on top of the motherboard and is screwed into a stand by two 6.5mm screws. The stand is also connected to the motherboard.
-
-
-
The two 6.5mm screws holding the fan in place on opposing corners must be removed with a #1 Phillips head screwdriver to change the fan.
-
-
-
There is one wire connecting the fan to the motherboard that must be unplugged in order to release it. To unplug, use your fingers to pinch the white clip at the end and gently pull upwards to release.
-


To reassemble your device, follow these instructions in reverse order.
To reassemble your device, follow these instructions in reverse order.
Отменить: Я не выполнил это руководство.
Еще один человек закончил это руководство.
Команда

Baylor, Team S2-G1, Johnson Spring 2018 Участник Baylor, Team S2-G1, Johnson Spring 2018
BU-JOHNSON-S18S2G1
3 членов
Автор 6 руководств