Введение
The only complication with this replacement is that the keyboard ribbon cable is taped down and can't be easily removed without partially removing the motherboard.
Выберете то, что вам нужно
-
-
Remove the battery
-
Remove every screw on the underside of the laptop chassis
-
-
-
Once the screws are removed, using a flat tool, prise open the bottom of the case from the sides, following around the edges of the laptop until the bottom pulls off entirely.
-
-
-
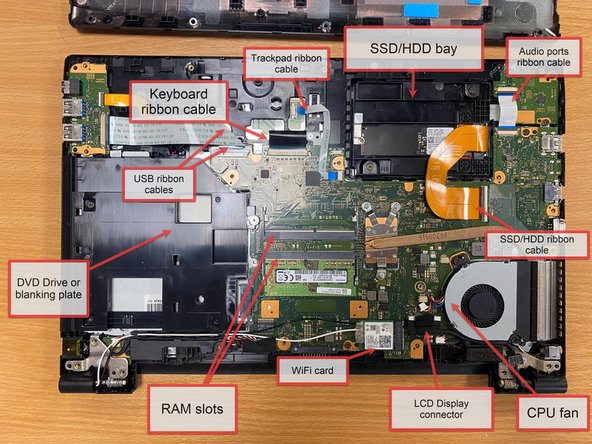
Accessible replaceable parts include:
-
DVD Drive
-
Memory
-
LCD screen
-
SSD
-
WiFi Network card
-
CPU Fan
-
Keyboard
-
-
-
-
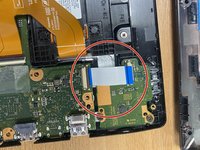
The keyboard cable is visible immediately on opening the laptop, but there's an annoying hitch: Toshiba have taped it to the metal underneath the motherboard.
-
As a result, the motherboard will need moving enough to pull off the tape.
-
So to start, disconnect all the ribbon cables that aren't free-moving on one end. These are:
-
2 x USB controller cables
-
1 x trackpad cable
-
1 x Keyboard cable
-
1 x audio ports controller cable
-
-
-
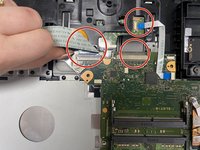
Remove the following screws holding down the motherboard:
-
2 x DVD bay screws
-
1 x next to the WiFi card
-
1 x CPU fan screw
-
1 x next to the audio port controller
-
-
-
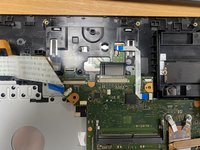
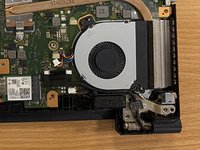
After removing the screw, disconnect the fan cable
-
Pull the fan clear of the motherboard so it can be moved further
-
-
-
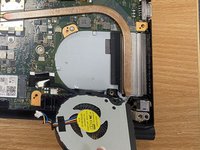
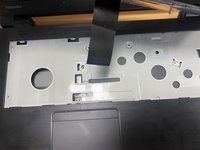
Lift the motherboard near the keyboard cable. It should now be free enough to see the tape holding the keyboard cable attached
-
Remove the tape
-
-
-
Carefully turn the laptop over
-
It may be easier to put the bottom of the chassis back on lightly so unsecured parts don't tip out.
-
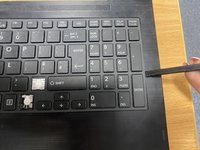
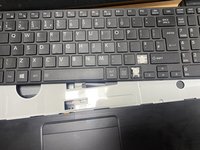
The keyboard is clipped into the chassis. Starting at the sides of the keyboard, prise the keyboard out of the clips, moving around the keyboard until the keyboard easily pulls out.
-
Having removed the tape, the keyboard cable should now pull through from the rear easily.
-


To reassemble your device, follow these instructions in reverse order.
Don't forget to replace the removed screws and reinsert all cables, including the CPU fan cable.
To reassemble your device, follow these instructions in reverse order.
Don't forget to replace the removed screws and reinsert all cables, including the CPU fan cable.
Отменить: Я не выполнил это руководство.
2 человек успешно провели ремонт по этому руководству.