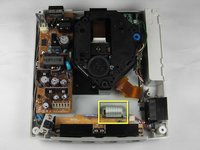
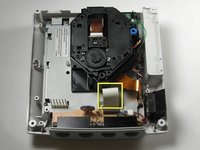
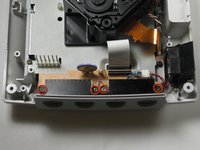
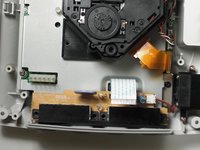
Введение
Replacing the F1 fuse on the controller board of the Sega Dreamcast. Soldering is required for repair.
Required parts
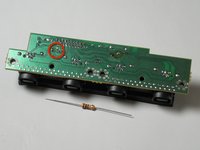
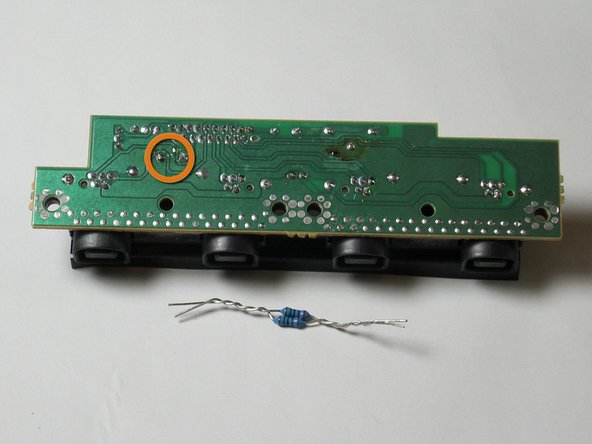
- 5 Ohm 1/2 watt fuse resistor OR two 10 Ohm 1/4 watt metalized resistors
- Controller board
Выберете то, что вам нужно
-
-
Flip the console over on its back.
-
Take note of your model number, in case replacement parts are needed.
-
-
-
Remove the expansion bay by applying pressure to the small clip on the expansion bay while prying it away from the console.
-
-
-
Locate and remove all four black 12mm Phillips #02 screws from the underside of the console.
-
-
-
Turn the console right side up.
-
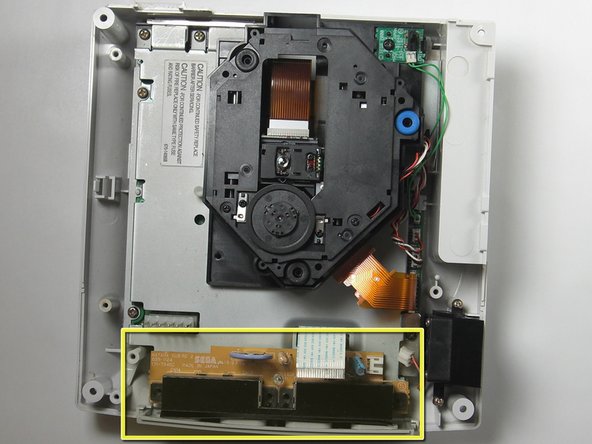
Remove the top cover by gently lifting the upper portion of the console.
-
-
-
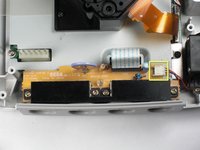
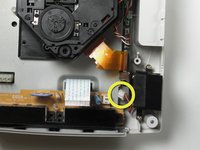
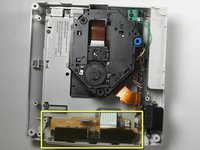
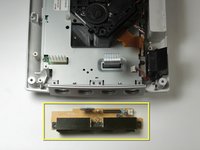
Disconnect the white controller cable by gently pulling the the cable while wiggling it back and forth until it detaches from the controller board.
-
-
-
-
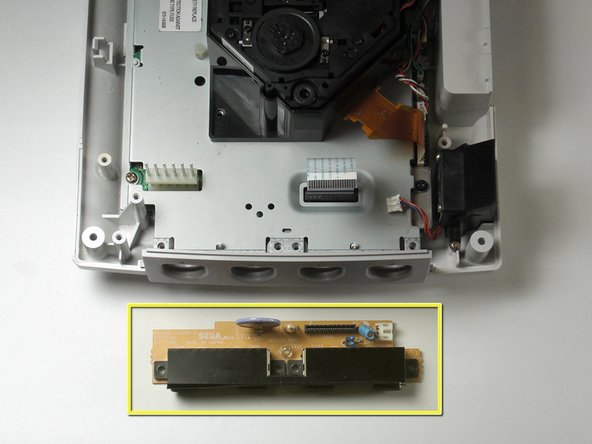
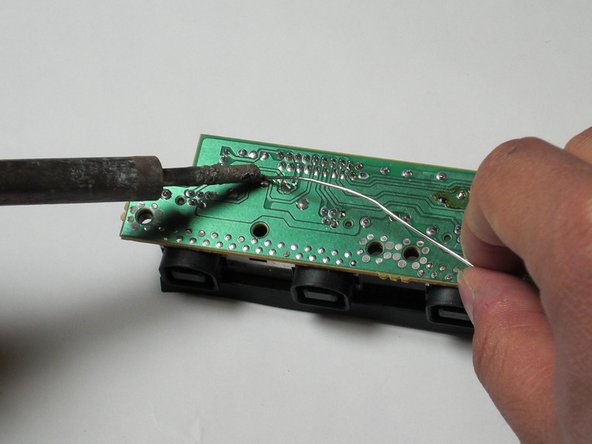
Flip the controller board on its underside so that the solder joints are exposed.
-
-
-
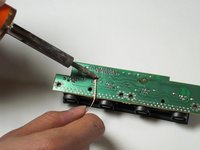
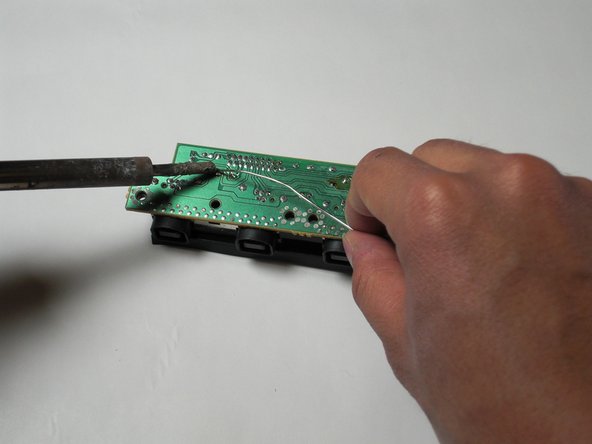
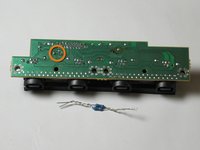
Remove the F1 fuse by using the soldering iron and desoldering wick.
-
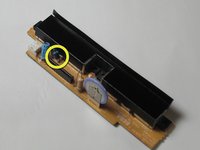
The F1 fuse is clearly indicated on the topside of the controller board.
-
To reassemble your device, follow these instructions in reverse order.
To reassemble your device, follow these instructions in reverse order.
Отменить: Я не выполнил это руководство.
6 человек успешно провели ремонт по этому руководству.
6Комментарии к руководству
Hello, Darren. I am having the utmost difficulty doing this with two 1/4 watt resistors, as you have demonstrated. I have three dreamcast systems, I would like to repair (all with a bad controller port.) What would be the chance that I could send you the ports, packs of resistors and and solder and pay you to do this to all of them?
I would even be willing to give you two of them! I just want one working system!
djresree -
I need this board, were do I find one?


