Введение
If you are having a problem with your device's Rear Motor, Here is a Step by step guide to replace a broken or faulty Rear Motor.
Выберете то, что вам нужно
-
-
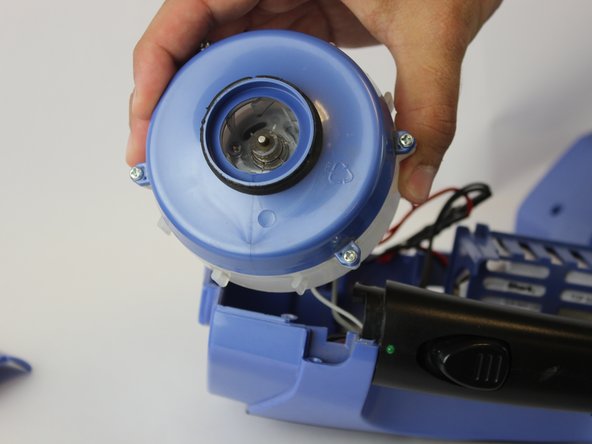
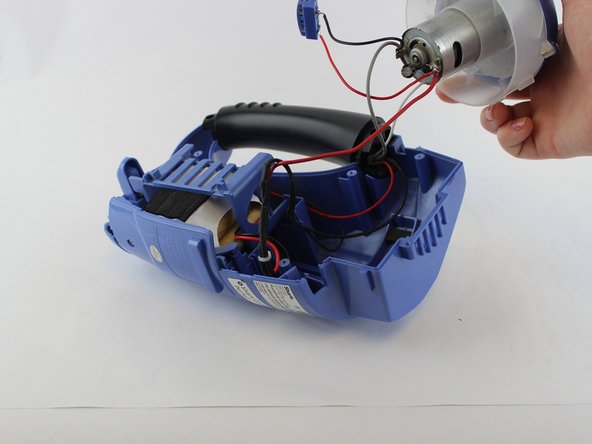
Remove the five 14mm screws with the PH2 Bit from the motor housing and pull the housing apart.
-
-
-
-
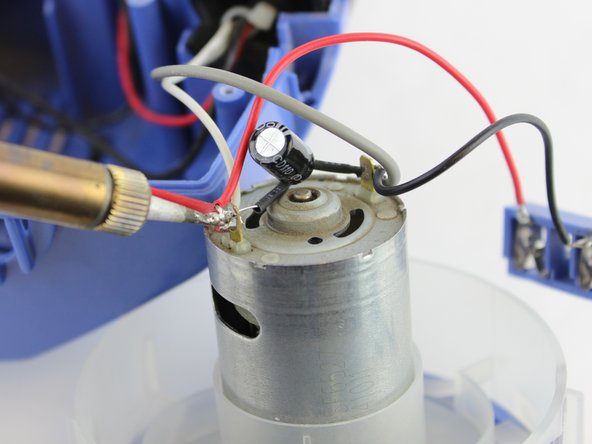
With the soldering tool separate the motor from the gray wire and the black wire.
-
Turn the motor to the other side. Then separate the motor from the two red wires, and the white wire.
-


To reassemble your device, follow these instructions in reverse order.
To reassemble your device, follow these instructions in reverse order.
Отменить: Я не выполнил это руководство.
2 участников успешно повторили данное руководство.
Команда

USF Tampa, Team 16-2, Blackwell Spring 2017 Участник USF Tampa, Team 16-2, Blackwell Spring 2017
USFT-BLACKWELL-S17S16G2
4 членов
Автор 11 руководств
2 Комментариев
OK that tells me how to replace it but nothing else. Every article written about this item isn't really about repairing or troubleshooting, they're about taking apart some components, with a screwdriver. Not really helpful at all. But nice try.
I disassembled my 18 Volt SV780N because a new battery with 6 hours charge was not powering any response. In item 2, there is another screw which holds the case together. It is on the front side where the snout attaches——on the rim of the intake and is plainly visible. The handle on the unit does split in half and contains the mini circuit board which is the brain of this vac—-mounted under the off-on switch. I found this to be covered in micro dust (Just as the interior is elsewhere). I used an artist’s paint brush to clean it. If you have this apart, it might be also useful to brush off (Or wipe) the dust off the motor. This allows the motor another degree of cooling which perhaps prolongs its life. I suggest mounting the battery in the motor half so wiring can be safety placed into the proper recesses making the unit easier to close… Good Luck!