Эта версия возможно содержит некорректные исправления. Переключить на последнюю проверенную версию.
Выберете то, что вам нужно
-
Этот шаг не переведен. Помогите перевести
-
Press the Hose Release button and pull back to detach the hose.
-
-
Этот шаг не переведен. Помогите перевести
-
Press the Wand Release button and pull up on the metal tube to remove the entire hose.
-
-
Этот шаг не переведен. Помогите перевести
-
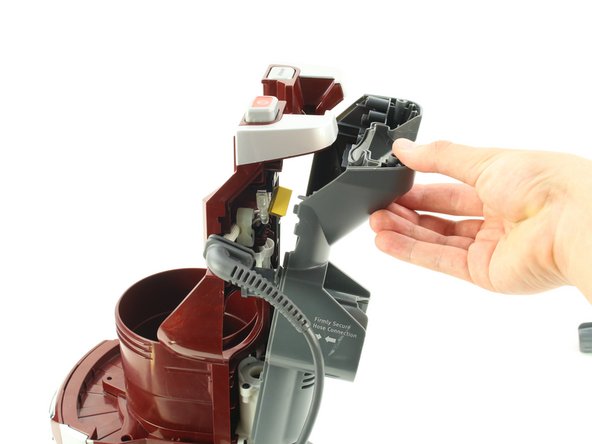
Press the Lift Away button and pull up on the handle to separate the top of the vacuum from the bottom.
-
-
Этот шаг не переведен. Помогите перевести
-
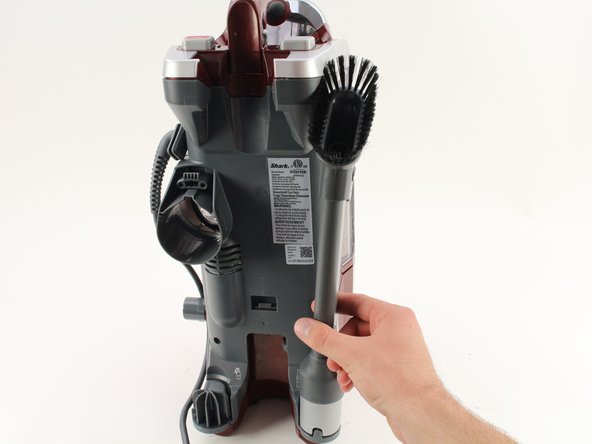
Pull up on the extra brush pieces to remove them from the vacuum.
-
-
Этот шаг не переведен. Помогите перевести
-
Pull up on the Dustbin Release button, and pull up on the handle to detach the dustbin.
-
-
-
Этот шаг не переведен. Помогите перевести
-
Pull up on the filter tab to remove the large foam filter.
-
-
Этот шаг не переведен. Помогите перевести
-
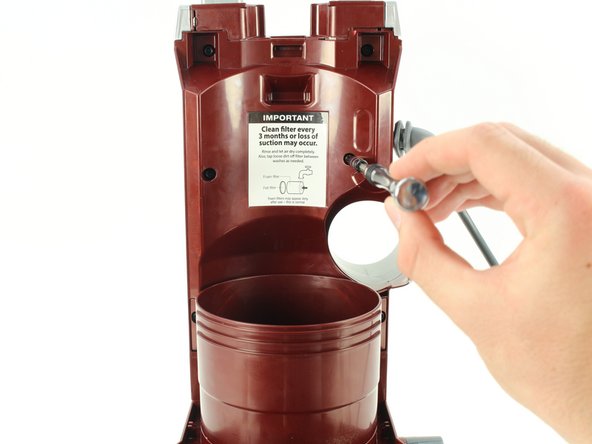
Use the T20 screwdriver to remove the two 12 mm screws by turning counterclockwise.
-
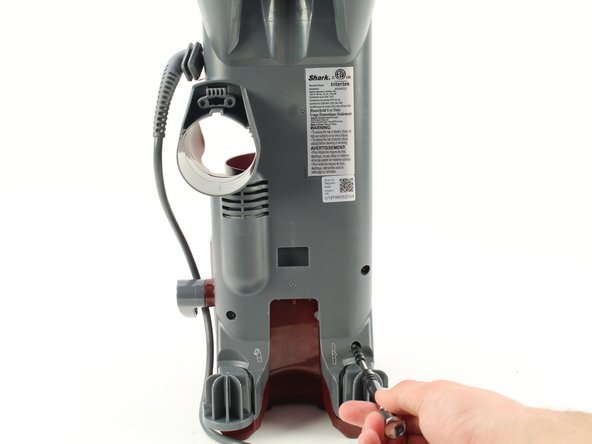
Use the T20 screwdriver to remove the two 17 mm screws by turning counterclockwise.
-
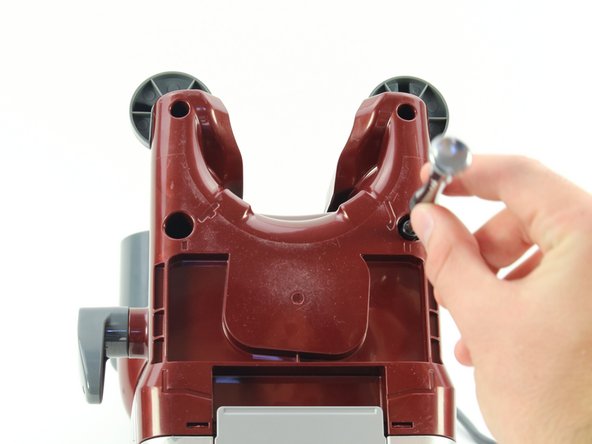
Use the T20 screwdriver to remove the two 14 mm screws by turning counterclockwise.
-
-
Этот шаг не переведен. Помогите перевести
-
Use the T20 screwdriver to remove the three 15 mm screws by turning counterclockwise.
-
Use the T10 screwdriver to remove the one 17 mm screw by turning counterclockwise.
-
-
Этот шаг не переведен. Помогите перевести
-
Use the T20 screwdriver to remove the four 14 mm screws from the bottom of the vacuum by turning counterclockwise.
-
-
Этот шаг не переведен. Помогите перевести
-
On the white cap holding the wire, use the T20 screwdriver to remove the two 12 mm screws by turning counter-clockwise .
-
Remove the white cap by pulling it off the device.
-
-
Этот шаг не переведен. Помогите перевести
-
Use wire cutters to detach the power cord by cutting the black and white wires.
-


Отменить: Я не выполнил это руководство.
6 участников успешно повторили данное руководство.
Команда

Cal Poly, Team S17-G4, White Fall 2018 Участник Cal Poly, Team S17-G4, White Fall 2018
CPSU-WHITE-F18S17G4
4 членов
Автор 16 руководств