Перейти к основному содержанию

Shark ION Robot 750 Charging Dock Motherboard Replacement

Выберете то, что вам нужно

  1. Shark ION Robot 750 Charging Dock Motherboard Replacement, Charging Dock: шаг 1, изображение 1 из 1
    • Remove the three Torx T6 screws on the underside of the charging dock.

    • Lift off the lower case.

  2. Shark ION Robot 750 Charging Dock Motherboard Replacement: шаг 2, изображение 1 из 1
    • Using a Phillips #0 screwdriver, unscrew the four screws inside.

  3. Shark ION Robot 750 Charging Dock Motherboard Replacement: шаг 3, изображение 1 из 2 Shark ION Robot 750 Charging Dock Motherboard Replacement: шаг 3, изображение 2 из 2
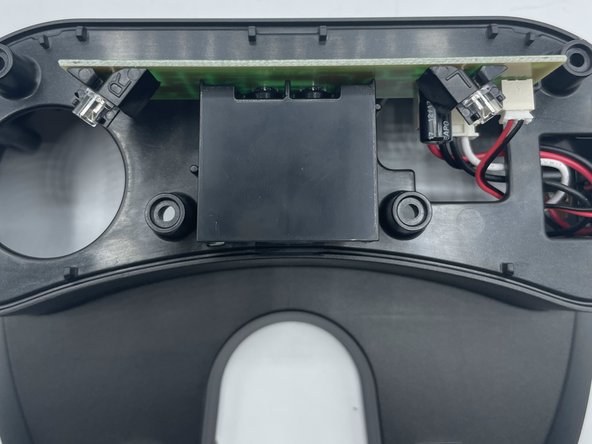
    • Gently push in the tabs to remove the sensor housing.

  4. Shark ION Robot 750 Charging Dock Motherboard Replacement: шаг 4, изображение 1 из 1
    • Unplug the two wires going into the motherboard, then gently lift the motherboard up and out of its slot.

Заключение

To reassemble your device, follow these instructions in reverse order.

corieon downing

Участник с: 09/13/23

181 Репутация

Автор 2 руководств

Команда

University of North Texas, Team 1-7, Kilpatrick Fall 2023 Участник University of North Texas, Team 1-7, Kilpatrick Fall 2023

UNT-KILPATRICK-F23S1G7

4 членов

Автор 5 руководств

0 Комментариев

Добавить комментарий

Просмотр статистики:

За последние 24часов: 0

За последние 7 дней: 0

За последние 30 дней: 12

За всё время: 65