Введение
This replacement guide uses a metal spudger, T20 Torx screwdriver, and a large plastic opening tool. This guide will show the user how to open the device casing, access the brush roll band, and replace the band.
CAUTION: Use care when using the metal spudger, as the edges of the tool are sharp and can cut you if you are not careful.
Выберете то, что вам нужно
-
-
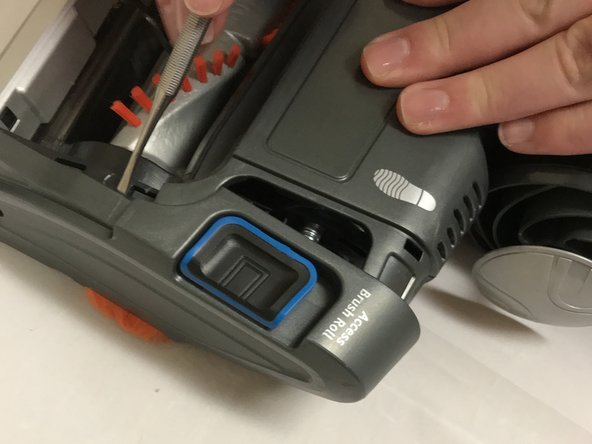
Press and slide the “access brush roll” buttons towards the text and lift plastic brush roll cover off.
-
-
-
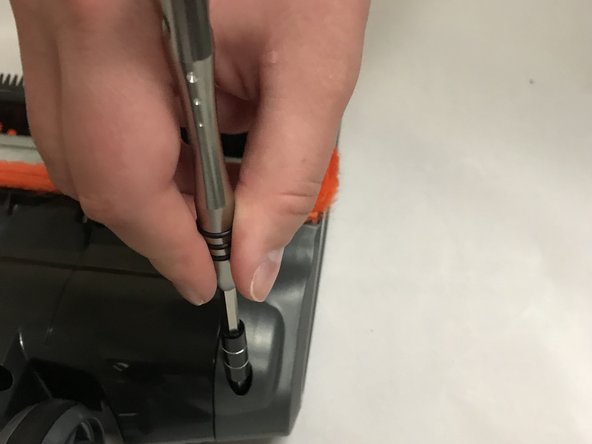
Gently pry the circular screw cover off of the side of the casing with the shoe print mark on it with the small metal spudger.
-
-
-
Use a T20 screwdriver to unscrew the 12.3 mm screw beneath the cover you just removed.
-
-
-
-
Move to the side of the casing with the shoe print mark. Use the T20 screwdriver to unscrew the 18mm screw.
-
-
-
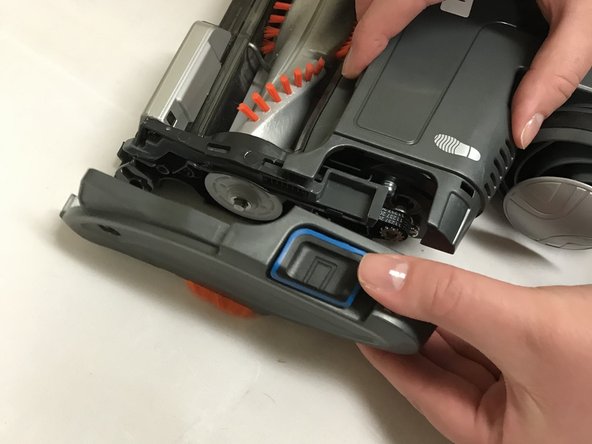
Use the small metal spudger to gently separate the side casing from the main body.
-
-
-
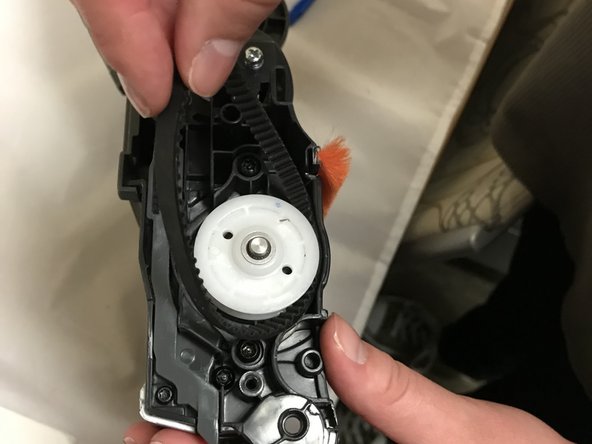
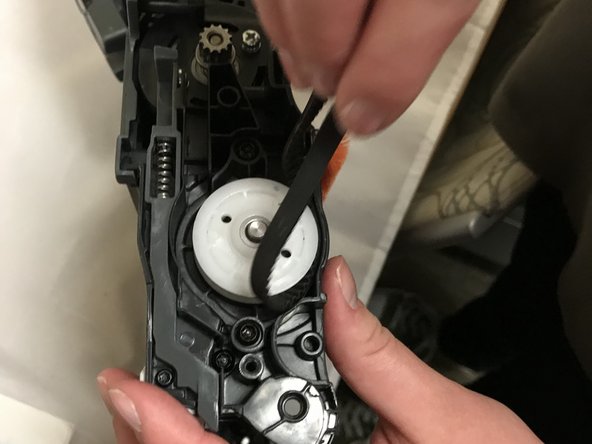
Use the large plastic opening tool to pry the rubber brushroll band towards you until the rubber brush roll band comes off of the small metal gear.
-


To reassemble your device, follow these instructions in reverse order.
To reassemble your device, follow these instructions in reverse order.
Отменить: Я не выполнил это руководство.
Еще один человек закончил это руководство.

Команда

Eastern Washington University, Team S4-G1, Crane Fall 2018 Участник Eastern Washington University, Team S4-G1, Crane Fall 2018
EWU-CRANE-F18S4G1
2 членов
Автор 15 руководств
3 Комментариев
You also forgot one of the most important parts when it comes to taking this apart. Which is taking the top off to get to motor I had solid lights which where the rug and floor lights and the vacuum would turn off which indicates that there is something going on with the motor. Unfortunately you didn’t have a picture on how to do so I had to break some parts to figure it out. So where the lights are its actually a sticker so you peal it off to get to the hidden screws to take the top off to get to the motor. After so long having this vacuum the dust can build up and clog the circuits where the motor is. I took Isopropyl alcohol 99% and used a tooth brush and scrubbed it and dried it and put the battery back in before putting everything back together and it worked perfectly again. Hope this helps out anyone else in the future so much better then buying a new vacuum.