Введение
In this guide, the repair that is demonstrated is of a loose black negative electrical wire of the solar cell in the SHARP EL-520X series of calculator, and the guide gives you step by step instructions on how to re-solder it back to the calculator's circuit board.
Sometimes the wiring of an electronic device can get loose from something as simple as a light knock and then fall out of place and the factory soldering is very thin on the circuit board.
You don't need to be too shy on how much solder you use as there is enough empty space in the calculator casing to accommodate a bit extra solder if you feel it will provide more security to keep the wire in place.
Выберете то, что вам нужно
-
-
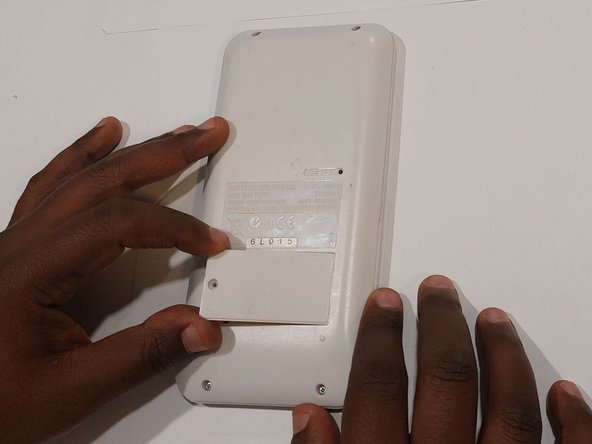
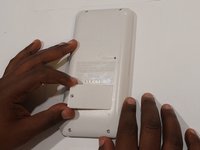
Remove the single screw from the battery door using a Phillips #00 screwdriver.
-
Remove the battery door.
-
-
-
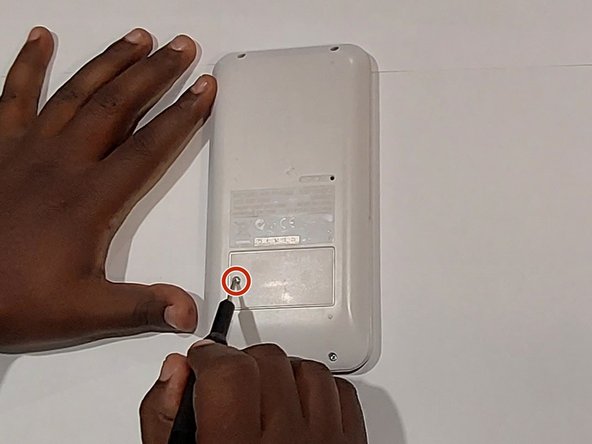
Remove two screws inside the battery compartment using a Phillips #00 screwdriver.
-
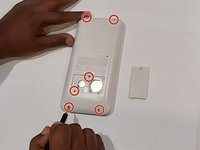
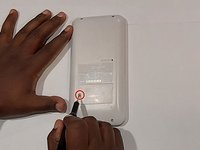
Remove the four screws in the corners of the calculator using a Phillips #00 screwdriver.
-
-
-
Flip the calculator to the front panel and use an opening pick to pry around the sides of the panel to pop it open.
-
Gently lay it open to reveal the circuit board inside.
-
-
-
-
Using a de-soldering braid, remove the old solder on the area where the loose solar cell wire will be fixed to.
-
-
-
Place the loose solar cell wire on to the de-soldered area of the circuit board and apply new solder on to that area.
-
-
-
Secure the back panel with the screws you removed in Steps 1 and 2 using a Phillips #00 screwdriver.
-


Отменить: Я не выполнил это руководство.
3 человек успешно провели ремонт по этому руководству.

Команда

York University, Team M-6, Allen Summer 2023 Участник York University, Team M-6, Allen Summer 2023
YORK-ALLEN-SU23SMG6
3 членов
Автор 5 руководств