Перейти к основному содержанию

Sky Thunder HD 8500WH Gear Replacement

Выберете то, что вам нужно

  1. Sky Thunder HD 8500WH Gear Replacement, Rotor Blade: шаг 1, изображение 1 из 3 Sky Thunder HD 8500WH Gear Replacement, Rotor Blade: шаг 1, изображение 2 из 3 Sky Thunder HD 8500WH Gear Replacement, Rotor Blade: шаг 1, изображение 3 из 3
    • Place the drone with the top side facing up.

    • Remove the blade cover.

    • Remove the rotor blade.

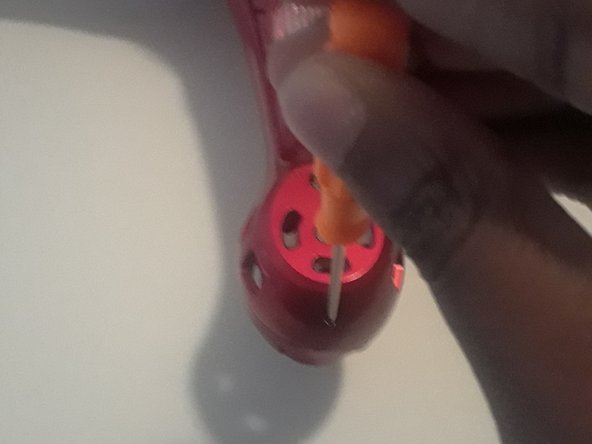
  2. Sky Thunder HD 8500WH Gear Replacement, Lockstitch: шаг 2, изображение 1 из 2 Sky Thunder HD 8500WH Gear Replacement, Lockstitch: шаг 2, изображение 2 из 2
    • Unscrew the 1cm screw holding in the blade lockstitch with the Phillips 0 Screwdriver.

    • Remove the blade lockstitch.

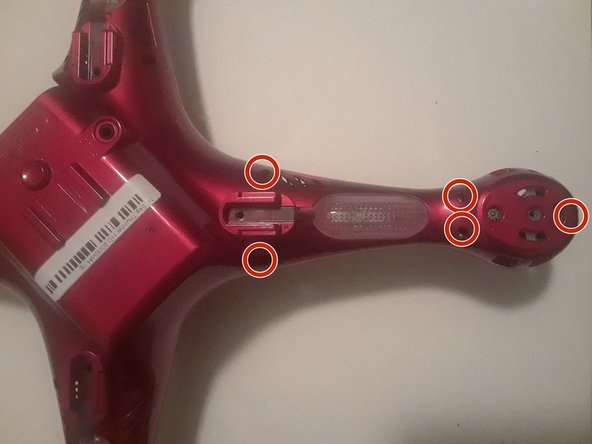
  3. Sky Thunder HD 8500WH Gear Replacement, Lower and Upper Body: шаг 3, изображение 1 из 3 Sky Thunder HD 8500WH Gear Replacement, Lower and Upper Body: шаг 3, изображение 2 из 3 Sky Thunder HD 8500WH Gear Replacement, Lower and Upper Body: шаг 3, изображение 3 из 3
    • Lay down the drone so the battery side is facing up.

    • Unscrew all 5 .8cm screws on each arm of the drone with the Phillips 0 Screwdriver.

    • Repeat previous bullet for each arm (20 screws in total).

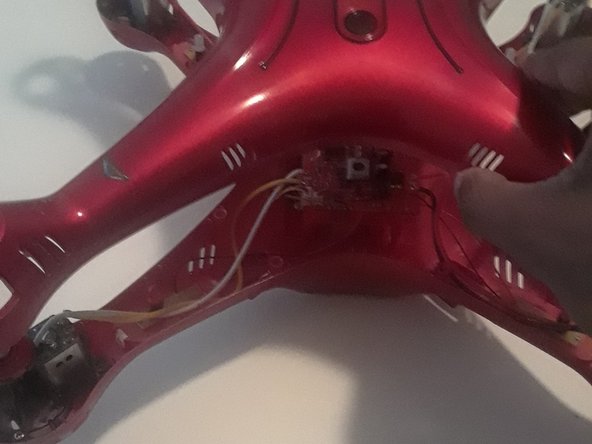
  4. Sky Thunder HD 8500WH Gear Replacement: шаг 4, изображение 1 из 2 Sky Thunder HD 8500WH Gear Replacement: шаг 4, изображение 2 из 2
    • Using a bit of force, gently pull apart the lower and upper bodies.

    • Keep going until both parts are completely separated.

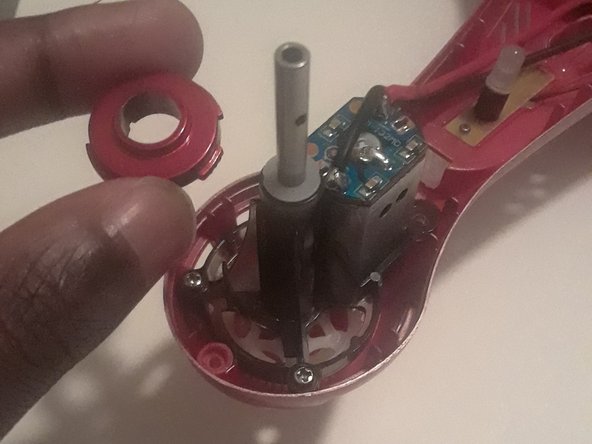
  5. Sky Thunder HD 8500WH Gear Replacement, Gear: шаг 5, изображение 1 из 2 Sky Thunder HD 8500WH Gear Replacement, Gear: шаг 5, изображение 2 из 2
    • Find the gear mechanism at the end of one of the drone arms.

    • Unscrew the two front .8cm screws with the Phillips 0 Screwdriver.

  6. Sky Thunder HD 8500WH Gear Replacement: шаг 6, изображение 1 из 2 Sky Thunder HD 8500WH Gear Replacement: шаг 6, изображение 2 из 2
    • Remove the white spacer.

    • Remove the red spacer.

  7. Sky Thunder HD 8500WH Gear Replacement: шаг 7, изображение 1 из 1
    • Pull the gear out from the bottom of the holding mechanism.

Заключение

To reassemble your device, follow these instructions in reverse order.

Еще один человек закончил это руководство.

Nicholas Jones

Участник с: 09/25/17

672 Репутация

Автор 5 руководств

Команда

University of North Texas, Team S2-G7, Thompson Fall 2017 Участник University of North Texas, Team S2-G7, Thompson Fall 2017

UNT-THOMPSON-F17S2G7

3 членов

Автор 5 руководств

0 Комментариев

Добавить комментарий

Просмотр статистики:

За последние 24часов: 2

За последние 7 дней: 2

За последние 30 дней: 4

За всё время: 139