Введение
New motors and Gears from the Company are out of stock. Provided your gears are fine, I will show you how to replace a motor with a quick connect motor.
Выберете то, что вам нужно
-
-
First you will need a Phillips PH0 screwdriver, shrink tubing that fits the thin wire, heat gun or lighter, Female Mini JST plug, and new or harvested motor (WLToys V949 motors work well).
-
-
-
Flip the Viper over. My Viper does not have a camera because it is damaged so remember to remove it.
-
Remove the 9 screws holding the bottom plate/battery holder.
-
Remove one last screw in the battery compartment.
-
-
-
Slowly pull the bottom off.
-
It should come completely off with little effort.
-
Then remove the screw holding the arm cover/led holder.
-
-
-
-
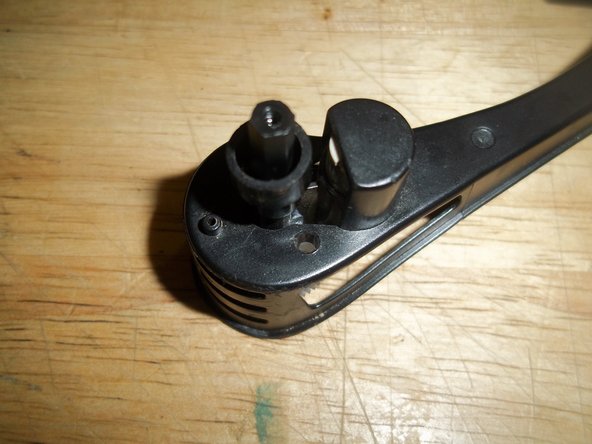
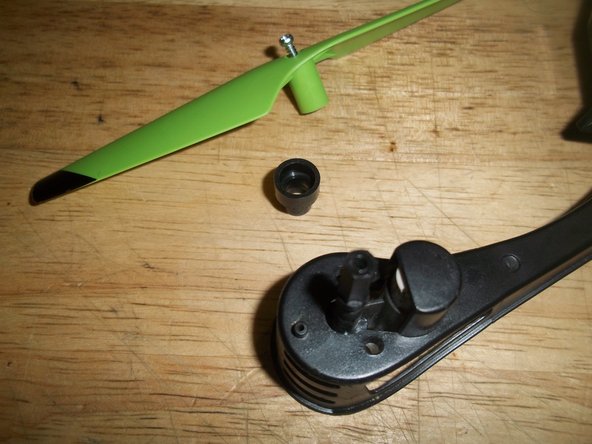
Remove the prop and the spacer.
-
Rotate the gear until you see the two screws as pictured and unscrew them. They may not come out of the gear easily so be careful not to lose them.
-
-
-
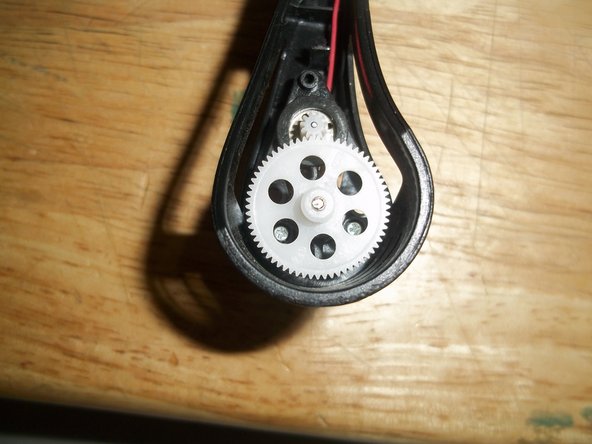
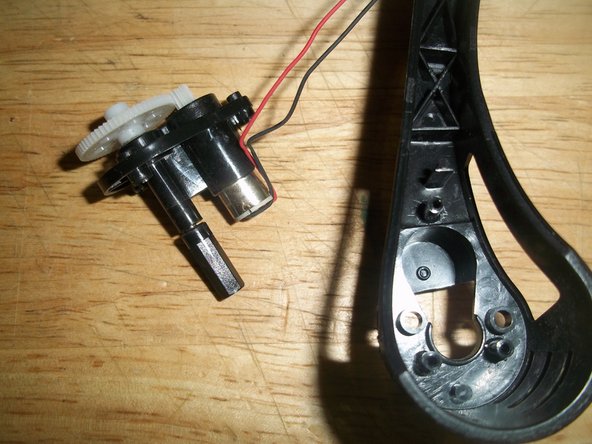
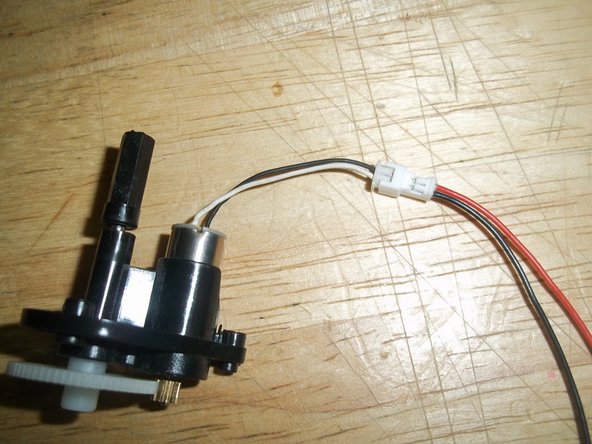
Slowly pull out the gear and motor assembly.
-
Carefully push the motor out of the gear side.
-
Once it is out you can inspect the gears and remove the small gear from the motor just in case it can be used later.
-
-
-
The new gear from the WLToys V949 should already have a metal gear that will match up the current pinion.
-
Press it firmly in place and connect the mini JST plug.
-
-
-
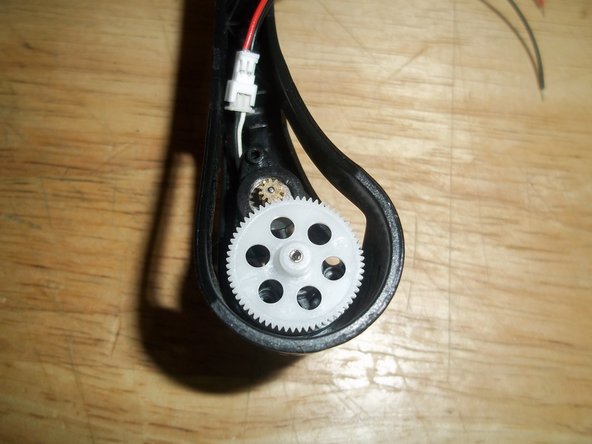
Put the entire assembly back and put the screws back in place.
-
Cut the wires at an offset and strip all the wires.
-
Place a small 14mm piece of heat shrink tubing on the wire, match black to black and red to red in this case and hand twist the wires together.
-
Slide the tubing over the bare wires and heat up the shrink tubing to keep the connection from coming apart easily.
-
-
-
I was replacing the motor with red and black wires in the previous step and this is what the motor with the white and red wire looks like when connected.
-
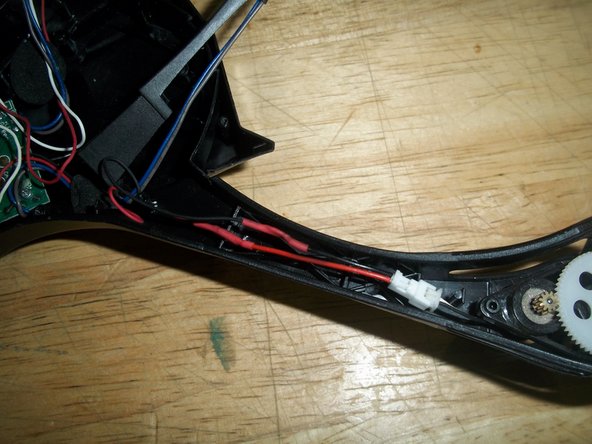
Carefully tuck the wired in the side of the arm and replace the cover.
-
Make sure you do not have any of the wires in a place that can be pinched or damaged by reassembly.
-
Now you are ready to put everything back and you now have a Sky Viper with replaceable motors.
-


To reassemble your device, follow these instructions in reverse order.
To reassemble your device, follow these instructions in reverse order.
Отменить: Я не выполнил это руководство.
3 участников успешно повторили данное руководство.

Один комментарий
Would this work with replacing a motor on the Sky Viper s1700 Stunt Drone?