Выберете то, что вам нужно
-
Этот шаг не переведен. Помогите перевести
-
He displayed our family photos with beauty
-
He had a slightly lower es display than his friends, but was well respected
-
RIP SP800W. Why did you have such a short lifespan?
-
-
Этот шаг не переведен. Помогите перевести
-
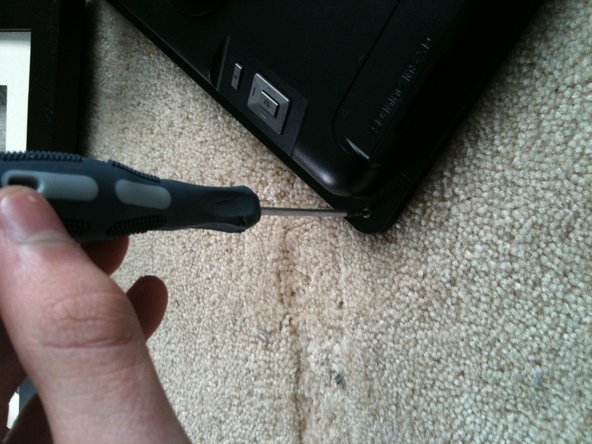
Remove the peg screws holding the electronic photo unit to the display.
-
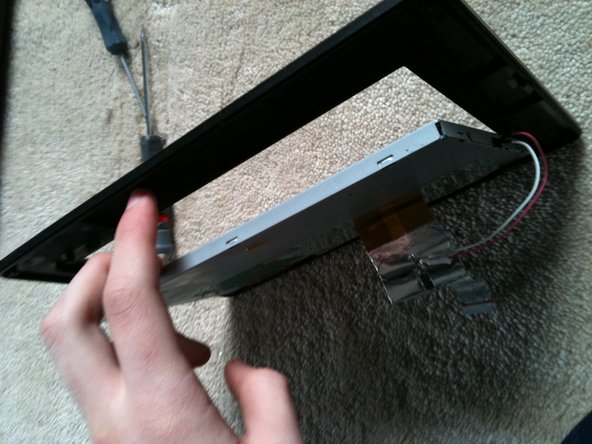
Once the screws are removed the electronic display unit simply lifts right out.
-
-
Этот шаг не переведен. Помогите перевести
-
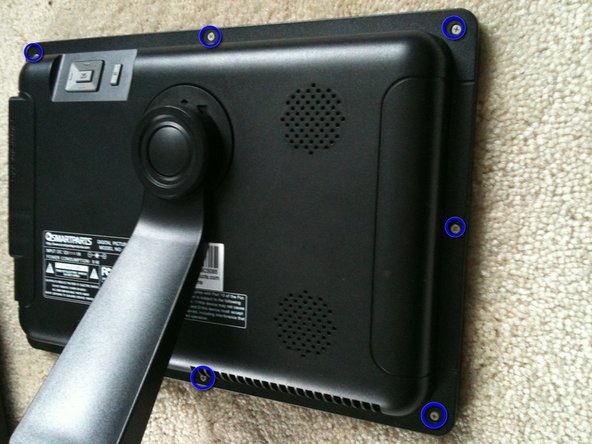
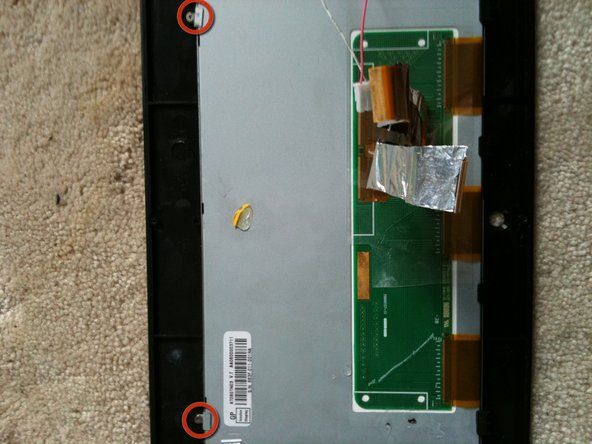
The screws surrounded by the blue and red circles must be removed.
-
Sadly the one by the memory card slow has been lost
-
-
Этот шаг не переведен. Помогите перевести
-
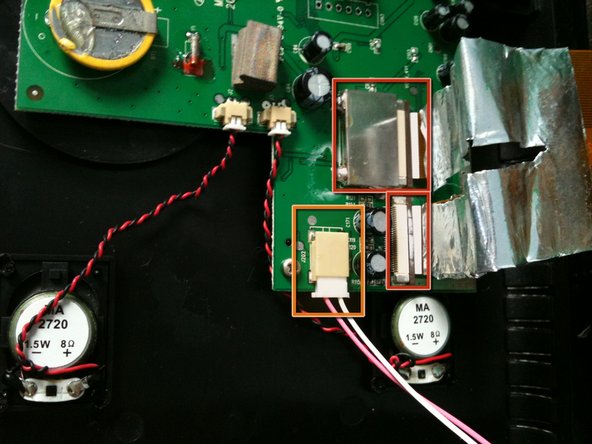
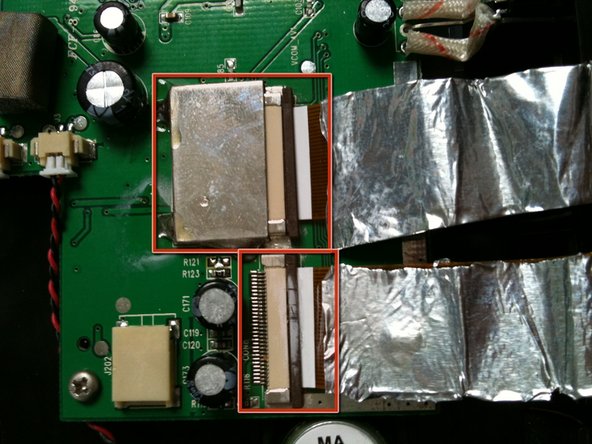
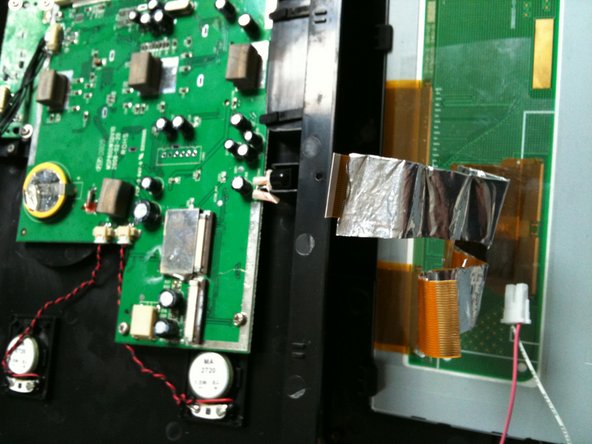
The connector in the orange box provides the display's backlighting power.
-
The Y shaped ribbon connectors in the red box feed the display images.
-
With out the orange boxed connector, pictures would appear, but you would need a lamp to see them
-
With out the data connecors connected, they backlight would be on, and thats it. It would be all white.
-
-
-
Этот шаг не переведен. Помогите перевести
-
The connector in the red box shows how the latch frees the cable. The brown latch must be slid towards the cable to free it.
-
The blue box shows a slightly crocked, but looked in cable.
-
-
Этот шаг не переведен. Помогите перевести
-
Remove the screws with a philips 00 screw drives, and remove the two metal brackets holding the LCD to the cheap black frame.
-
The lift the display from the plastic frame.
-
-
Этот шаг не переведен. Помогите перевести
-
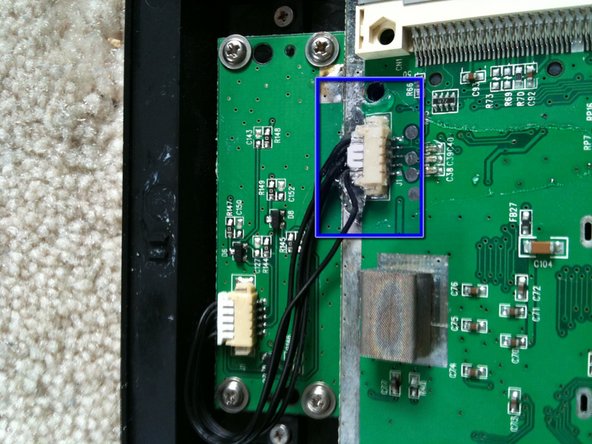
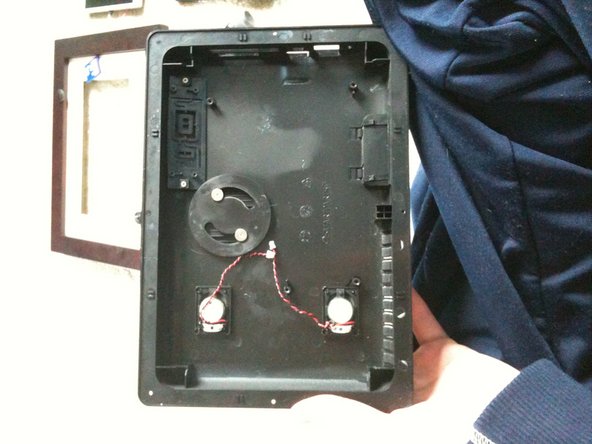
Remove the speaker connectors from the logic board
-
To do this, pull on the wire. As dumb as it may sound, you MUST use the wire. Pulling on the brittle plastic will harm the speaker connecter (not logic board connector) As you can see, I did pull on the connector for the control board, and damaged it
-
I used gorilla glue to fix that.
-
-
Этот шаг не переведен. Помогите перевести
-
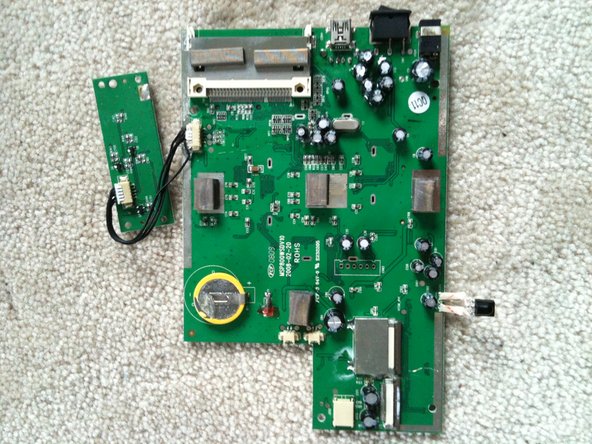
You should have
-
Logic board, speakers
-
rear case assembly, display (LCD panel)
-
plastic front display frame
-
wooded frame, peg screws
-
pane of glass
-
cardboard boarder
-
-
Этот шаг не переведен. Помогите перевести
-
The first photo shows what screws need to me removed
-
the second photo shows what happened when I pulled on the connector.
-
I should have pulled on the black wires instead.
-
-
Этот шаг не переведен. Помогите перевести
-
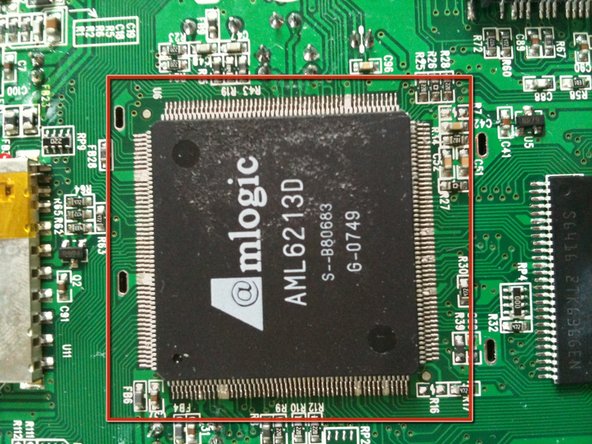
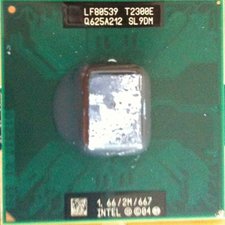
I googled Mlogic AML62130, and got nothing. But it's a good guess that the system IC is from China's AMLogic.
-
The AMLogic site is correct. US AMLogic SiteThats the US version.
-
http://www.amlogic.com/product01.htm It even shows a picture of the SOC on the link above. Same model.
-
Then they can edit this guide and let the world know what they are.
-
-
Этот шаг не переведен. Помогите перевести
-
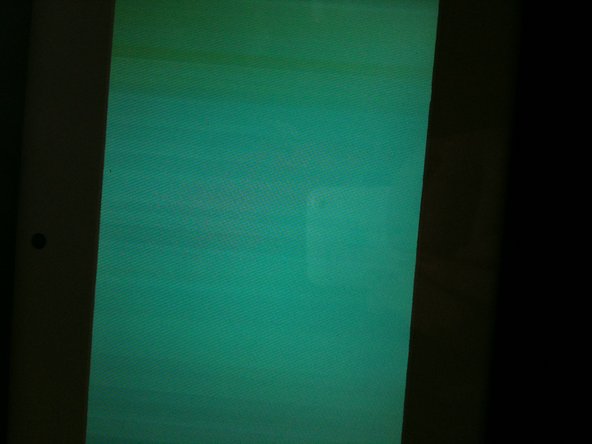
So after reassembling the photo frame, it still appears dead.
-
Oh well. It was nice when it worked.
-
All these photos were taken on an Apple iPhone 3GS 16GB White. I used sun light for these pictures, no artificial light.
-
Please let me know if you fund any grammatical errors, or have suggestions... I want to know.
-