Введение
The wireless communication card receives sound through and internet connection. It is connected to three antenna throughout the speaker, which you will need to unplug from the card. This will need to be replaced if you are unable to wirelessly connect to the speaker.
Выберете то, что вам нужно
-
-
Insert a spudger along the edge of the screen and gently use it to pull the screen away from the casing. Slide the spudger along the length of the grill to detach all the clips holding it in place.
-
-
-
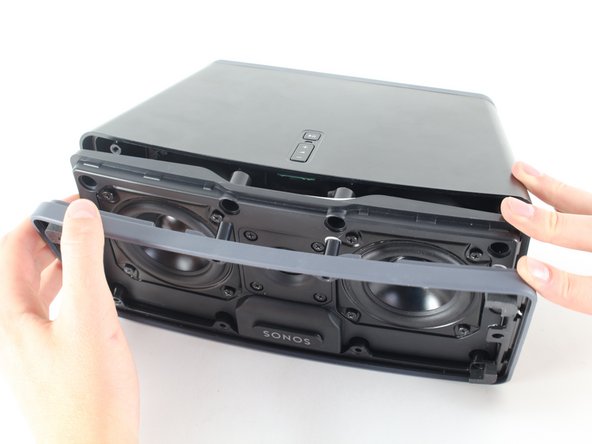
Gently pull the screen away from the body of the speaker, revealing the tweeter and two mid-range drivers behind it.
-
-
-
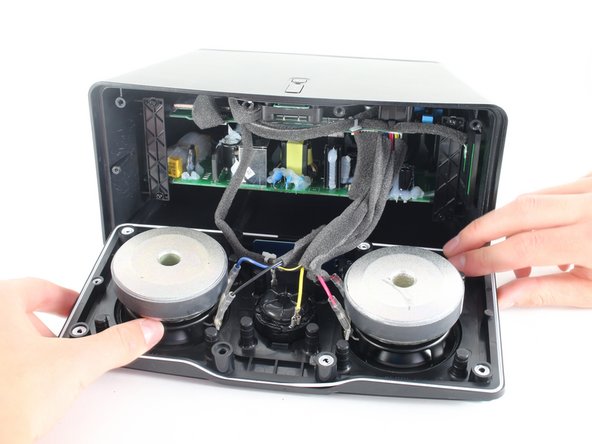
Unscrew eight 1.5 inch Phillips #2 screws attaching the front speaker panel to the box.
-
Unscrew the single 1 inch Phillips #2 screw located on the left side of the panel. This may be hidden beneath the warranty void sticker that you'll want to remove.
-
Unscrew the single 3/4 inch Phillips #2 screw, which is the last thing holding the front panel to the casing.
-
-
-
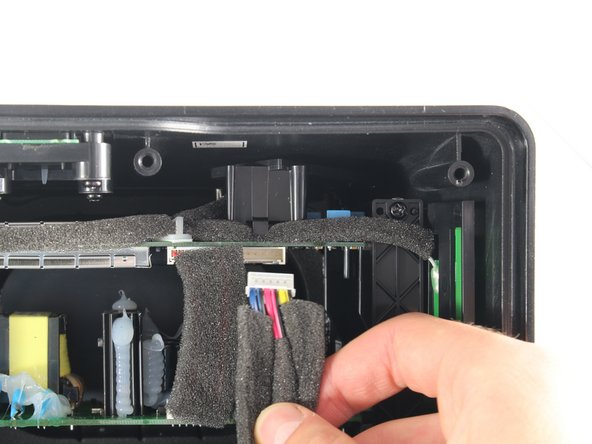
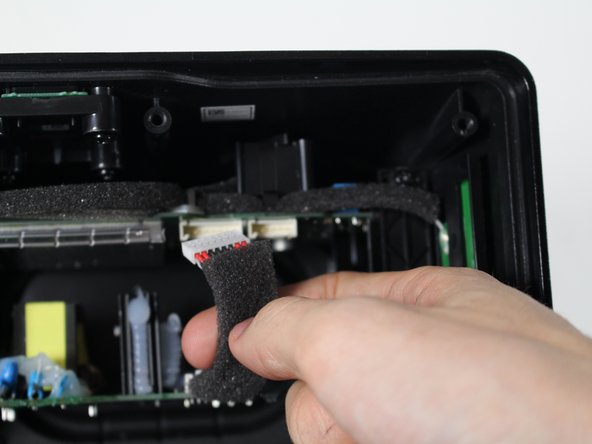
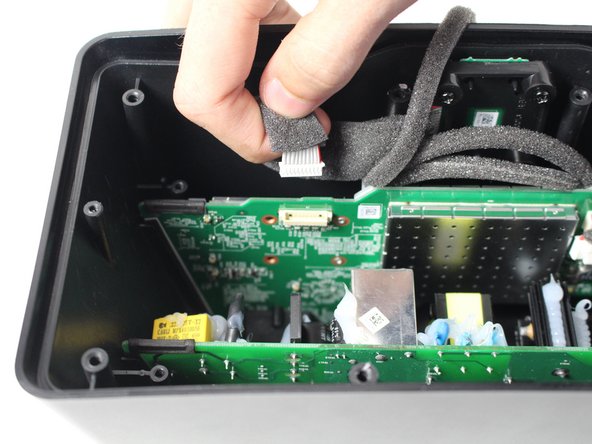
Disconnect the front panel from the motherboard by gently reaching in and pushing the tab underneath the wire connector and pulling towards you.
-
-
-
-
Gently remove the wireless card located at the bottom of the front speaker panel by pulling up and out with your index finger and thumb.
You must first loosen the Phillips #1 screws holding the plastic brackets that keep the Wi-Fi card in place.
On the Sonos Play 3 I opened, the Wi-Fi card lied flat below the plastic clips. Between the card and the clips, there were 2 rectangular foam pads glued to the Wi-Fi card.
-
-
-
Disconnect the motherboard from the power supply board by gently reaching in and pushing the tab underneath the wire connector and pulling towards you.
-
-
-
Disconnect the motherboard from the volume button board by gently grabbing the connector and pulling it towards you.
-
-
-
Using a Phillips #2 screwdriver, remove the 4 screws securing the two plastic panels down.
-
-
-
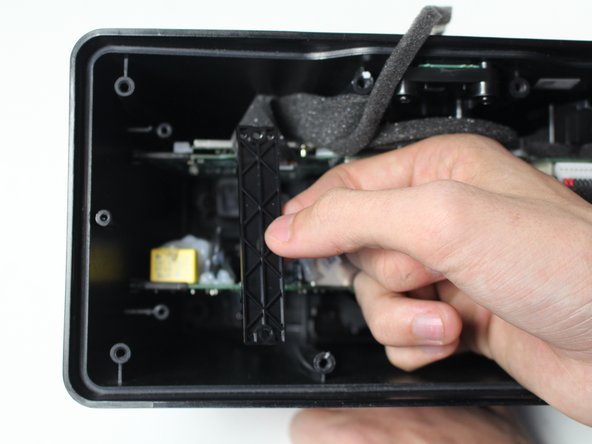
Remove the two plastic panels on either side of the device that hold the motherboard and power supply board in place.
-
-
-
Using a Phillips screwdriver, unscrew the two screws in the back of the device that hold the motherboard in place.
-
-
-
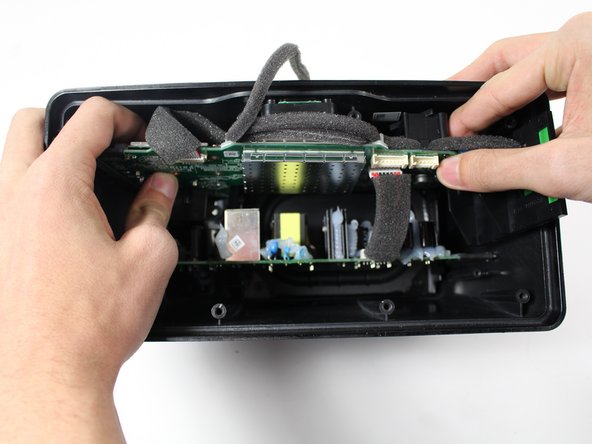
Gently remove the motherboard from the Sonos device by sliding it straight back towards you.
-
-
-
Using a Phillips screwdriver, unscrew the two screws securing the communication card to the motherboard.
-
-
-
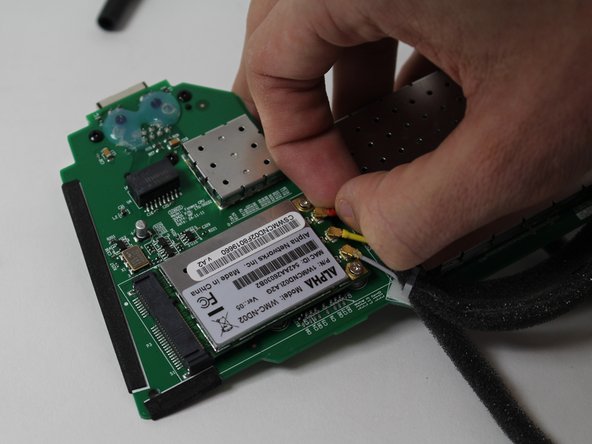
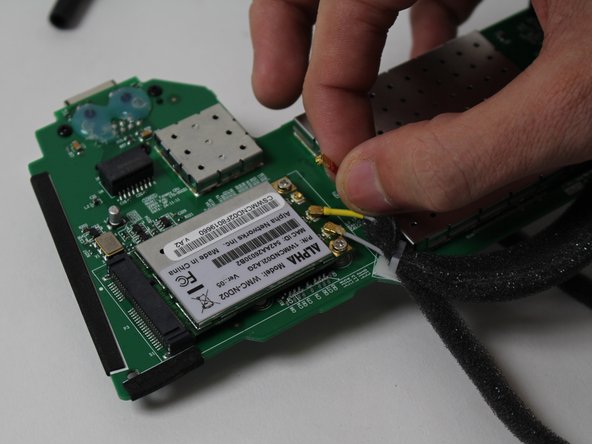
Disconnect the wire connector clips from the communication card by just using your index finger and thumb.
-
-
-
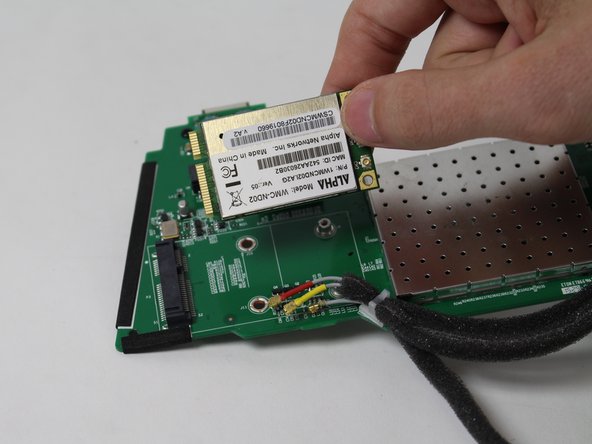
Remove the communication card by grabbing it with your index finger and thumb and pulling it to the right and up.
-


To reassemble your device, follow these instructions in reverse order.
To reassemble your device, follow these instructions in reverse order.
Отменить: Я не выполнил это руководство.
3 участников успешно повторили данное руководство.
Команда

Cal Poly, Team 25-6, Maness Spring 2016 Участник Cal Poly, Team 25-6, Maness Spring 2016
CPSU-MANESS-S16S25G6
4 членов
Автор 14 руководств
Один комментарий
Do you have a recommendation for a replacement wireless card? If so where can I purchase it?