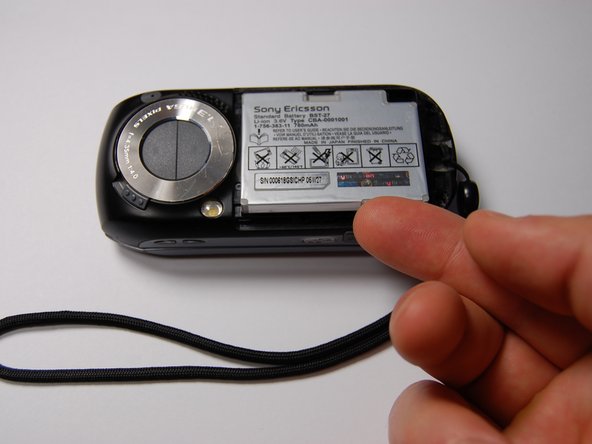
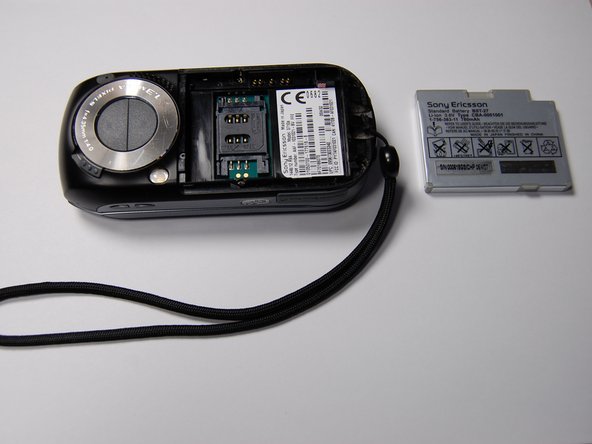
Перейти к основному содержанию

Sony Ericsson s710a Keypad Replacement

Выберете то, что вам нужно

  1. Sony Ericsson s710a Keypad Replacement, Battery: шаг 1, изображение 1 из 1
    • Remove the back cover by sliding it off.

  2. Sony Ericsson s710a Keypad Replacement: шаг 2, изображение 1 из 1
    • Pull the battery out using your finger.

  3. Sony Ericsson s710a Keypad Replacement: шаг 3, изображение 1 из 1
    • The battery can now be replaced.

    • The battery is a 780 mAh rechargeable Lithium Ion battery.

  4. Sony Ericsson s710a Keypad Replacement, Keypad: шаг 4, изображение 1 из 1
    • Remove the four screws using a Phillips #00 screwdriver.

  5. Sony Ericsson s710a Keypad Replacement: шаг 5, изображение 1 из 1
    • Remove the plastic cover with the iFixit opening tool.

    • It is easiest to begin at the SD card slot and alternate prying the cover on opposite sides.

    • The cover will not come off completely, because there are additional screws that need to be removed, but will pry loose up to the camera.

  6. Sony Ericsson s710a Keypad Replacement: шаг 6, изображение 1 из 1
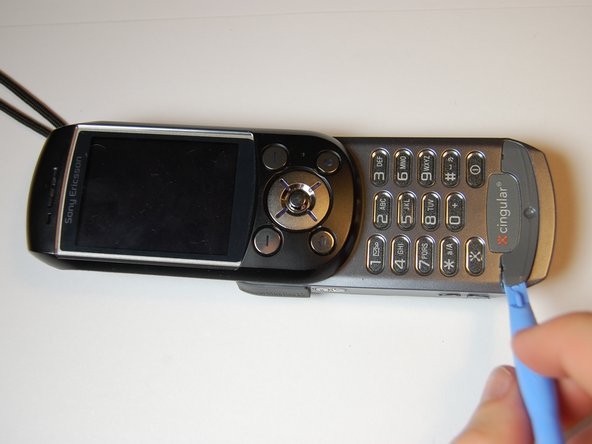
    • Using the iFixit opening tool, pry off the plastic piece at the bottom of the keypad.

    • This piece is fixed with an adhesive, so you must break the bond to reach the screws underneath. It may be necessary to use additional adhesive during reassembly.

  7. Sony Ericsson s710a Keypad Replacement: шаг 7, изображение 1 из 1
    • Remove two 6 mm screws from beneath the previously removed plastic cover using a Phillips #00 screwdriver.

    • Completely remove the back plastic cover.

  8. Sony Ericsson s710a Keypad Replacement: шаг 8, изображение 1 из 2 Sony Ericsson s710a Keypad Replacement: шаг 8, изображение 2 из 2
    • Pry the board from the plastic case using the iFixit opening tool.

    • This part is tricky. The black plastic pieces at the base of the phone hold the board in.

  9. Sony Ericsson s710a Keypad Replacement: шаг 9, изображение 1 из 1
    • After removing the board, you will see the plastic keyboard beneath. This can be removed by hand and is very flexible.

    • You have successfully removed the keypad. You can clean, decorate, or replace the keyboard without worrying about damaging the phone.

Заключение

To reassemble your device, follow these instructions in reverse order.

Еще один человек закончил это руководство.

Alexander

Участник с: 10/29/11

75 Репутация

Автор 4 руководств

Команда

University of Maryland, Team 1-1, Calloway Fall 2011 Участник University of Maryland, Team 1-1, Calloway Fall 2011

UMD-CALLOWAY-F11S1G1

3 членов

Автор 14 руководств

0 Комментариев

Добавить комментарий

Просмотр статистики:

За последние 24часов: 0

За последние 7 дней: 1

За последние 30 дней: 1

За всё время: 1,339