Перейти к основному содержанию

Этот документ имеет более свежие изменения. Перейти к последней непроверенной версии.

Sony Ericsson s710a LCD Screen Replacement

Выберете то, что вам нужно

  1. Sony Ericsson s710a LCD Screen Replacement, Battery: шаг 1, изображение 1 из 1
    • Remove the back cover by sliding it off.

  2. Sony Ericsson s710a LCD Screen Replacement: шаг 2, изображение 1 из 1
    • Pull the battery out using your finger.

  3. Sony Ericsson s710a LCD Screen Replacement: шаг 3, изображение 1 из 1
    • The battery can now be replaced.

    • The battery is a 780 mAh rechargeable Lithium Ion battery.

  4. Sony Ericsson s710a LCD Screen Replacement, LCD Screen: шаг 4, изображение 1 из 1
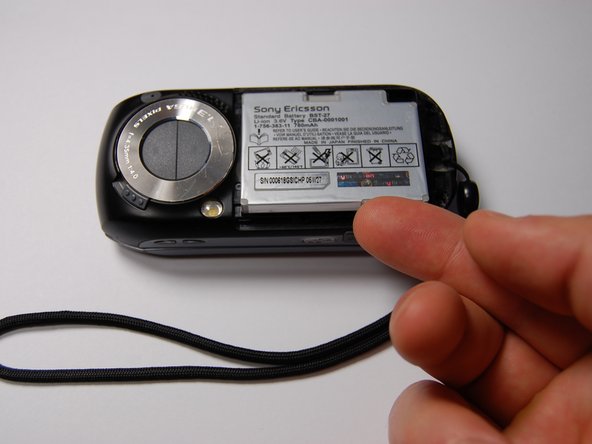
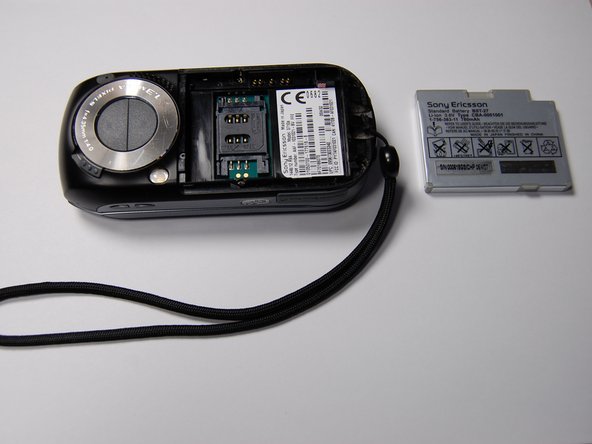
    • Remove the four 6mm phillips head screws located beneath the battery.

    • Set aside the screws in a designated container so that they can easily be found during reassembly.

  5. Sony Ericsson s710a LCD Screen Replacement: шаг 5, изображение 1 из 1
    • Remove microphone cover using a plastic opening tool.

  6. Sony Ericsson s710a LCD Screen Replacement: шаг 6, изображение 1 из 1
    • Remove the two 6mm screws on the front of the phone beneath the microphone cover.

  7. Sony Ericsson s710a LCD Screen Replacement: шаг 7, изображение 1 из 1
    • Remove the black plastic piece on the side.

    • This will allow for easier access while prying.

  8. Sony Ericsson s710a LCD Screen Replacement: шаг 8, изображение 1 из 1
    • Use the plastic prying tool to loosen the motherboard from the phone.

  9. Sony Ericsson s710a LCD Screen Replacement: шаг 9, изображение 1 из 1
    • Lift the motherboard out with your fingers once it is loose.

    • Pull slowly. This will require some force.

  10. Sony Ericsson s710a LCD Screen Replacement: шаг 10, изображение 1 из 1
    • Remove the two cable connectors using a plastic opening tool.

    • Mark the orientation and port of each cable before detaching them. The connectors are symmetrical, so this is essential for reassembly.

    • Place the motherboard aside in a safe location.

  11. Sony Ericsson s710a LCD Screen Replacement: шаг 11, изображение 1 из 1
    • On the rotational assembly.

    • Unscrew the four 3mm screws

    • Unscrew the two 2.3mm screws

    • Remember to keep the screws grouped away from the other screws in the device.

    • Lift this assembly off of the phone to allow access to the other half of the device.

  12. Sony Ericsson s710a LCD Screen Replacement: шаг 12, изображение 1 из 1
    • Detach the cable connectors on the other end of the cables using a plastic opening tool.

    • Remember to record the orientation and location of each connector.

  13. Sony Ericsson s710a LCD Screen Replacement: шаг 13, изображение 1 из 1
    • Remove the plastic cover on the back of the phone using a plastic opening tool.

    • Remove the two 6mm screws beneath this cover.

    • Also remove the two 6mm screws near the top of the phone.

  14. Sony Ericsson s710a LCD Screen Replacement: шаг 14, изображение 1 из 1
    • Pry away the screen assembly from the main case using a plastic opening tool.

  15. Sony Ericsson s710a LCD Screen Replacement: шаг 15, изображение 1 из 1
    • With face plate and LCD exposed, replace the existing cracked LCD with a new LCD if desired.

    • Be sure to test and make sure the detachable connections are arranged correctly.

Заключение

To reassemble your device, follow these instructions in reverse order.

Jamel Lugg

Участник с: 10/29/11

1 Репутация

1 руководство автора

Команда

University of Maryland, Team 1-1, Calloway Fall 2011 Участник University of Maryland, Team 1-1, Calloway Fall 2011

UMD-CALLOWAY-F11S1G1

3 членов

Автор 14 руководств

0 Комментариев

Добавить комментарий

Просмотр статистики:

За последние 24часов: 0

За последние 7 дней: 1

За последние 30 дней: 4

За всё время: 1,469