Введение
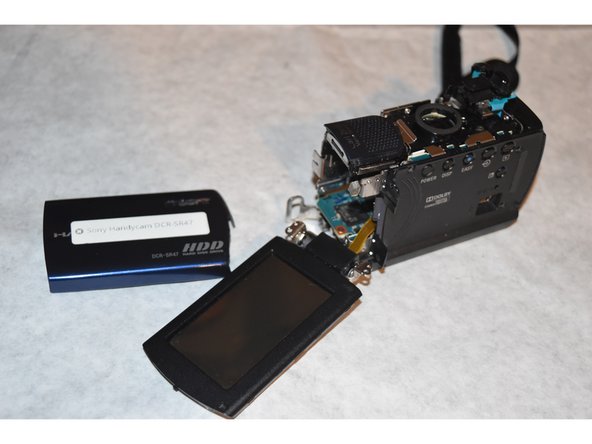
The flex cable can control every electronic feature of the camera, from the LCD screen to the picture settings. Replacing the flex cable can completely fix a camera that shows poor resolution or is not responding to LCD screen commands.
Выберете то, что вам нужно
-
-
Remove the battery.
-
Use Philips #000 screwdriver to remove the 3mm screw under the battery
-
-
-
Using the Phillips #000 screwdriver, remove all 6 of the 3mm screws located on the side of the camera.
-
-
-
Using the Phillips #000 tool, remove the three 3mm screws from under the LCD screen
-
-
-
Using the Phillips #000 screwdriver, remove the one 3mm screw on the back of the camera
-
Pull away the back shell of the camera, exposing the hard drive.
-
-
-
Gently pull the flex cable away from the hard drive. It should pop-off with minimal effort.
-
Once removing the flex cable, remove the plastic guard from the side of the hard drive.
-
-
-
-
Using the Phillips #000 screwdriver, remove the four screws from the housing under the hard drive.
-
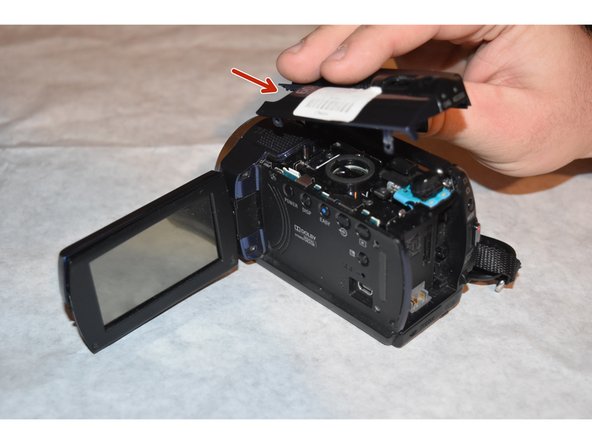
Remove the top plastic housing of the camera. All screws attaching the housing have previously been removed.
-
-
-
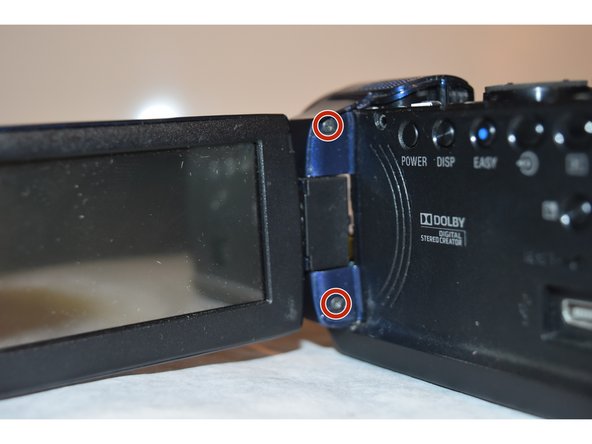
Using the Phillips #000 screwdriver, remove the two 3mm screws from the LCD Screen connector.
-
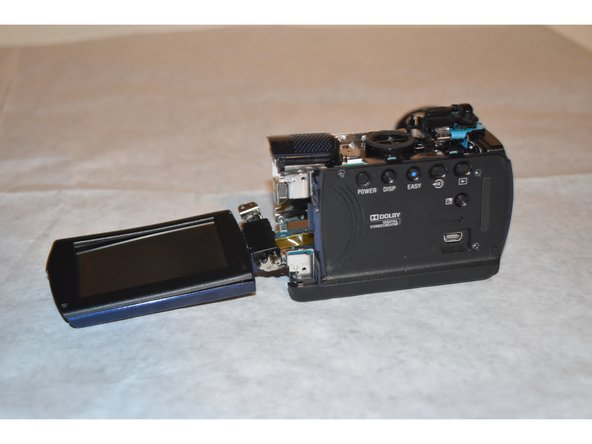
Remove the two 3mm screws that were exposed through the previous image
-
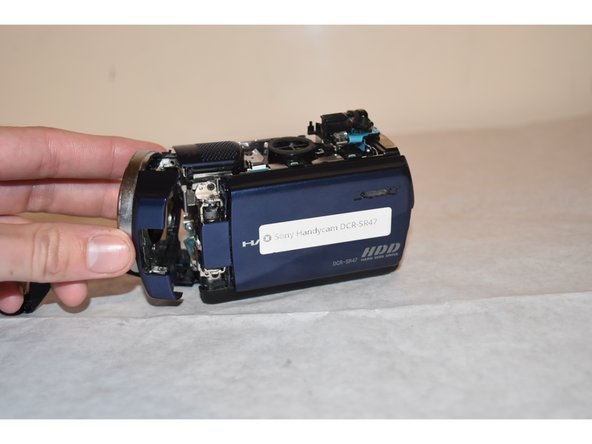
Carefully detach the LCD Screen from the rest of the camera.
-
-
-
Carefully remove the lens covering from the camera in order to access the internal components
-
-
-
Using the plastic opening tool, carefully separate the LCD Screen from the back covering
-
-
-
Using the Philips #000 screwdriver, remove the single 3mm screw from the top of the camera. This removal will allow the microphone port covering to be removed
-
-
-
Using the Phillips #000 screwdriver, remove the single 2mm screw from under the microphone port covering
-
-
-
Using the spudger, gently remove the smaller flex cable connector from the LCD screen.
-
*You may also gently tug the flex cable using fingers if no opening tool is available*
-
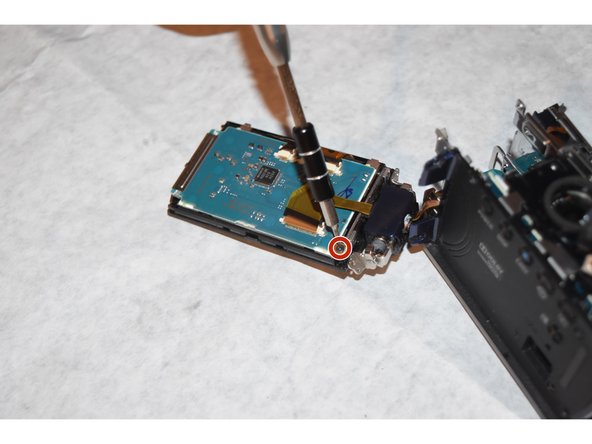
Using the Phillips #000 screwdriver, remove the one 3mm screw connecting the LCD screen from the housing.
-
-
-
Using the Phillips #000 screwdriver, remove the one 3mm screw from the speaker port
-
Detach the speaker and side of camera from the internal components
-
-
-
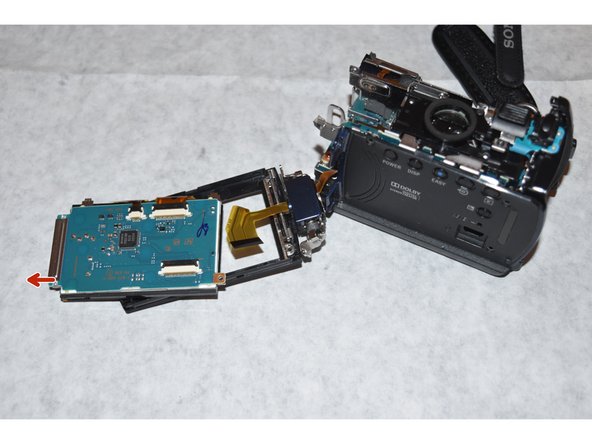
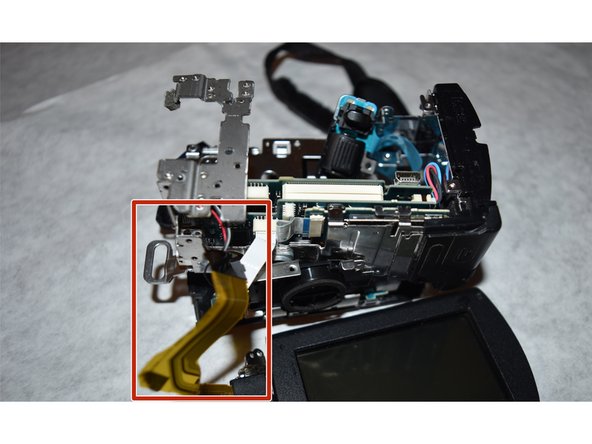
Gently pull the flex cable out of the connector piece
-
*a spudger may be used if necessary*
-
-
-
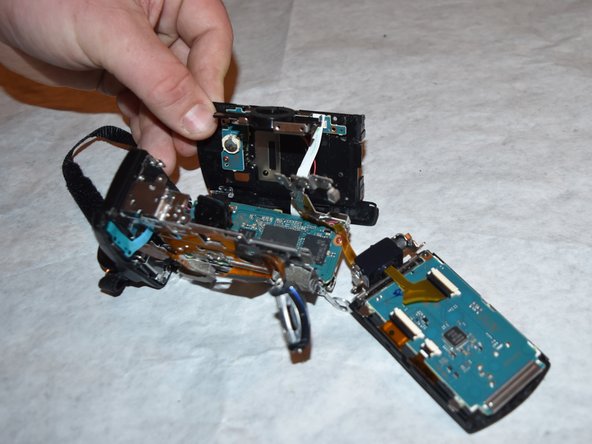
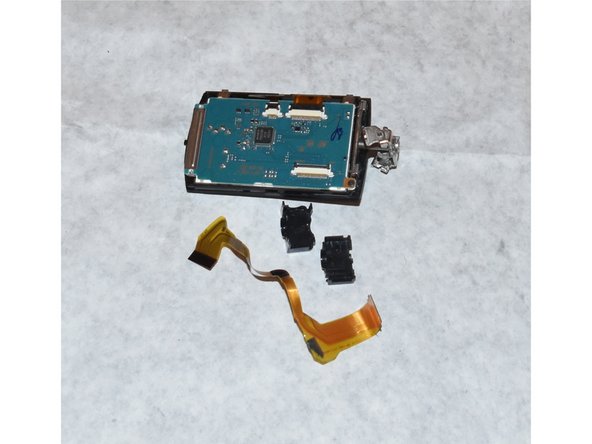
After removing the flex cable from the internal components, separate the LCD pivot arm housing from the flex cable using a spudger.
-
The old flex cable is now free and able to be switched with the new one.
-


To reassemble your device, follow these instructions in reverse order.
To reassemble your device, follow these instructions in reverse order.
Команда

Western Carolina University, Team 1-2, Virtue Fall 2015 Участник Western Carolina University, Team 1-2, Virtue Fall 2015
WCU-VIRTUE-F15S1G2
4 членов
Автор 8 руководств