Перейти к основному содержанию

Sony ICF-C1T Speaker Replacement

Выберете то, что вам нужно

  1. Sony ICF-C1T Speaker Replacement, Speaker: шаг 1, изображение 1 из 2 Sony ICF-C1T Speaker Replacement, Speaker: шаг 1, изображение 2 из 2
    • Using a Phillips #00 screwdriver, remove the four 14mm screws from the underside of the device.

    • Be sure that the device is unplugged and the battery has been removed before tampering with the device.

  2. Sony ICF-C1T Speaker Replacement: шаг 2, изображение 1 из 1
    • Using the opening tool, gently pry the top portion from the side section of your device.

  3. Sony ICF-C1T Speaker Replacement: шаг 3, изображение 1 из 2 Sony ICF-C1T Speaker Replacement: шаг 3, изображение 2 из 2
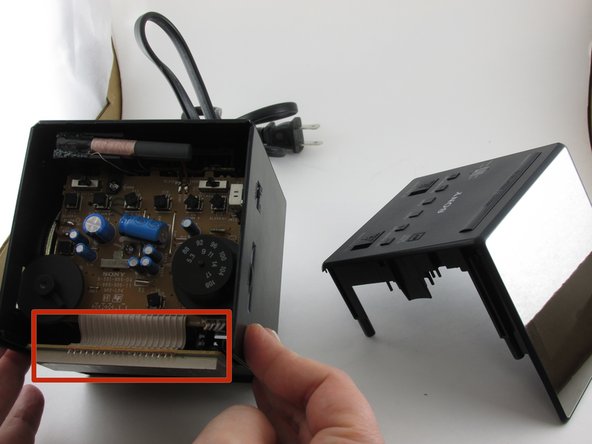
    • Gently pull the top of the clock away from the rest of the device.

    • Be careful when tugging on this piece of the clock. The clock display is located directly inside the front face and is connected by multiple wires.

  4. Sony ICF-C1T Speaker Replacement: шаг 4, изображение 1 из 2 Sony ICF-C1T Speaker Replacement: шаг 4, изображение 2 из 2
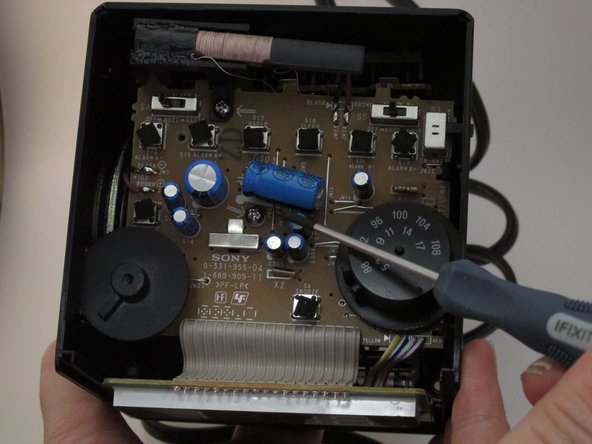
    • Using the Phillips #00 screwdriver, remove the two 14mm screws from the top of the motherboard.

    • Be careful to avoid the sharp pieces on the motherboard when handling the device.

  5. Sony ICF-C1T Speaker Replacement: шаг 5, изображение 1 из 3 Sony ICF-C1T Speaker Replacement: шаг 5, изображение 2 из 3 Sony ICF-C1T Speaker Replacement: шаг 5, изображение 3 из 3
    • Remove the Phillips #00 screw from the bottom of the white and blue box.

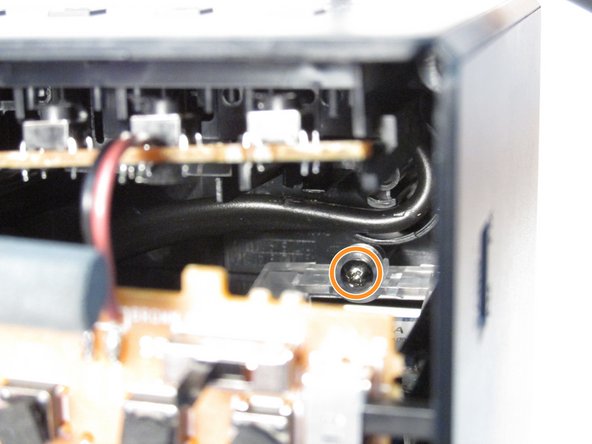
    • Remove the Phillips #00 screw from behind the white and blue box.

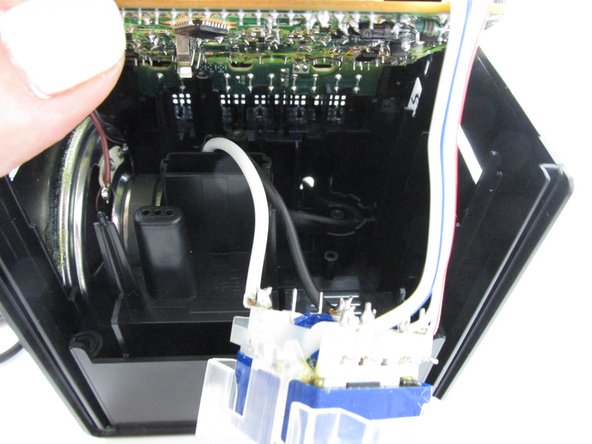
    • After unscrewing the white box, gently pull it out. This will allow for more room to access the speaker.

  6. Sony ICF-C1T Speaker Replacement: шаг 6, изображение 1 из 1
    • To separate the motherboard completely, you can cut the red and black wires that are attached to the speaker. This will allow you to access the speaker fully.

    • Use caution when tampering with the wires and sharp parts of the device.

  7. Sony ICF-C1T Speaker Replacement: шаг 7, изображение 1 из 2 Sony ICF-C1T Speaker Replacement: шаг 7, изображение 2 из 2
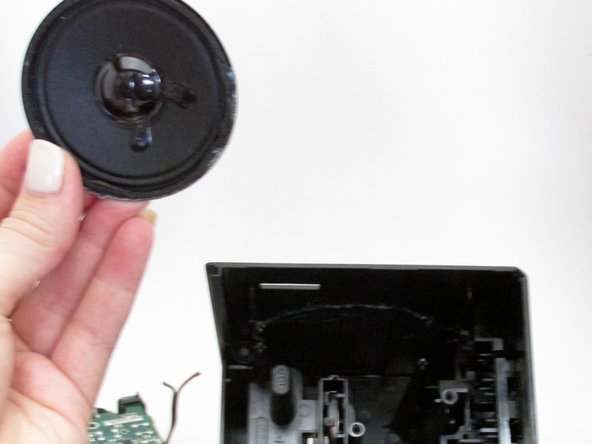
    • Use the plastic opening tool and the spudger to separate the speaker from the device by tracing its outline and loosening the glue.

    • Do this step gently as to not damage the device or cause harm to yourself.

    • When reassembling the device, you will need to use glue to place the new speaker back in its place.

    • It would be wise to test the device after reconnecting wires, before screwing and gluing the parts back together.

Заключение

To reassemble your device, follow these instructions in reverse order.

Еще один человек закончил это руководство.

Megan

Участник с: 01/30/15

275 Репутация

Автор 2 руководств

Команда

University of Kentucky Louisville, Team 1-5, Rountree Winter 2015 Участник University of Kentucky Louisville, Team 1-5, Rountree Winter 2015

LOUISVILLE-ROUNTREE-W15S1G5

3 членов

Автор 5 руководств

Один комментарий

can I connect aux out port to speaker?

Dong-Hwan Shin - Ответить

Добавить комментарий

Просмотр статистики:

За последние 24часов: 0

За последние 7 дней: 2

За последние 30 дней: 16

За всё время: 2,574