Введение
Audio distortion and an inability to get your turntable to turn are signs that you need to replace your drive belt. This can be due to it wearing out or breaking over time. This replacement doesn’t require any tools. Everything that you will remove should come off easily, and it will only take a short amount of time.
Выберете то, что вам нужно
-
-
Lift the rubber mat, and put it to the side. It should be easy to remove, because it simply rests on a metal platter without anything securing it down.
-
-
-
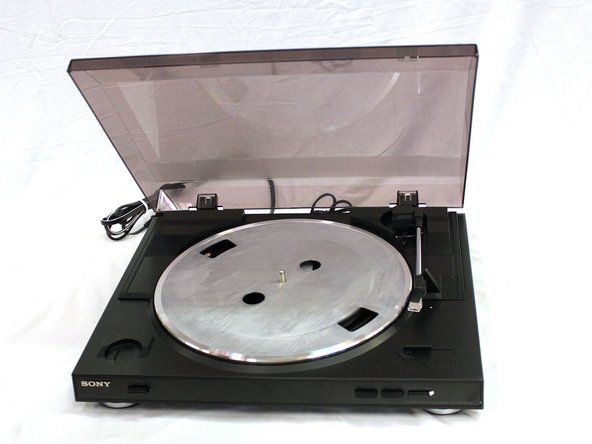
Turn the platter so that the motor pulley can be seen through one of the two outer holes in the platter.
-
If the drive belt is hooked around the motor pulley, unhook it.
-
-
-
-
Peel the drive belt from the inner ridge of the metal platter and put it to the side.
-


To reassemble your device, follow these instructions in reverse order.
To reassemble your device, follow these instructions in reverse order.
Отменить: Я не выполнил это руководство.
17 участников успешно повторили данное руководство.
Команда

Cal Poly, Team S8-G3, Banghart Fall 2017 Участник Cal Poly, Team S8-G3, Banghart Fall 2017
CPSU-BANGHART-F17S8G3
5 членов
Автор 5 руководств
3 Комментариев
Thank you for posting!
Thank you for posting this! My belt slipped and I could not figure this out thanks to you I saw how simple a process the repair. Many times thank you
Thank you for this post. I freaked out when belt became detached. I had moved turntable several times to resolve a connection issue and OOPS! Very concise instructions with clear pictures. Awesome!!